

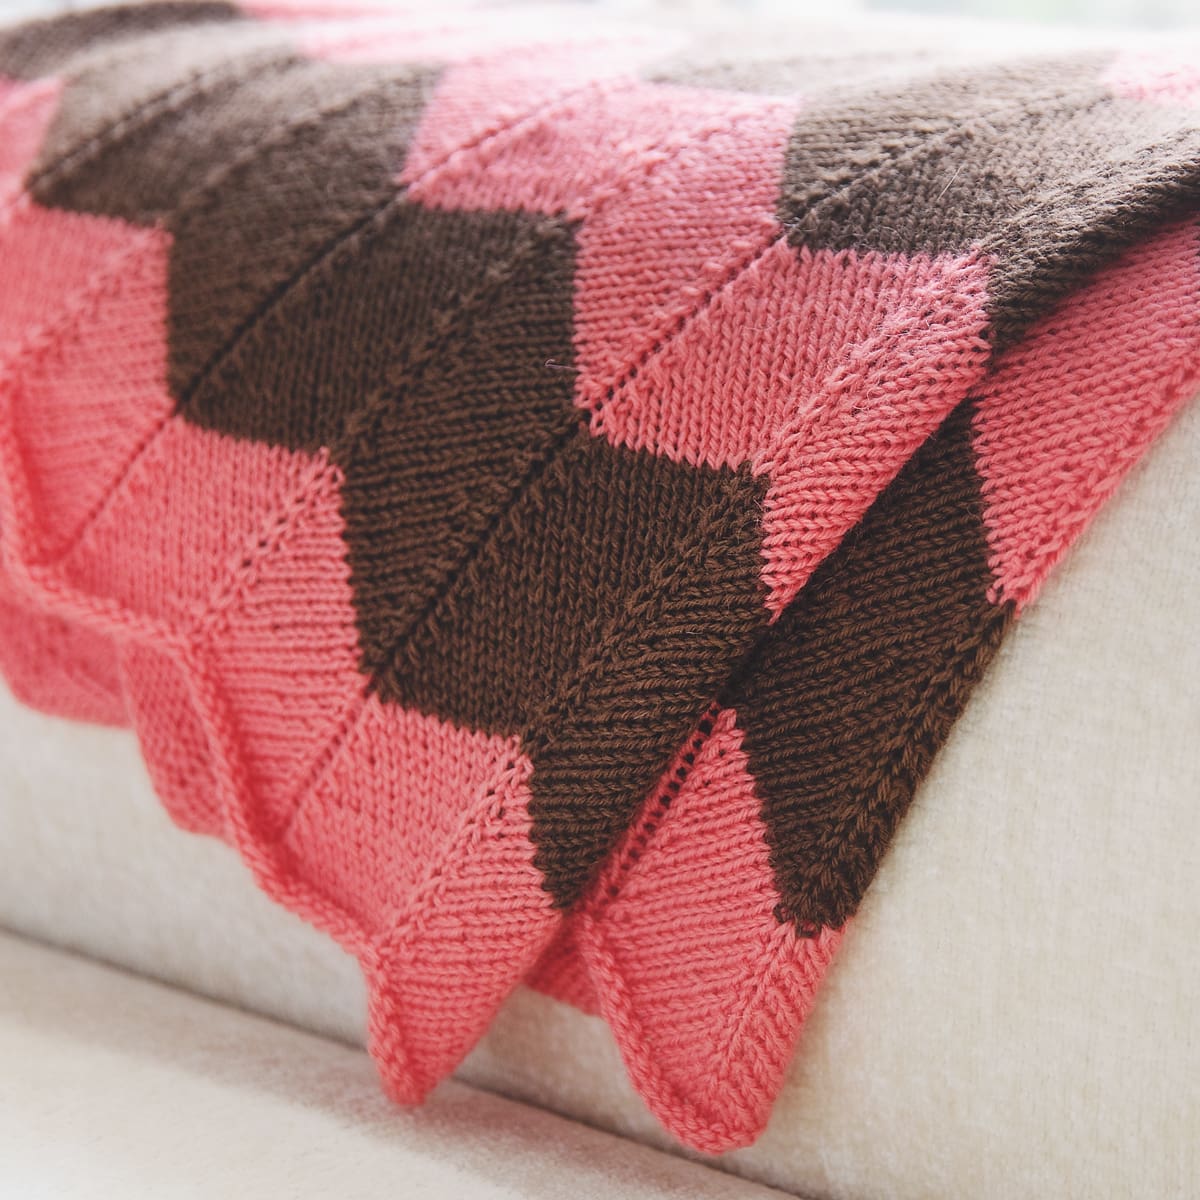
Free Knit Chevron Blanket Pattern
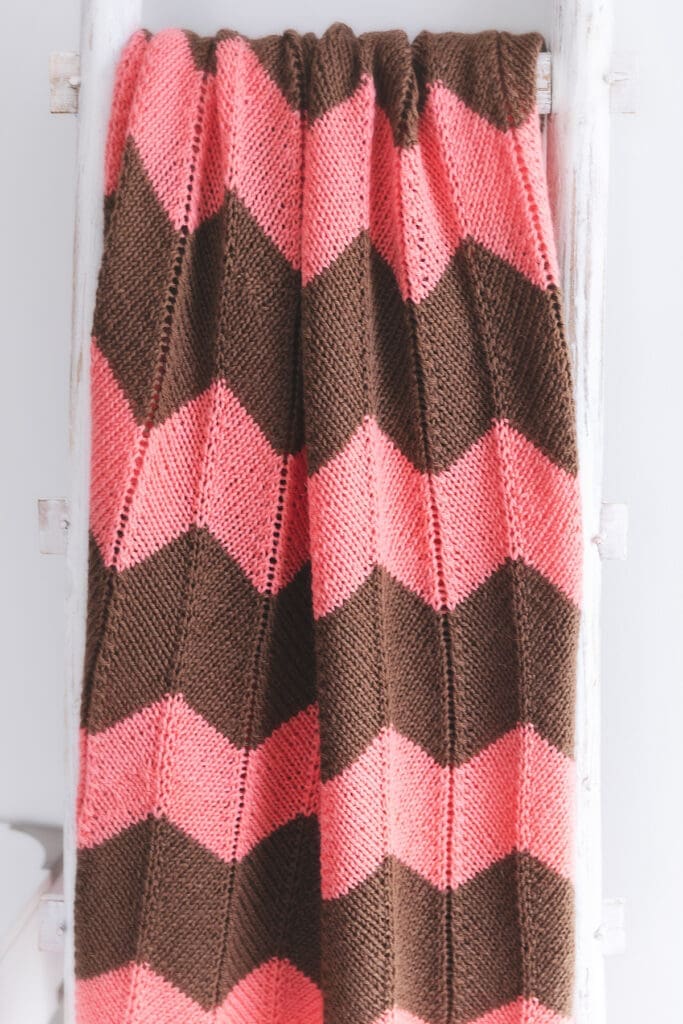
The Chevron Revival Throw Blanket
I’ve always loved the look of chevron blankets, but when I started looking around, I realized most of the patterns I came across had a very vintage feel. I wanted to create a knit chevron blanket pattern that kept the timeless zigzag design but felt a little more modern. That’s how the Chevron Revival Throw Blanket came to be.
I designed this blanket to use blocks of colour instead of narrow stripes so that the chevrons really stand out, giving the blanket a modern geometric look that’s simple enough to fit into almost any home. In my opinion, you can never have enough hand knit blankets. People often ask me what I do with all of the blankets that I make, and to be honest I’ve never had to think about it. They make such great gifts, so mostly I gift them as house warming or baby shower gifts. I also keep many of them since I love being able to change up the look of a room with a new throw that I’ve just finished knitting.
Knit Chevrons and How They’re Made
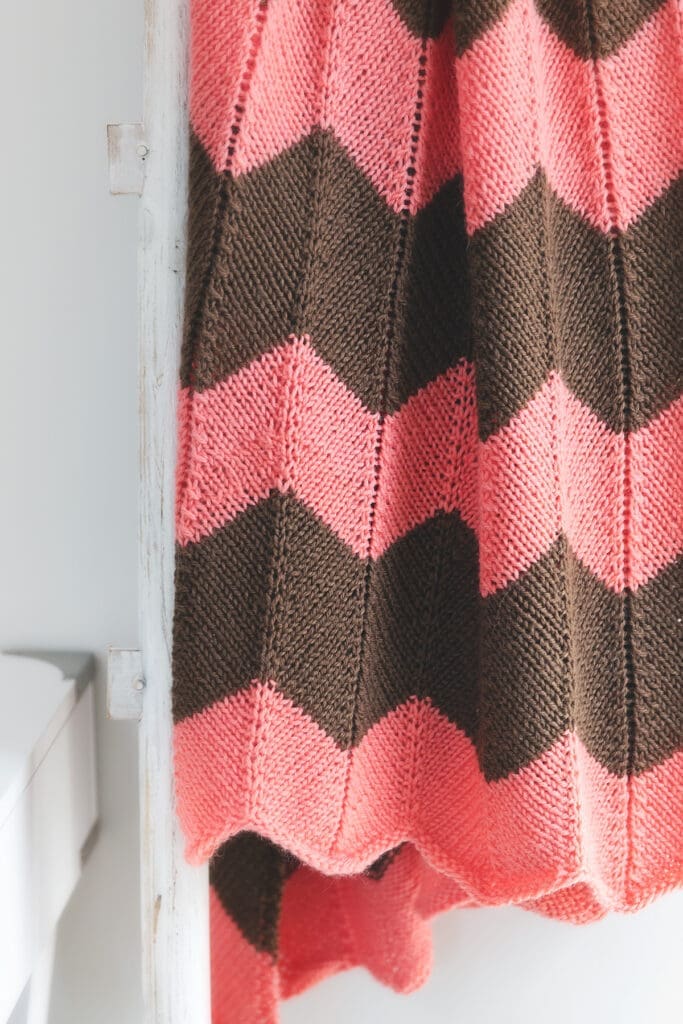
A chevron blanket is made up of repeating peaks and valleys that create a zigzag pattern.
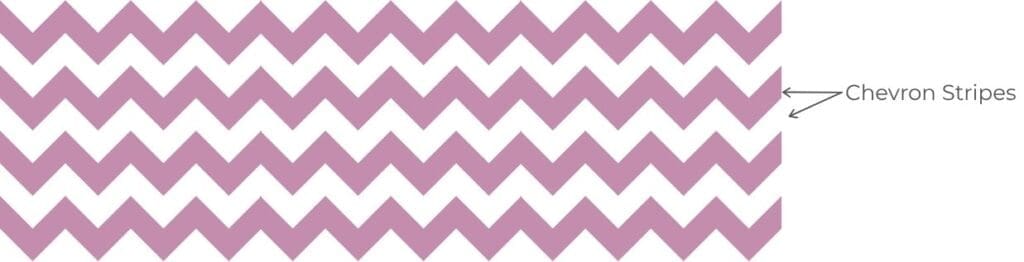
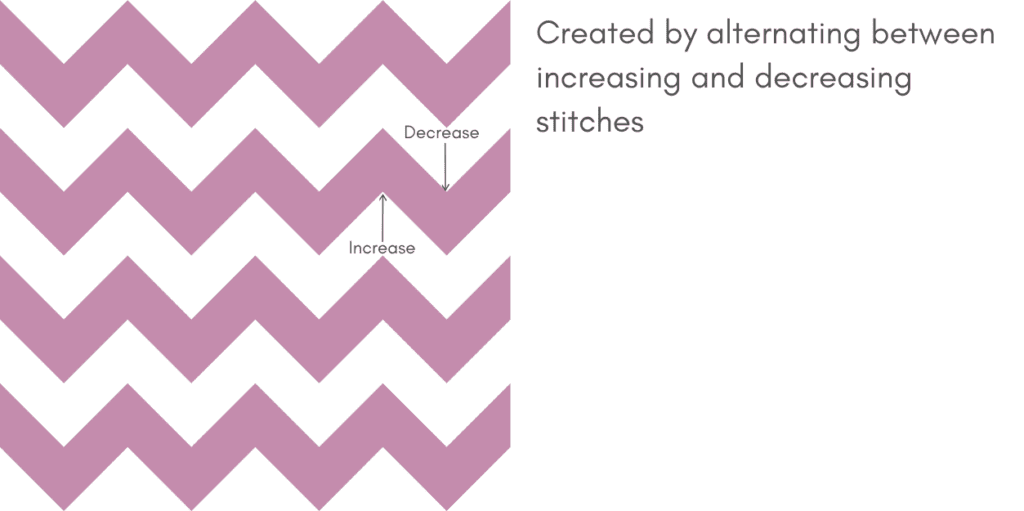
While it might look complicated, chevrons are actually created using a simple combination of knit increases and decreases. For this blanket, the peaks are created by knitting into the front and back of two adjacent stitches, which adds a total of two stitches. Then after knitting a few stitches, you’ll work two adjacent decreases to create a dip or valley and cancel out those same two stitches that you added. This creates the peaks and valleys of the chevron pattern while keeping your stitch count exactly the same.
I kept the stitch pattern as simple as possible so you can focus on enjoying the process. The blanket is worked flat with two edge stitches on each side to create a clean, finished edge.
Also, don’t let the shaping intimidate you! The wrong-side rows are easy. You’ll just knit the first and last two stitches and purl everything in between. The right-side rows are where the chevron pattern comes to life.
The pattern follows a two row repeat with every increase balanced by a decrease, so your stitch count stays the same for each row. Once you’ve worked a few repeats, the pattern becomes easy to memorize, making this a relaxing blanket to knit while building confidence with increasing and decreasing stitches in your knitting.
Choosing Your Colours
One of my favourite things about this blanket is how different it can look just by changing up the colours.
I chose Paloma and Chestnut from Knit Picks Wool of the Andes because I loved the warm contrast between the two. But, if your style is a little different, there are so many colour combinations that would look beautiful. Try black and cream for a bold, modern look, navy and ivory for something classic, or sage green and oatmeal for a softer, more natural palette. You could even choose bright colours for a fun nursery blanket!
Because the chevron pattern is so clean and geometric, almost any colour combination works beautifully.
Why Knit this Chevron Blanket Pattern?
If you’re looking for an enjoyable project with lots of relaxing stockinette knitting, I think you’ll love this one. The chevrons are formed with simple increases and decreases, but the repeat is easy to memorize after the first few sections so that you can knit without constantly checking the pattern.
Knitting chevrons is also a great way to practice working with knit increases and knit decreases. Increases and decreases are used in almost all knit clothing and accessories. If you want to move beyond knitting rectangles, you’ll eventually need to feel comfortable with these stitches. By repeating them over and over again, you’ll truly understand how they should look, and how to use them properly.
I hope you enjoy making the Chevron Revival Throw Blanket as much as I enjoyed designing it. I can’t wait to see the colour combinations you come up with!
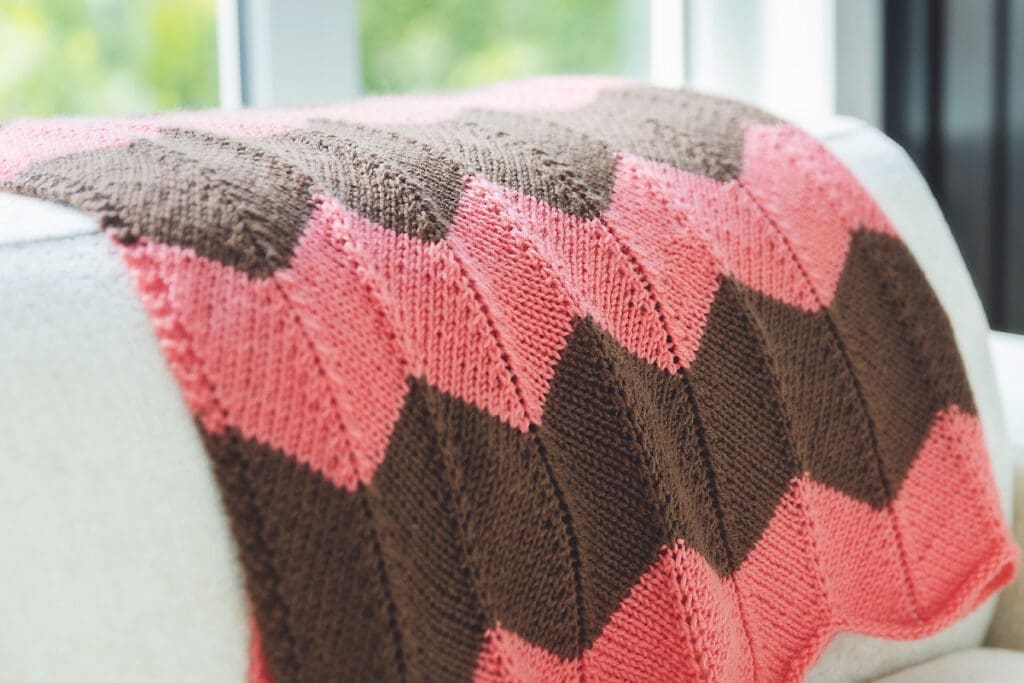
Free Chevron Revival Throw Blanket Knitting Pattern
Materials:
You will need the following materials to knit one blanket:
- Knit Picks Wool of the Andes Worsted Weight Yarn
- 7 skeins (770 yards) Paloma -Colour A
- 7 skeins (770 yards) Chestnut -Colour B
- Size 8 (5 mm) circular knitting needles with a 32″ cord
- Scissors
- Tapestry/yarn needle (for weaving in ends)
Ad Free PDF File
The free crochet pattern for the Knit Chevron Revival Throw Blanket is available right here on this page, as this site is sustained through ad support.
I’ve also put together an ad-free, downloadable PDF version of the pattern. It’s perfect for easy printing and can be can be purchased through My Ravelry Store or by clicking the “Purchase PDF File” button to the right.
Thank you so much for your support! It means the world to me, and I’m beyond grateful to be able to share my passion with you all.
Measurements
Finished blanket measures 37″ wide by 62″ long.
Gauge
16 stitches, 24 rows = 4″ in stockinette stitch after blocking.e stitch after blocking.
Abbreviations
Pattern Notes
- The blanket is knit flat in rows, using circular knitting needles to hold the large number of stitches.
- Wet/Steam blocking is highly recommended for finishing this blanket in order for it to lay flat and reach the finished dimensions.
- At the end of each colour section, cut the yarn leaving approximately a 6-inch tail. Weave in all ends using a tapestry needle when the blanket is complete.
More Free Blanket Knitting Patterns from Leelee Knits!


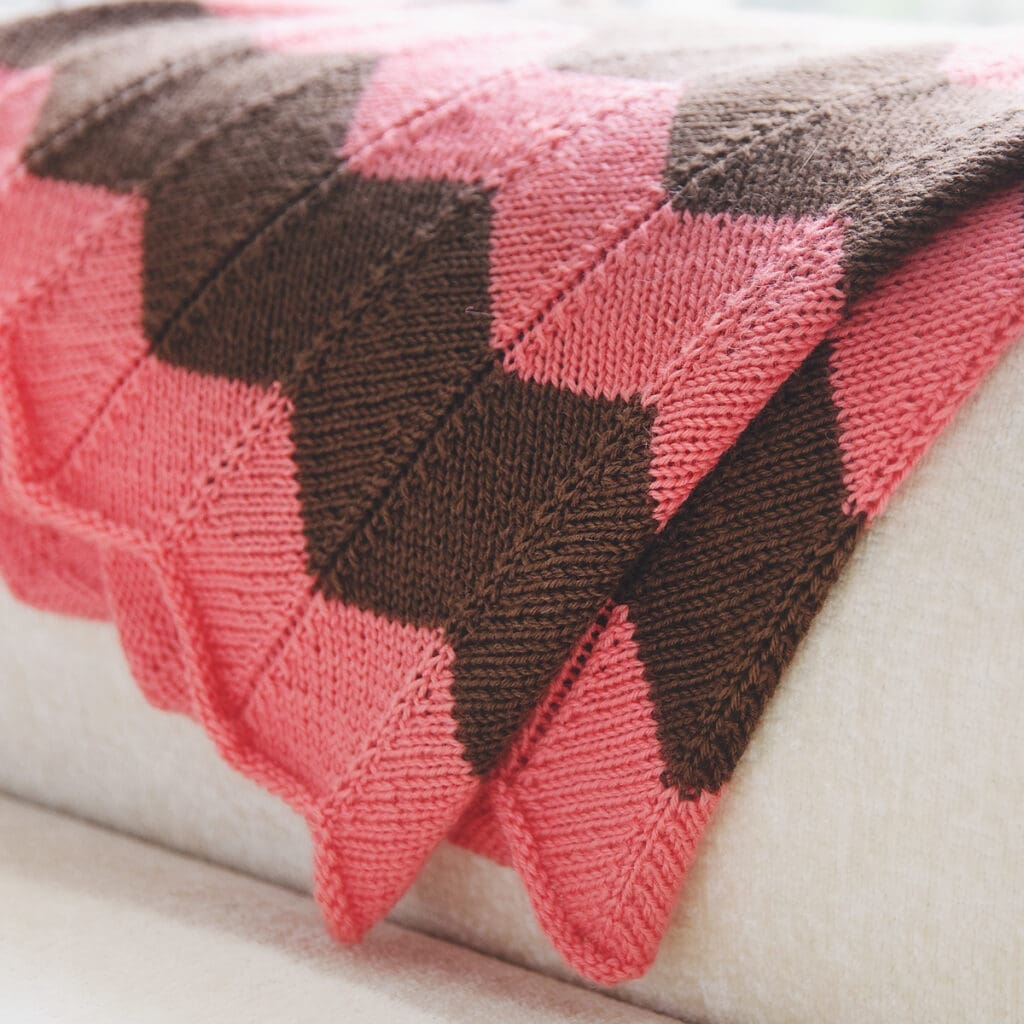
Chevron Revival Throw Blanket – Pattern Instructions
With Colour A, cast on 184 stitches (or any multiple of 20 stitches, plus 4 edge stitches).
Row 1 (WS): Knit all stitches. (Set-up row).
Row 2 (RS): K2, kfb, k7, sl1, k1, psso, k2tog, k7, *kfb in each of the next 2 stitches, k7, sl1, k1, psso, k2tog, k7; repeat from * to the last 3 stitches, kfb, k2.
Row 3: K2, purl to the last 2 stitches, k2.
Repeat Rows 2 and 3 seven more times. You will have completed the setup row plus 16 pattern rows.
Switch to Colour B and repeat Rows 2 and 3 ten times (20 rows total).
Continue alternating between:
- 16 rows of Colour A (8 repeats of Rows 2 and 3), and
- 20 rows of Colour B (10 repeats of Rows 2 and 3),
until you have completed 7 sections of each colour.
Finishing:
Finish with one final 16-row Colour A section, then work one additional knit row so that the top of the blanket mirrors the bottom.
Cast off and weave in all loose ends with a tapestry/yarn needle.
Finally, wet or steam block to measurements and enjoy your new Chevron Revival Throw Blanket!
Ad Free PDF File
I hope you enjoyed the free knitting pattern for the Chevron Revival Throw Blanket.
If you’d like your own copy, the Ad-Free PDF file (which will be emailed to you automatically) can be purchased through Ravelry, or by clicking the “Purchase PDF File” button to the right.
Thank you so much for your support! It means the world to me, and I’m beyond grateful to be able to share my passion with you all!
THANK YOU! This is a gorgeous way to make a chevron blanket! I’m going to make this one soon!😀👏
You are most welcome Rosalinda! ❤️
Why is there a shipping charge? Isn’t the pattern emailed or a down loaded pattern?
Hi Brenda! Thank you for pointing that out. I accidentally forgot to set it up as a digital product in Shopify. I’ve fixed it now, so you should no longer be charged a shipping fee.