

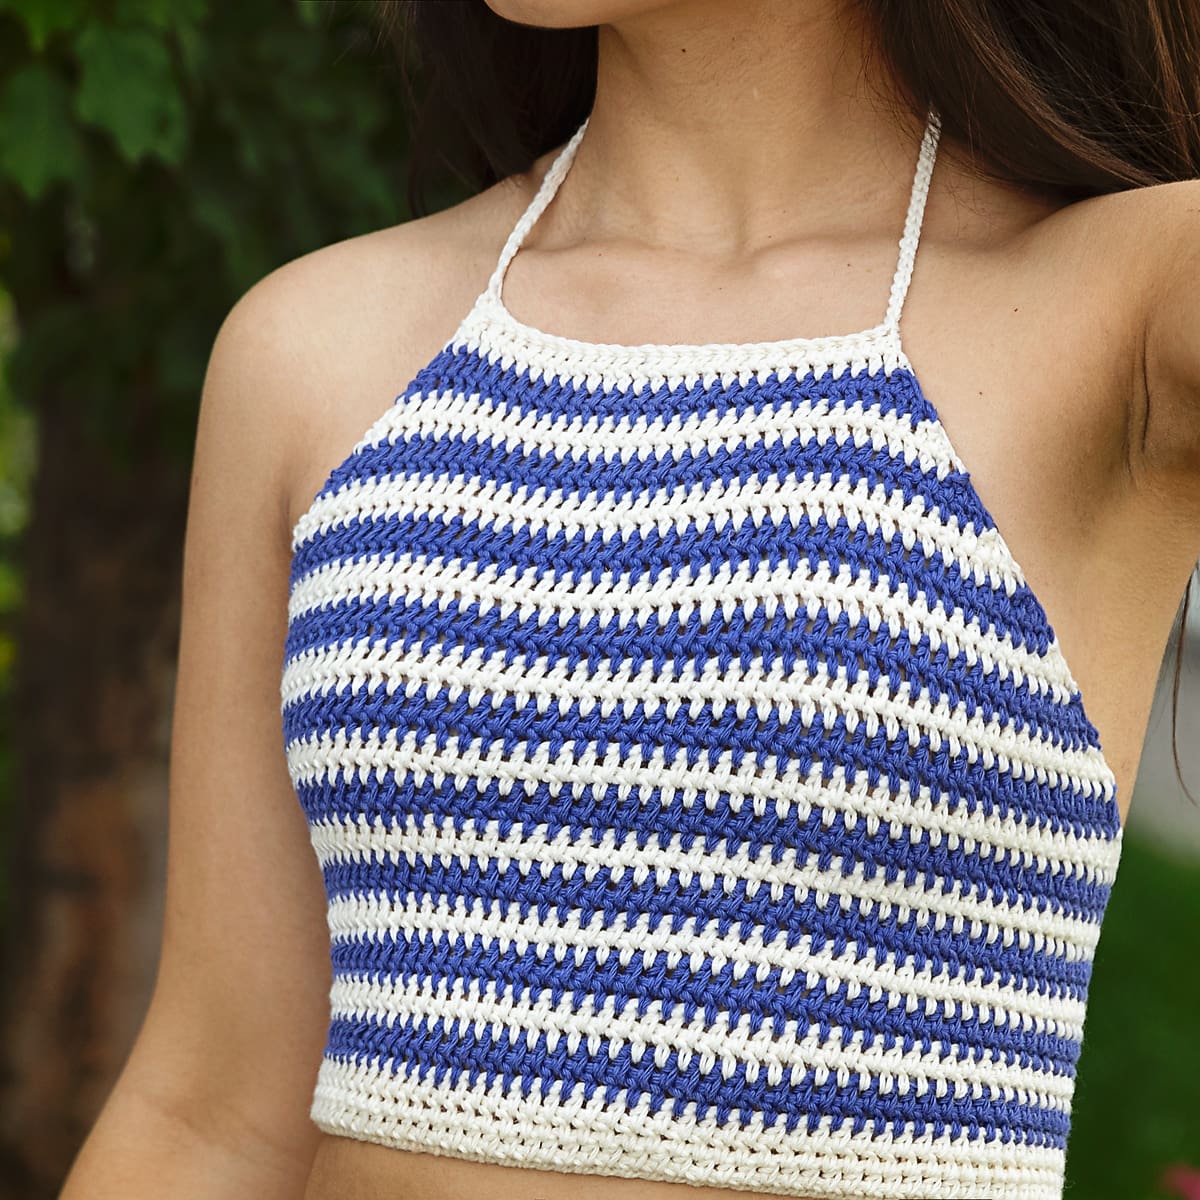
Tie Back Halter Top Crochet Pattern
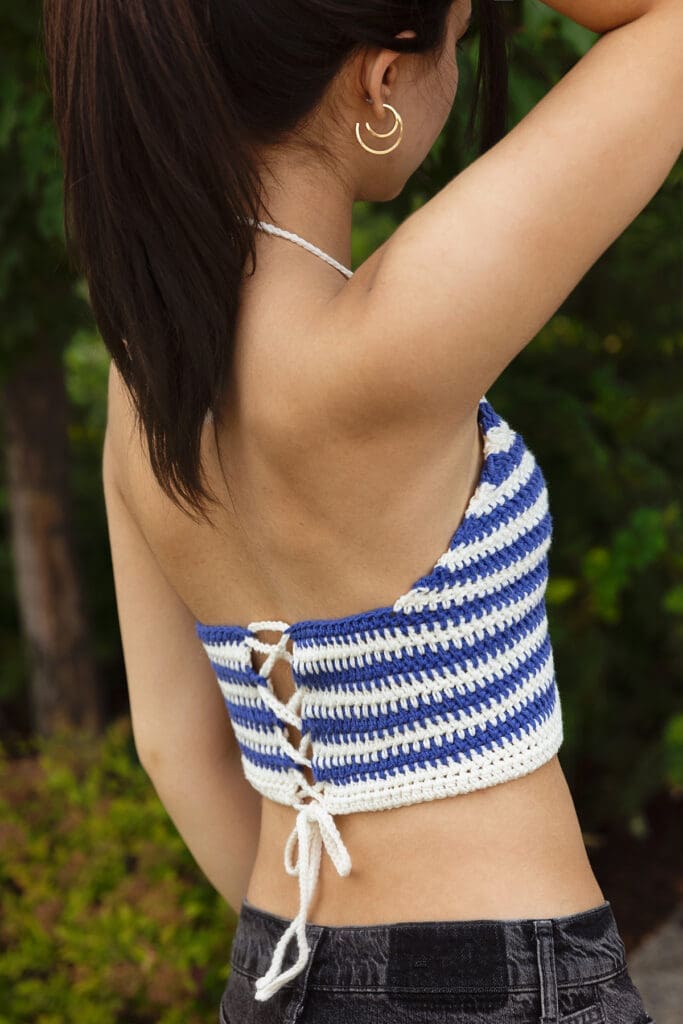
The Easy To Crochet Halter Top Design
I made it my mission over the last couple of months to design the perfect summer crochet halter top pattern. I really wanted to create a top that would be fun to style and comfortable to wear. It also had to be easy to make for all skill levels.
Since I love the look of a halter with an open back, I designed this one with a tie-back that gives it a flattering shape without making the fit feel too rigid. The front uses simple shaping to cover the bust area, and the ties at the back allow you to adjust the fit. I honestly thought it wouldn’t take so long to have it perfected! There was a lot of trial and error, but I’m super excited to finally share the final pattern with you all today.
Video Tutorial
Crocheting a top can feel a little intimidating, especially if it’s your first garment or you’re still fairly new to crochet. That’s why I put together a full video tutorial to walk you through the pattern step by step!
You can watch the tutorial below, or on the Leelee Knits Youtube Chanel.

Choosing Yarn for Your Halter Top
I decided to use CotLin DK weight yarn from Crochet.com. I love CotLin for summer patterns because the cotton and linen content are both breathable and comfy. The main stitch pattern is half double crochet worked between the stitches, so the fabric has a clean, woven look that lets the shape and stripes stand out.
How to Make it Your Own
There are lots of ways to make this pattern your own. You can use two contrasting colours like I did, go with a softer tonal combination, or make the whole top in one solid shade for a more minimal look (this is especially nice if you despise weaving in ends from colour changes!). You could also play around with the stripe width or use colours that fit your own wardrobe.
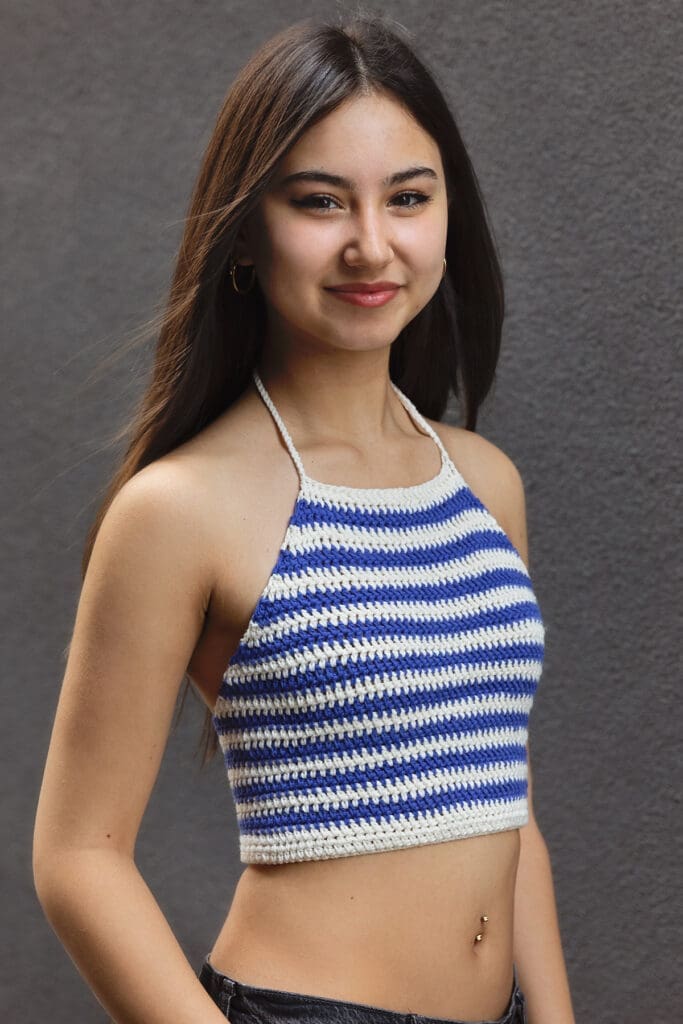
Tie Back Halter Top – Free Crochet Pattern
Materials/Supplies
You will need the following supplies to make one top:
- CotLin Yarn DK weight yarn from Crochet.com
- Colour A (Swan): Approximately 150(160,190,220,260,280) yards
- Colour B (Chicory/Creme Brulee): Approximately 100(125,155,170,205,230) yards
- Size G/6 (4 mm) crochet hook
- Scissors
- 2 stitch markers
- Tapestry/yarn needle (for weaving in ends)
Ad Free PDF File
This free crochet halter top pattern is available right here on this page, as this site is sustained through ad support.
If you like things a little more streamlined, I’ve put together an ad-free, downloadable PDF version of the pattern. It’s perfect for easy printing and can be can be purchased through My Ravelry Store or by clicking the “Purchase PDF File” button to the right.
Thank you so much for your support! It means the world to me, and I’m beyond grateful to be able to share my passion with you all.
Abbreviations
Ch : Chain.
Hdc : Half double crochet.
Sc : Single crochet.
Sp: Space.
Sts : Stitches.
Gauge
16 sts x 14 rows =4″ in pattern stitch
Pattern Notes
- This top is crocheted flat from the bottom up.
- The pattern stitch uses half double crochets worked between the stitches, rather than into the top loops.
- Seamless colour changes are made at the end of the last row of the previous colour by pulling through the last loop of the last HDC with the new colour (demonstrated in the video tutorial below).
Sizes
This pattern provides instructions for top sizes in the following format: XS(S,M,L,XL,XXL).
When reading the pattern instructions, choose the number that correlates to the size you’re making.
For example, chain 93(101,109,117,125,133) means chain 93 for XS, 101 for S, 109 for M, and so on.
Measurements
The measurements below are taken with the top laid flat, before the back ties are laced. When choosing your size, keep in mind that there should be a gap at the back where the ties are laced.
To choose your size, divide your bust circumference by 2. Choose the size with a bust width that is equal to or greater than this measurement.
For example, if your bust circumference is 33.5″: (33.5″ ÷ 2) = 16.5″
Choose the smallest size with a bust width of at least 16.5″. In this case, you would make a size Small.

More Crochet Top Patterns from Leelee Knits!


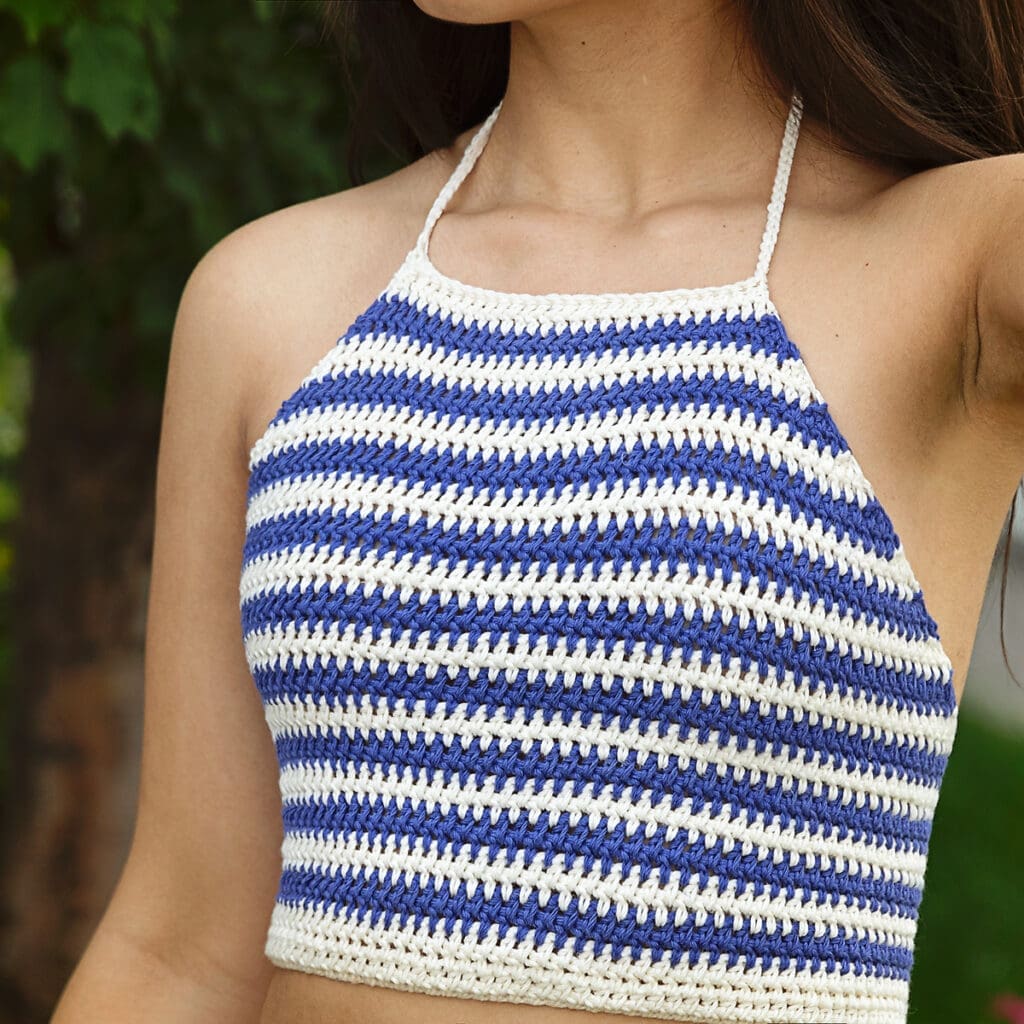
Free Pattern
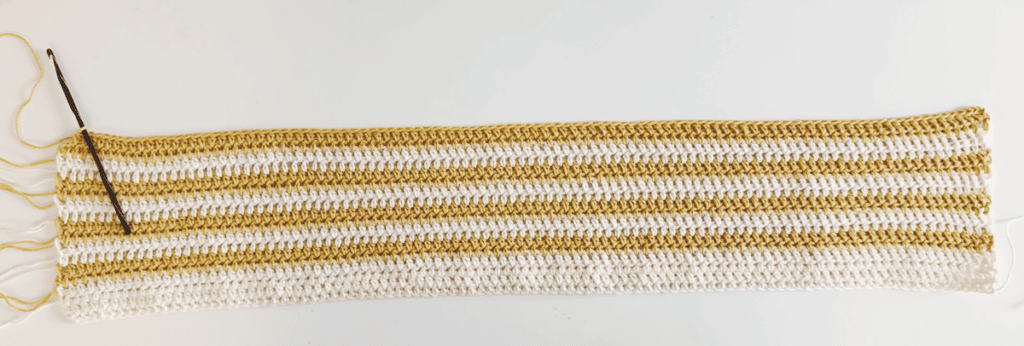
*Work the first 4 rows in Colour A, then switch to Colour B for rows 5 and 6. Continue to alternate between Colours A and B every two rows for the remainder of the pattern.
**The CH2 at the beginning of each row counts as the first HDC of the row.
Chain 93(101,109,117,125,133).
Row 1: Work 1HDC in the third ch from the hook and in each remaining ch across; turn (the two skipped ch count as the first hdc). 92(100,108,116,124,132) sts.
Row 2: CH2; work 1HDC in each sp between the hdc sts across; turn. 92(100,108,116,124,132) sts.
Repeat Row 2 until you have worked 18(18,22,22,26,26) rows total and then continue to Bust Shaping.
Bust Shaping:
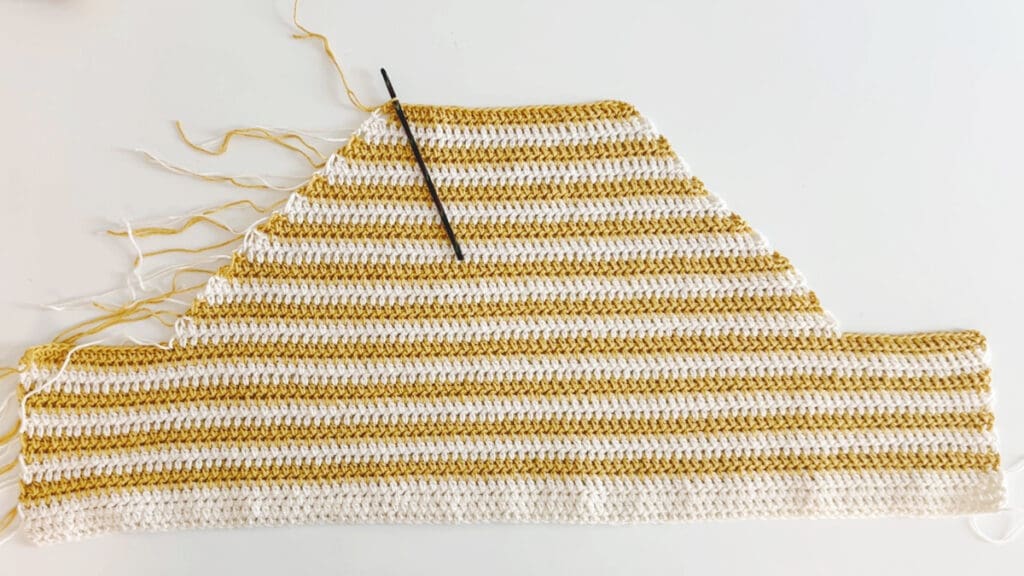
Fasten off, turn your work and place a removable stitch marker in the space between stitches 14(16,18,20,22,24) and 15(17,19,21,23,25) at both ends of the previous row.
Follow the rows below and then continue to Ties and Finishing.
Row 1: Join the yarn in the first marked sp and CH2; work 1HDC in each remaining sp between the hdc sts across to second marker; turn and remove markers. 65(69,73,77,81,85) sts.
Row 2: CH2 (counts as first HDC), skip the first space between HDCs; work 1HDC in each remaining space across; turn. 64(68,72,76,80,84) sts.
Rows 3-6: Repeat Row 2. 60(64,68,72,76,80) sts at the end of Row 6.
Row 7: CH2 (counts as first HDC), skip the first two spaces between HDCs; work 1HDC in each remaining space across; turn. 58(62,66,70,74,78) sts.
Continue to repeat row 7 until there are 28(28,32,32,36,36) sts remaining.
At the end of the last row, do not fasten off.
Ties and Finishing:
Neck Ties:
With the same colour that was used for the final row (will vary based on size), CH101 for the first tie.
Turn and sl st in each ch across and then join to the final st of the last row with a sl st.
CH1, and work 1SC into the top of each hdc of the last row.
When you reach the end of the row, CH 101 for the second tie.
Turn and sl st in each ch across and then join to the final st of the last row with a sl st.
Fasten off and weave in all loose ends.
Back Tie:
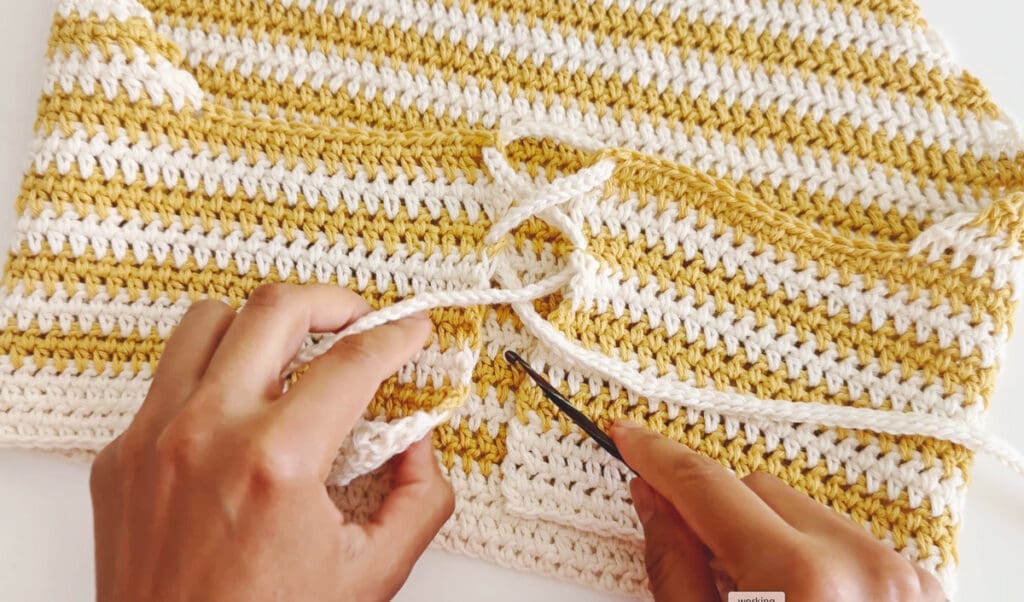
With Colour A, chain 201(201,226,226,251,251) and then turn and sl st in each chain across. When you reach the beginning, fasten off and weave the ends into the tie.
Finally, loosely lace the back ties through the back edges and try on your new halter top!
Ad Free PDF File
I hope you enjoyed the free crochet pattern for this tie back halter top.
If you’d like your own copy, the Ad-Free PDF file (which will be emailed to you automatically) can be purchased through Ravelry, or by clicking the “Purchase PDF File” button to the right.
Thank you so much for your support! It means the world to me, and I’m beyond grateful to be able to share my passion with you all!