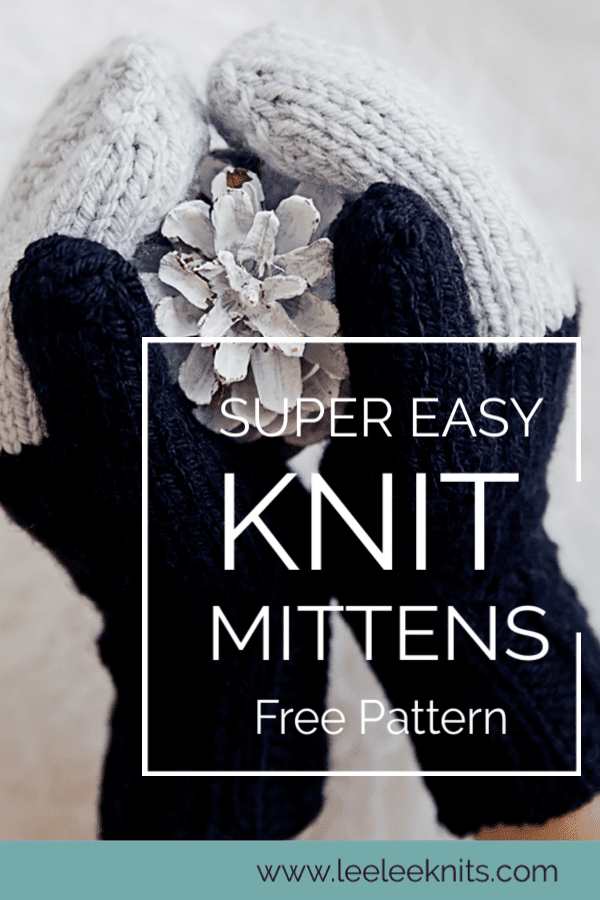
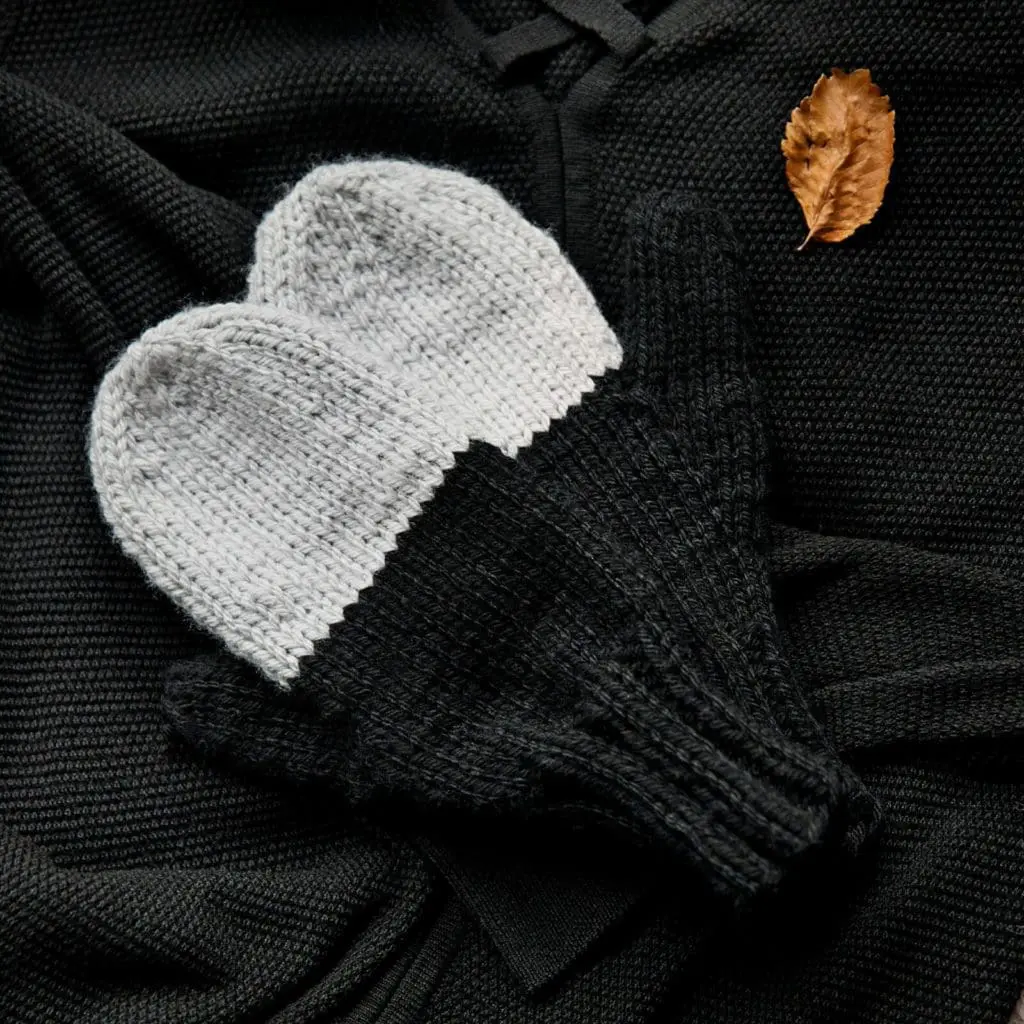
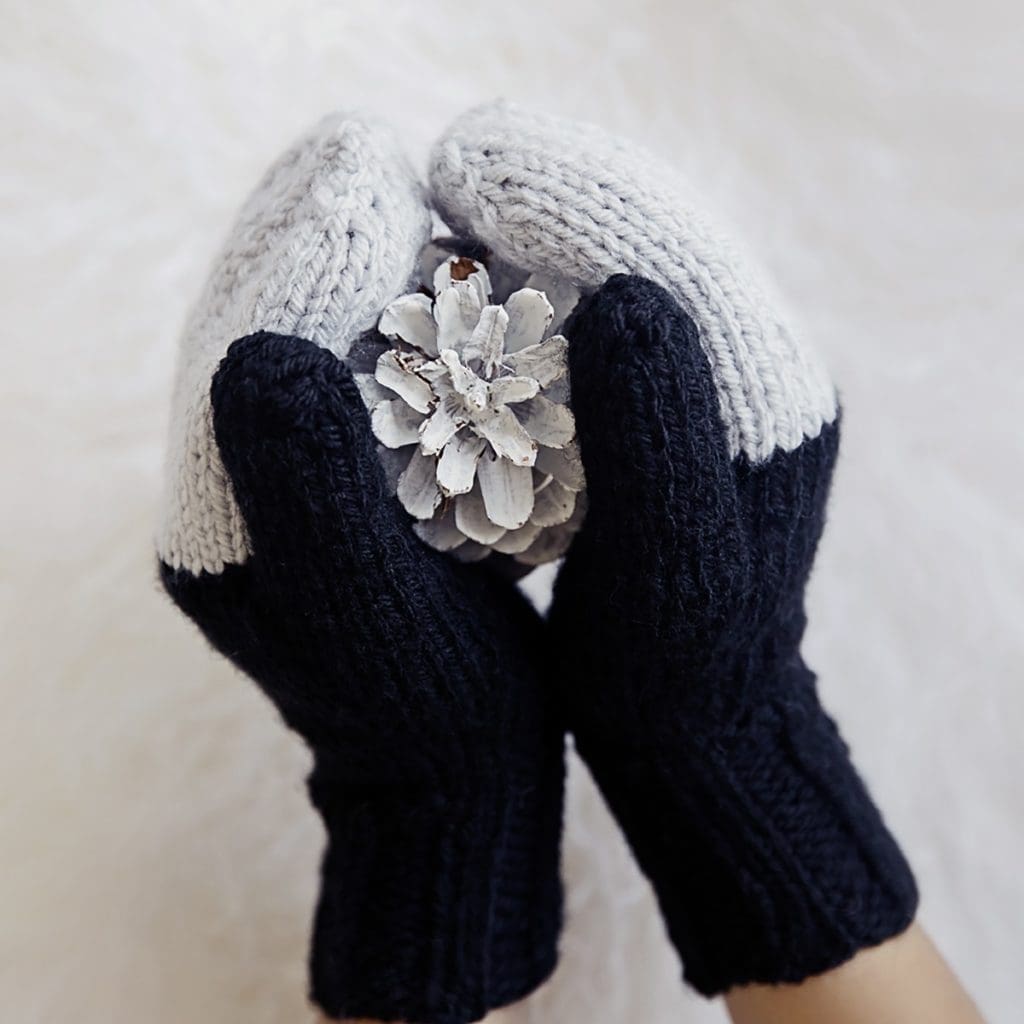
I cannot contain my excitement for the winter now that I’ve come up with the perfect magic loop mitten pattern! My goal with these mittens was to make a pattern that is truly easy – even if you are new to knitting mittens. This pattern will walk you through how to knit mittens step by step, with pictures to guide your understanding.
I had always avoided mittens because I despise knitting with double pointed needles. Juggling 5 needles is just not my thing. I feel that knitting should be a relaxing activity -and dealing with all of those needles just doesn’t equal relaxation in my book.
Which is why I can say that my life changed when I discovered the magic loop technique for knitting in the round using circular needles. If you have not tried this method, you are missing out! It’s simple, elegant, and you don’t even have to worry about ladders between where one needle ends and the next one begins. Not to mention that using one circular needle makes it so easy to just pick up and continue where you left off.
The pattern for these mittens uses the magic loop technique. If you are new to magic loop knitting, there are plenty of youtube videos out there teaching you how to cast on and start working in the round.
Scroll down to see the free pattern for these Easy Knit Mittens. The ad-free instant download PDF file can be purchased for easy printing and reading through Ravelry or by clicking the button below.
Please note that some of the links on this page are affiliate links and I will earn a commission if you purchase through these links. I use all of the products listed on this page and recommend them because they are companies that I have found helpful and trustworthy. Please let me know if you have any questions about anything I have recommended!
How to Knit Mittens – Easy Knit Mittens Pattern
Materials:
Here is what you will need to make these warm chunky mittens:
- Size 7 (4.5mm) circular knitting needles (cord should be at least 24”).
- Paintbox Yarns Simply Chunky yarn in two contrasting colors (we will call them Color A and Color B).
- Yarn Needle.
- Ruler or tape measure.
- Detachable stitch marker.
Gauge:
4.5 stitches, 6 rows = 1″ in stockinette stitch.
Size:
These stretchy mittens are perfect for medium-sized women’s hands, although you may customize the length to your desire for smaller or larger hands.
Abbreviations and Stitches:
K: Knit.
Stockinette Stitch: Worked in the round, knit every round.
K2P2 Rib: Worked in the round (multiple of 4 stitches). *K2P2; repeat from * to end of round.
K2Tog: Knit Two Together decrease.
Kfb: Knit Front and Back increase.
M1L: Make one left increase.
M1R: Make one right increase.
Notes:
These mittens are worked in the round from the cuff up, using the Magic Loop method and circular knitting needles.
You will need to know the following techniques to knit these mittens. If you do not already know these methods, please read/watch some tutorials before you begin. The pattern can also be adapted for double pointed needles.
Magic Loop Technique for knitting in the round.
Kitchener Stitch for grafting invisible seams.
How to Knit Mittens – Free Pattern
Cuff:
With Colour A, cast on 24 stitches and work in a K2P2 rib for 16 rounds. Continue to Hand.
Hand:
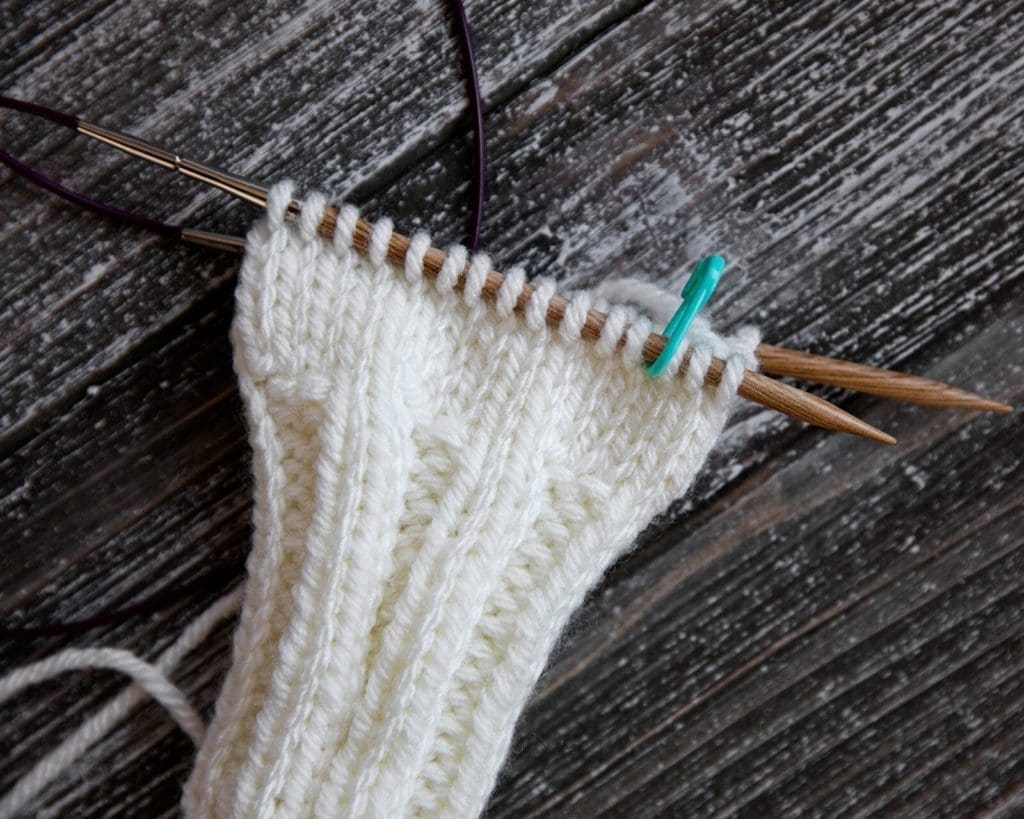
Round 1: *K3, Kfb; repeat from * to end of round (this will increase to a total of 30 Stitches).
Round 2-5: Work rounds in stockinette stitch.
Round 6: K3, place stitch marker, knit to end of round.
Continue to Thumb Gusset. Do not fasten off.
Thumb Gusset:
This is where we increase the stitches for the part of the mitten that holds the thumb. We then secure the stitches with scrap yarn so that we can finish the thumb later.
Round 1: K1, M1L, K1, M1R, K1 (total of 5 stitches in thumb gusset). Move Marker to working needle. Continue to knit the remainder of the round in stockinette stitch.
Round 2 & 3: Work rounds in stockinette stitch.
Round 4: K1, M1L, K3, M1R, K1 (total of 7 stitches in thumb gusset). Move Marker to working needle. Continue to knit the remainder of the round in stockinette stitch.
Round 5 & 6: Work rounds in stockinette stitch.
Round 7: K1, M1L, K5, M1R, K1 (total of 9 stitches in thumb gusset). Move Marker to working needle. Continue to knit the remainder of the round in stockinette stitch.
Round 8 & 9: Work rounds in stockinette stitch.
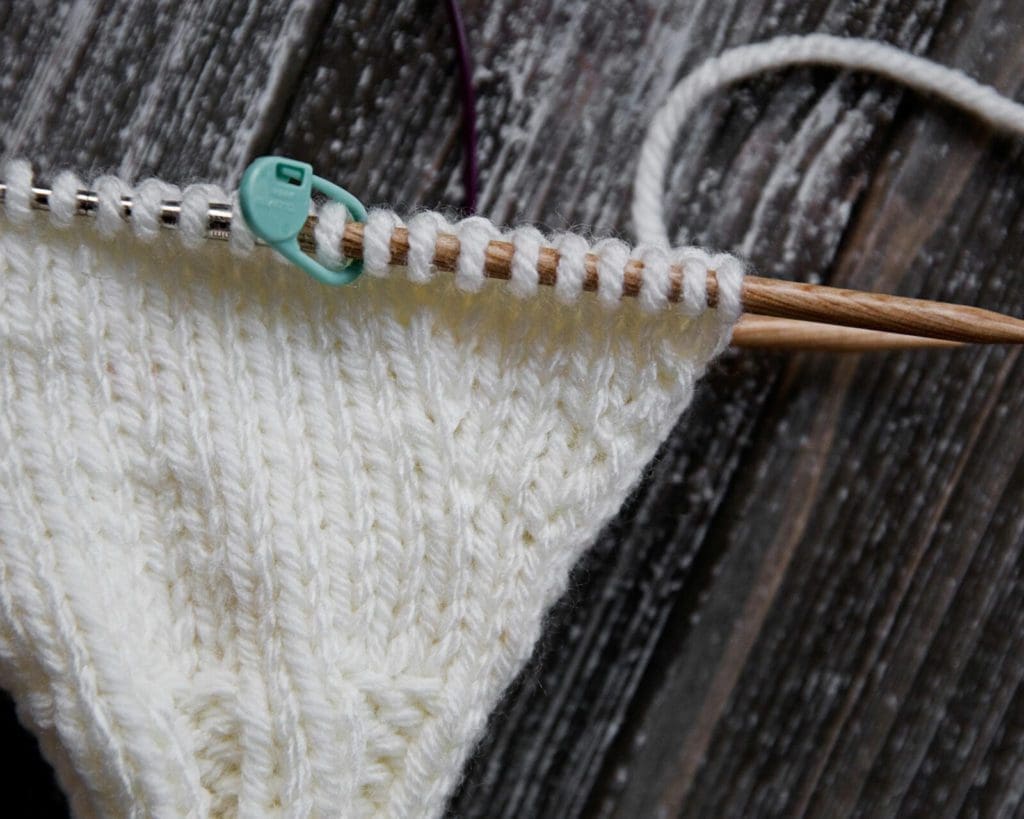
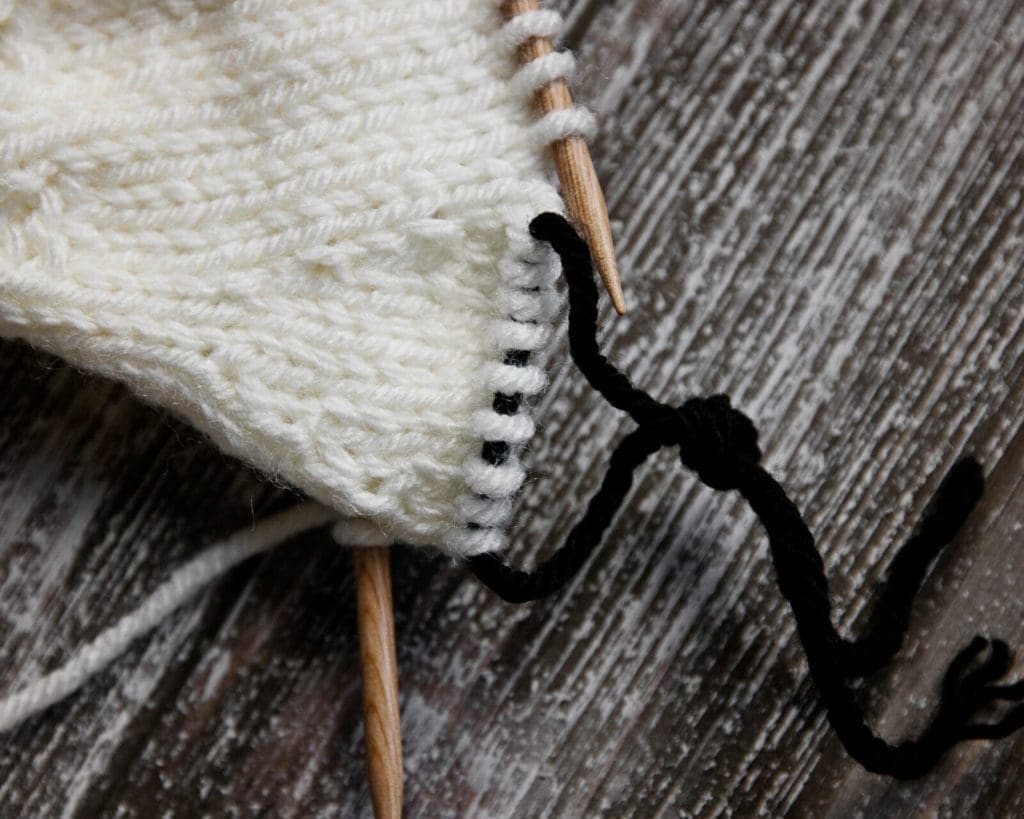
At this point, the thumb gusset should look like the photo below.
Using a yarn or tapestry needle, transfer the thumb gusset stitches to a piece of scrap yarn and secure. See photo below for guidance. Continue to Top of Hand.
Cast on 3 stitches (thumb cast on method works well) with working yarn to replace the original 3 stitches that we used in the thumb gusset. One needle will have 18 stitches and the other needle will have 12 (for a total of 30). This is okay, and you can re-arrange them after knitting a few rounds to have 15 on each needle again. See photo below.
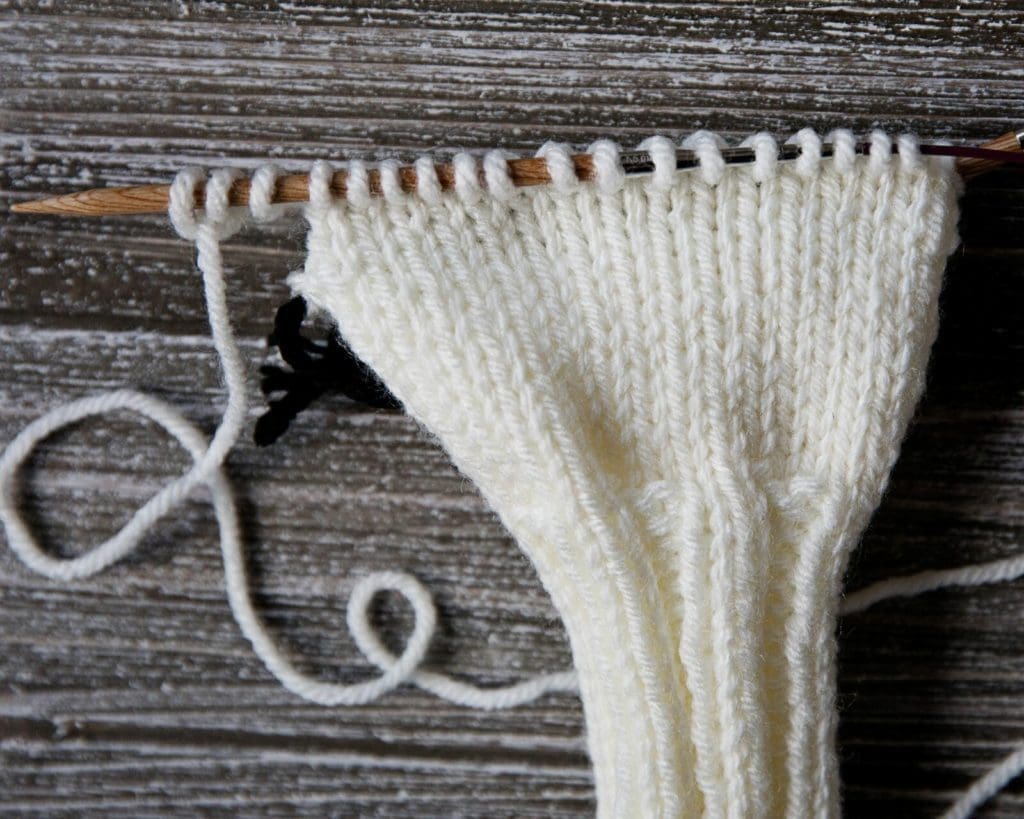
Work 3 rounds in stockinette stitch.
Switch to Color B and work 15 more rounds in stockinette stitch. If you have not already done so, re-arrange the stitches so that there are 15 on each needle. Continue to Shaping Mitten Top.
Shaping Mitten Top:
This is where we shape the top of the mitten and seam up the remaining stitches.
Round 1: *K3, K2Tog; repeat from * to end of the round (total of 24 stitches).
Round 2: Knit all stitches.
Round 3: K2, K2Tog: repeat from * to end of the round (total of 18 stitches).
Round 4: Knit all stitches.
Round 5: K1, K2Tog: repeat from * to end of the round (total of 12 stitches).
Round 6: Knit all stitches.
At this point, there are 6 stitches on each needle. Seam the remaining stitches using the Kitchener Stitch. Fasten off and continue to Thumb.
Thumb:
Pick up the thumb stitches with circular needle and remove the scrap yarn. See photo below. Notice the big gap above where you inserted the needle.
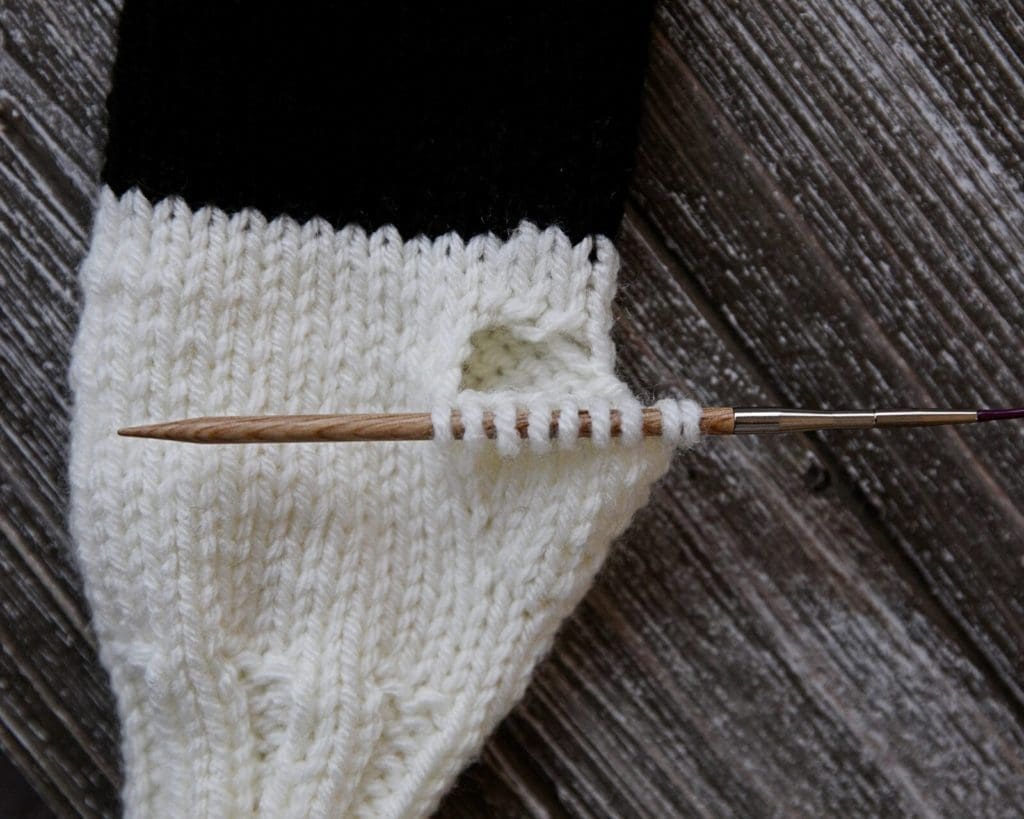
Slide the thumb stitches down onto the cord and pick up three stitches around the gap by knitting into them with Color A. It’s not an exact science for where to pick up these stitches and you can look up some techniques for preventing a hole (there are plenty of YouTube videos). Don’t worry if you do not pick them up in a way that closes the hole entirely -you can use the tail from where you attached the yarn to sew any gaps when you weave in the ends.
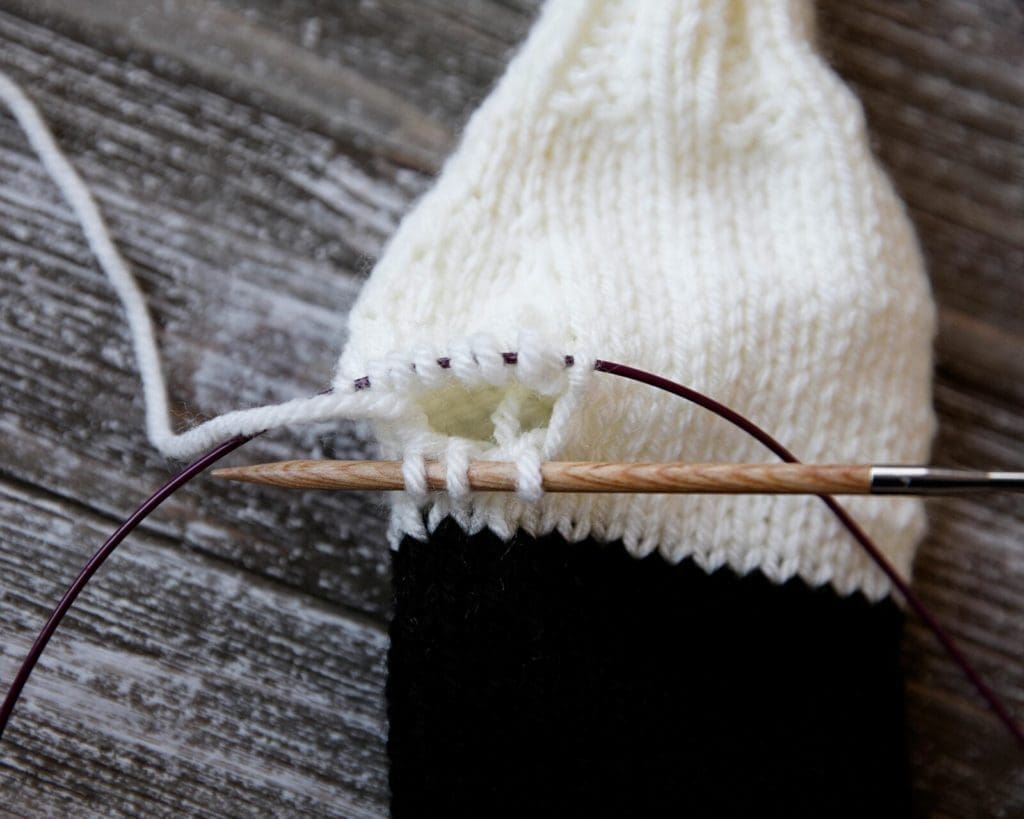
There will be 3 stitches on one needle and 9 on the other for a total of 12 stitches. Knit in the round in stockinette stitch for 12 rounds. Re-arrange the stitches so that there are 6 on each needle and continue to Shaping Thumb Top.
Shaping Thumb Top:
This is where we shape the top of the thumb and seam up the remaining stitches.
Round 1: *K1, K2Tog; repeat from * to end of the round (total of 8 stitches).
Round 2: Knit all stitches.
At this point, there are 4 stitches on each needle. Seam the remaining stitches using the Kitchener Stitch and fasten off.
Continue to Finishing.
Finishing:
Flip the mitten inside out. Secure and weave in all ends. If there is a gap in the thumb gusset where the yarn is attached, this is where you can use the tail to sew it up.
Repeat the pattern for your second mitten!
I hope you enjoyed this pattern and gained some useful tips on how to knit mittens!
If you’d like your own copy of this pattern, the Ad-Free PDF file (which will be emailed to you automatically) can be purchased for $5 USD through Ravelry, or by clicking the button below.


The mittens look lovely, do you have a pattern for crocheted mittens?
Not yet but I plan to! Thanks for the suggestion Anne 🙂
i like the patternbut do not like the magic loop technique, is there anyway it can be done on double pointed needles. I do not know how to change the pattern.
Yes, definitely. Just knit it in the round with 4 needles.
Does the pattern have to be changed to use double point needles if yes how do you do change the pattern? Thank you.
Hi Susie, its pretty simple to just use double pointed needs. Just evenly distribute over 4 needles and follow the instructions as they are. Hope that helps!
How many balls of yarn are needed for this pattern?
Hi Maria, if you are making the mittens in two colours, then one skein of each colour is plenty.
Can this pattern be modified for the next size up for children?
You could knit it with a different yarn weight and needle size to alter the size of the final mittens.