
Crochet Teddy Bear Pattern
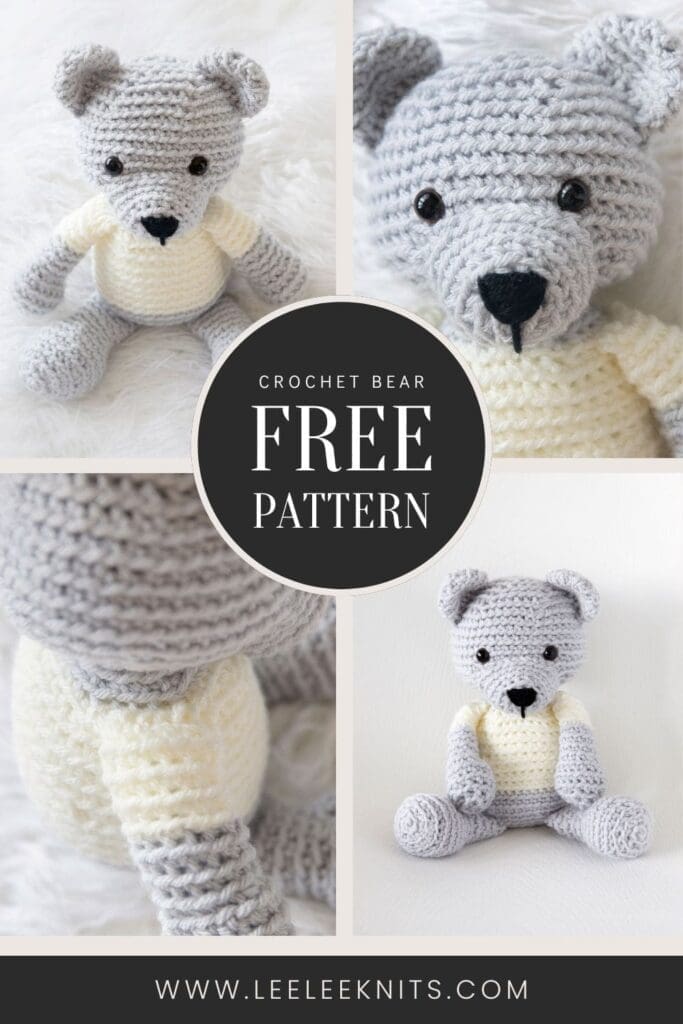
Cute Cuddly Free Teddy Bear Crochet Pattern
I hope you are all enjoying spring as much as I am! If you’ve been on the lookout for a new crochet project that has nothing to do with winter, then you have to try this crochet teddy bear pattern that I created to make a cuddly little friend for my son.
This crocheted bear is just as adorable as he is cozy, and this makes him an awesome gift for kids of all ages. Imagine the little smiles when you hand over a handmade teddy! Plus, working on this project is also a great way to introduce yourself to the world of amigurumi (the Japanese art of crocheting small stuffed animals).
Crocheting your Teddy Bear
I wanted as many people to enjoy this crochet teddy bear pattern as possible, so I designed it to be straightforward for all crochet skill levels too. Most of the bear is crocheted in single crochet in the round, and each piece is stuffed with polyfill, which you can get from your local craft store or amazon. The pattern includes clear photos and instructions in order to make the process as fun and easy as possible.
Let me know what you think of this pattern in the comments below. I’d also love to see your bears on Instagram and you can tag me, @leelee_knits in your photos if you’d like a share in my stories!
Save This Pattern!
I hope you enjoy this crochet pattern! If so, please feel free to share the link to this page on your social media or Pinterest account.
I truly appreciate all of you who get the word out about this site and my patterns!
XoXo,
Alnaar
❤️ Alnaar
Free Crochet Teddy Bear Pattern
What You’ll Need to Crochet Your Bear:
Here is what you will need to make this snuggly teddy bear:
- Paintbox Yarns Simply Chunky Yarn in three colours. I used:
- Stormy Grey Color A: (approx. 149 yards)
- Champagne White Color B: (approx. 75 yards)
- Pure Black Color C: (Just enough to embroider nose)
- Size H/8 – 5.0mm Crochet Hook
- Safety Eyes or buttons (if you are making this for a very small child it is safest to embroider on the eyes).
- Scissors
- Stitch Marker or scrap piece of yarn
- Poly-Fil for stuffing the bear
- Yarn or tapestry needle to sew the pieces together
Finished Size:
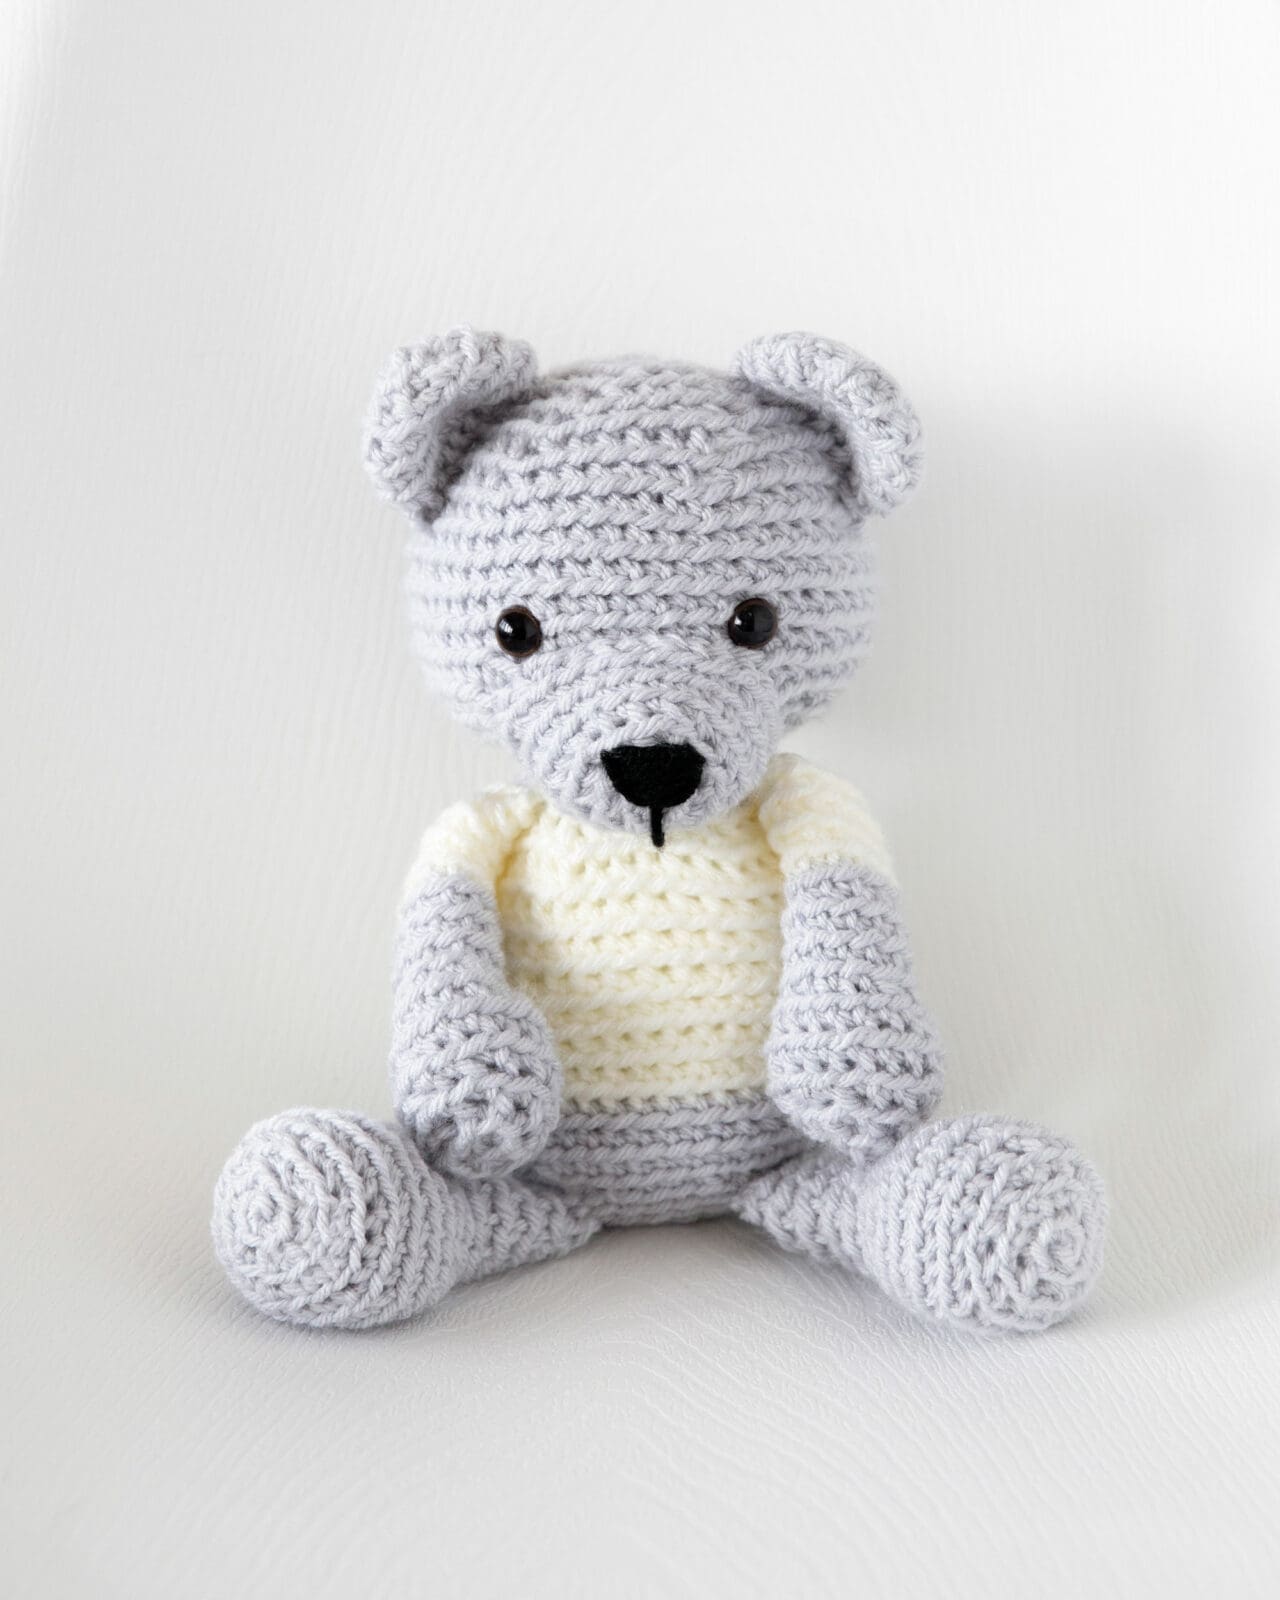
The finished teddy bear is approximately 12 inches tall with legs extended (8 inches sitting).
Pattern Abbreviations:
SC: Single Crochet
ST: Stitch
SC2Tog: Single Crochet Two Together
Ad Free PDF File
The free pattern for this teddy bear is available right here on this page, as this site is sustained through ad support.
If you like things a little more streamlined, I’ve put together an ad-free, downloadable PDF version of the pattern. It’s perfect for easy printing and can be can be purchased through My Ravelry Store or by clicking the “Purchase PDF File” button to the right.
Thank you so much for your support! It means the world to me, and I’m beyond grateful to be able to share my passion with you all.
Crochet Teddy Bear – Pattern Notes:
Please read the points below to help you with this crochet teddy bear pattern.
- I worked my single crochets in the back loop in order to make it easier to count my rows and I personally just like the way it looks.
- Work your rounds in spirals, and do not join at the beginning of each round. You will need to use a stitch marker to mark your rounds since you will not have a starting chain.
- Each round includes the total stitch count in brackets. To avoid any confusion and keep your project on track, I also recommend counting your stitches every few rounds. This simple step can save you a lot of headaches later on!
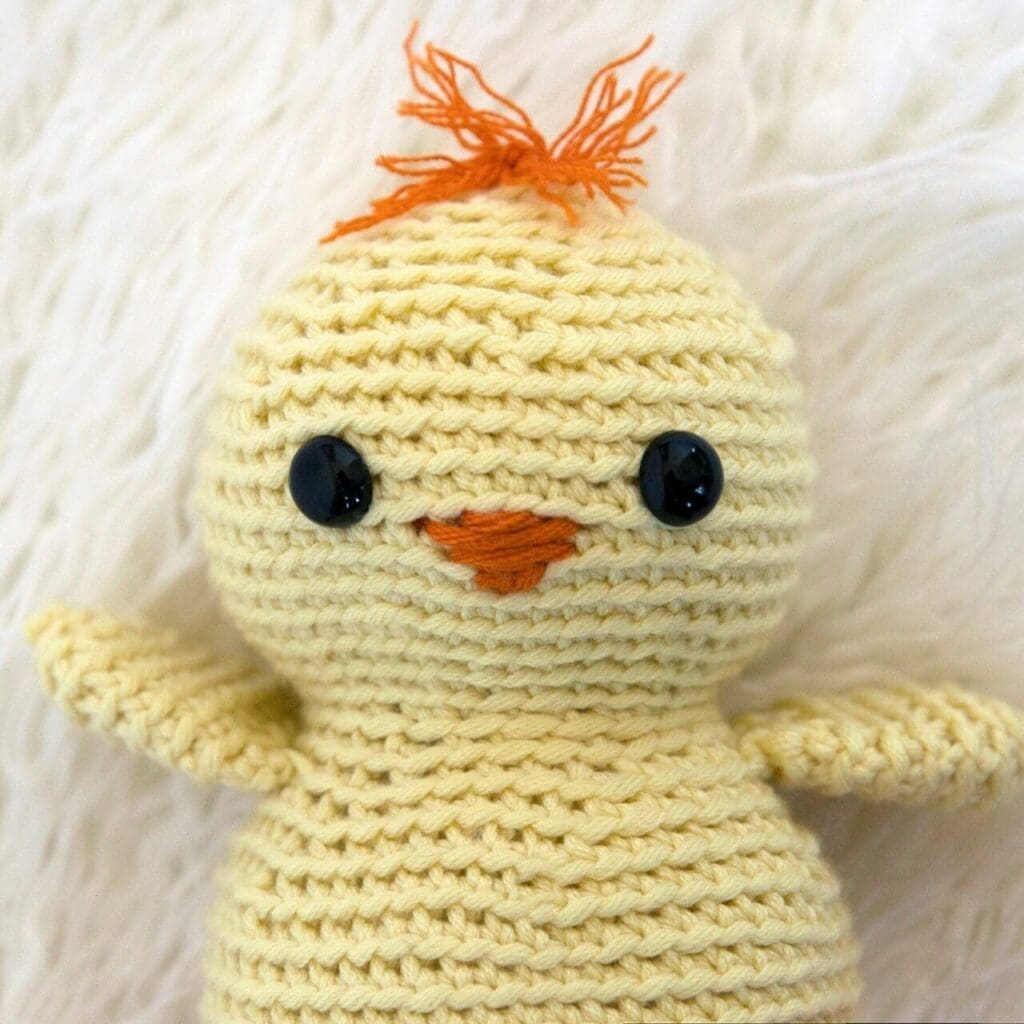
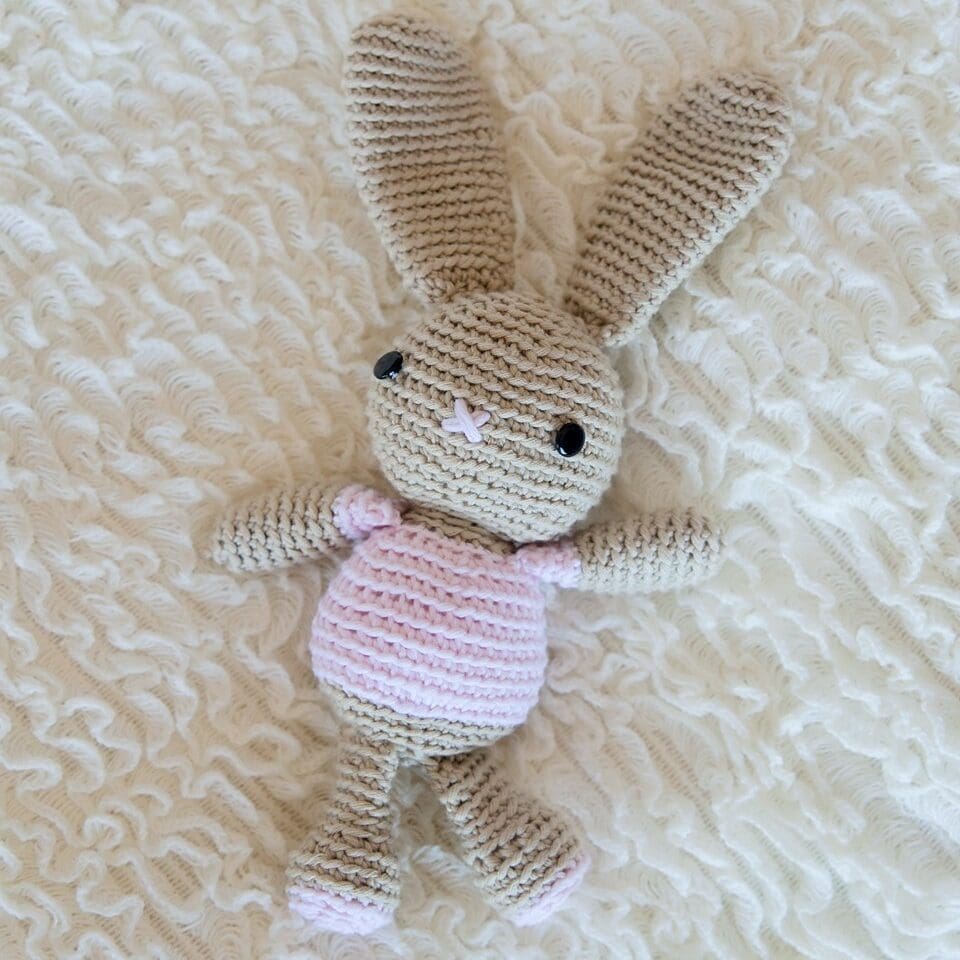
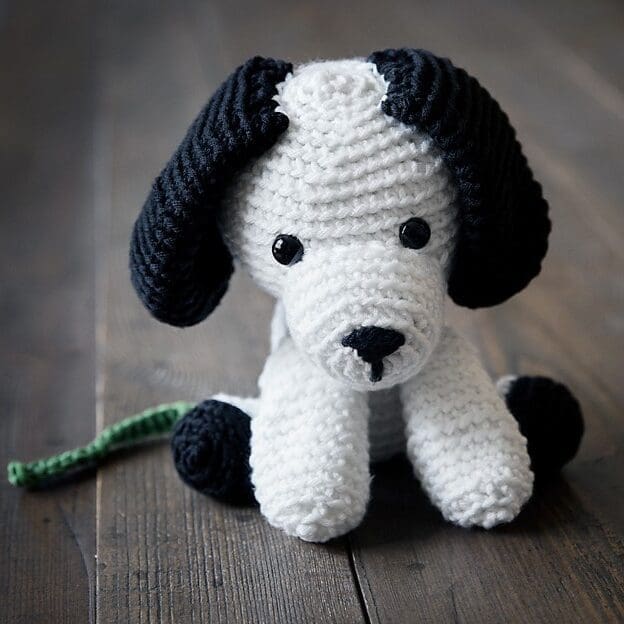
More Free Crochet Toy Patterns from Leelee Knits!
Free Crochet Pattern Plus Photos:
Head:
With Color A, make a magic circle or adjustable ring.
Round 1: Make 6 SC in magic circle (6 St).
Round 2: SC twice in each stitch (12 St).
Round 3: *SC twice in next stitch, SC in next stitch. Repeat from * until end of round (18 St).
Round 4: *SC twice in next stitch, SC in next 2 stitches. Repeat from * until end of round (24 St).
Round 5: *SC twice in next stitch, SC in next 3 stitches. Repeat from * until end of round (30 St).
Round 6: *SC twice in next stitch, SC in next 4 stitches. Repeat from * until end of round (36 St).
Round 7: *SC twice in next stitch, SC in next 5 stitches. Repeat from * until end of round (42 St).
Round 8: *SC twice in next stitch, SC in next 6 stitches. Repeat from * until end of round (48 St).
Rounds 9-14: SC in each stitch (48 St).
Round 15: *SC2Tog, SC in next 6 stitches. Repeat from * to end of round (42 St).
Round 16: *SC2Tog, SC in next 5 stitches. Repeat from * to end of round (36 St).
Round 17: *SC2Tog, SC in next 4 stitches. Repeat from * to end of round (30 St).
Round 18: *SC2Tog, SC in next 3 stitches. Repeat from * to end of round (24 St).
Round 19: *SC2Tog, SC in next 2 stitches. Repeat from * to end of round (18 St).
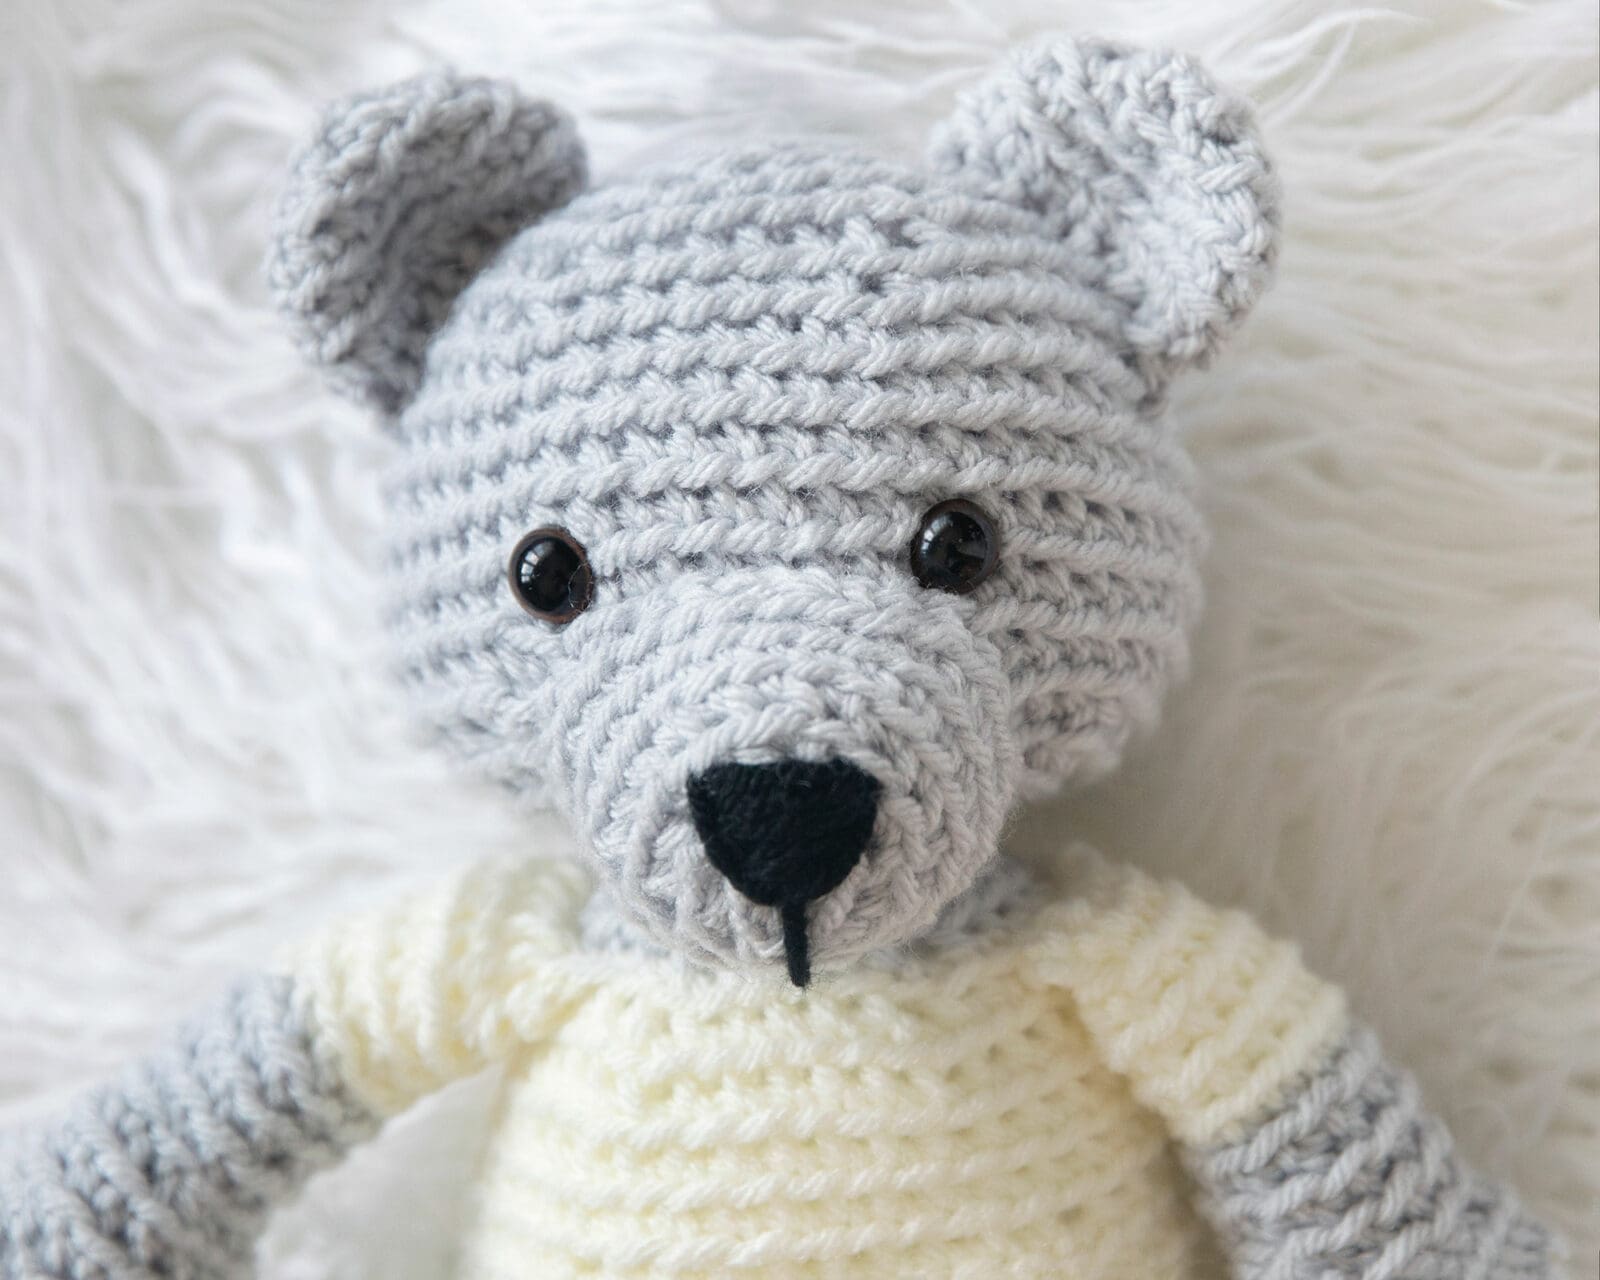
Attach the eyes between rounds 12 and 13. Space them 7 stitches apart (see photo below for guide). Then stuff the bear head with the poly-fil.
Continue on to the next round (round 20) where we start to crochet the body of the bear.
Body:
Round 20: SC in each stitch (18 St).
Round 21: *SC twice in next stitch, SC in next 2 stitches. Repeat from * until end of round (24 St).
Switch to Color B
Round 22: *SC twice in next stitch, SC in next 3 stitches. Repeat from * until end of round (30 St).
Round 23: *SC twice in next stitch, SC in next 4 stitches. Repeat from * until end of round (36 St).
Round 24 – 26: SC in each stitch (36 St).
Round 27: *SC twice in next stitch, SC in next 8 stitches. Repeat from * until end of round (40 St).
Round 28 – 29: SC in each stitch (40 St).
Round 30: *SC twice in next stitch, SC in next 9 stitches. Repeat from * until end of round (44 St).
Switch back to Color A
Round 31 – 32: SC in each stitch (44 St).
Round 33: *SC2Tog, SC in next 20 stitches. Repeat from * to end of round (42 St).
Round 34: *SC2Tog, SC in next 5 stitches. Repeat from * to end of round (36 St).
Round 35: *SC2Tog, SC in next 4 stitches. Repeat from * to end of round (30 St).
Round 36: *SC2Tog, SC in next 3 stitches. Repeat from * to end of round (24 St).
Round 37: *SC2Tog, SC in next 2 stitches. Repeat from * to end of round (18 St).
Round 38: *SC2Tog, SC in next stitch. Repeat from * to end of round (12 St).
Stuff the body with poly-fil.
Round 39: *SC2Tog. Repeat from * to end of round (6 St).
Round 40: SC next stitch and 4th stitch together, leaving remaining stitches unworked (1 St). Fasten off and then pull yarn into the body of the bear using crochet hook (to hide it).
Muzzle:
The muzzle is the protruding part of the bear’s face, and is where his nose goes.
With Color A, make a magic circle or adjustable ring
Round 1: Make 6 SC in magic circle (6 St).
Round 2: SC twice in each stitch (12 St).
Round 3: *SC twice in next stitch, SC in next stitch. Repeat from * until end of round (18 St).
Round 4: *SC twice in next stitch, SC in next 2 stitches. Repeat from * until end of round (24 St).
Round 5: SC in each stitch (24 St).
Round 6: *SC twice in next stitch, SC in next 11 stitches. Repeat from * until end of round (26 St).
Fasten off (leave a few inches of yarn for sewing). Then embroider on the nose as you would like it to look.
Once you have added the nose, you will need to attach the muzzle to the face. I attached it with the top starting at row 13 and the bottom at row 18. You may want to pin it in place before you start to sew to make sure that it is spaced evenly. When you have just a few stitches left, stuff the muzzle with the poly-fil and then sew the remaining stitches. Secure with a knot and then use the crochet hook to pull the loose end of yarn into the inside of the muzzle to hide it.
Ears:
With colour A, make a magic circle or adjustable ring
Round 1: Make 6 SC in magic circle (6 St).
Round 2: SC twice in each stitch (12 St).
Round 3: *SC twice in next stitch, SC in next stitch. Repeat from * until end of round (18 St).
Round 4-5: SC in each stitch (18 St).
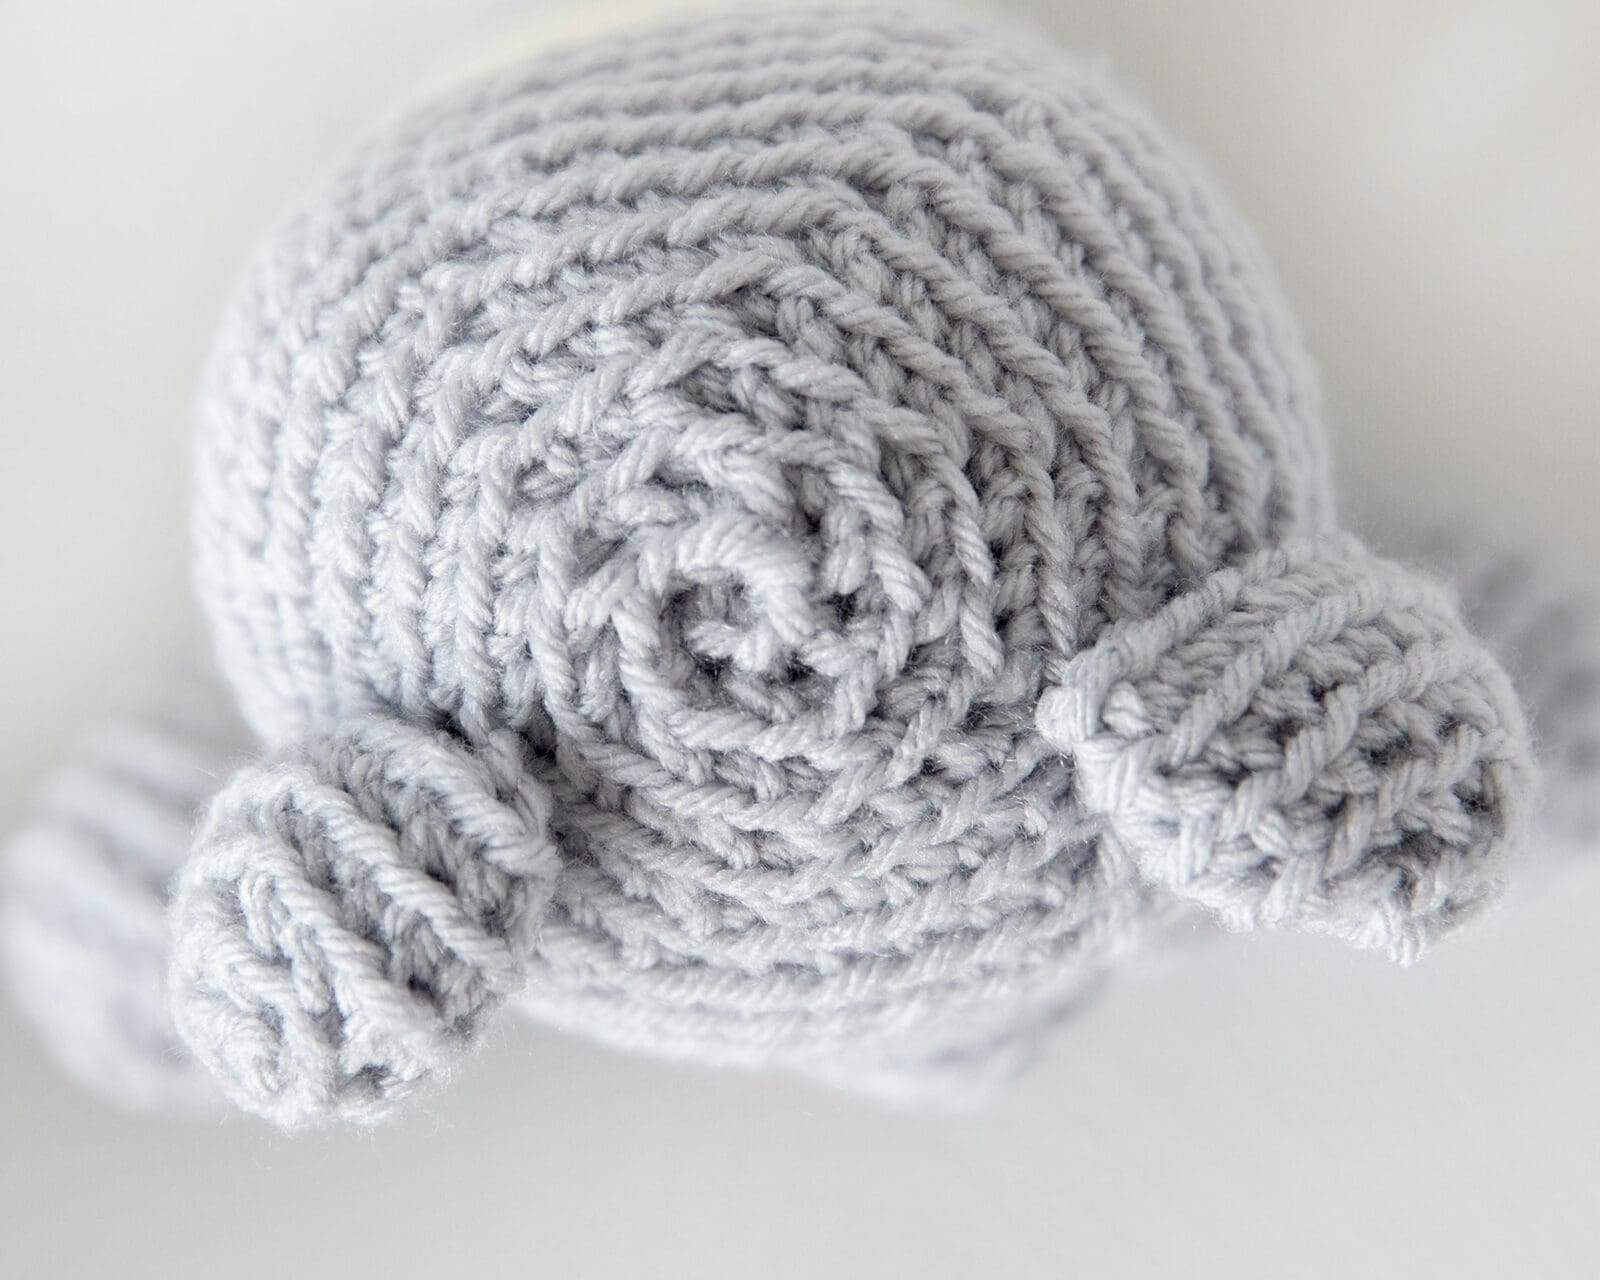
Fasten off (leave a few inches of yarn for sewing). The ears do not need to be stuffed since they are tiny. Then attach the ears evenly spaced 4 rows down from the top of the head like in the photo below.
Arms:
With Color A, make a magic circle or adjustable ring
Round 1: Make 6 SC in magic circle (6 St).
Round 2: SC twice in each stitch (12 St).
Round 3: *SC twice in next stitch, SC in next stitch. Repeat from * until end of round (18 St).
Round 4-5: SC in each stitch (18 St).
Round 6: *SC2Tog, SC in next stitch. Repeat from * to end of round (12 St).
Round 7-9: SC in each stitch (12 St).
Switch to Color B
Round 10-14: SC in each stitch (12 St).
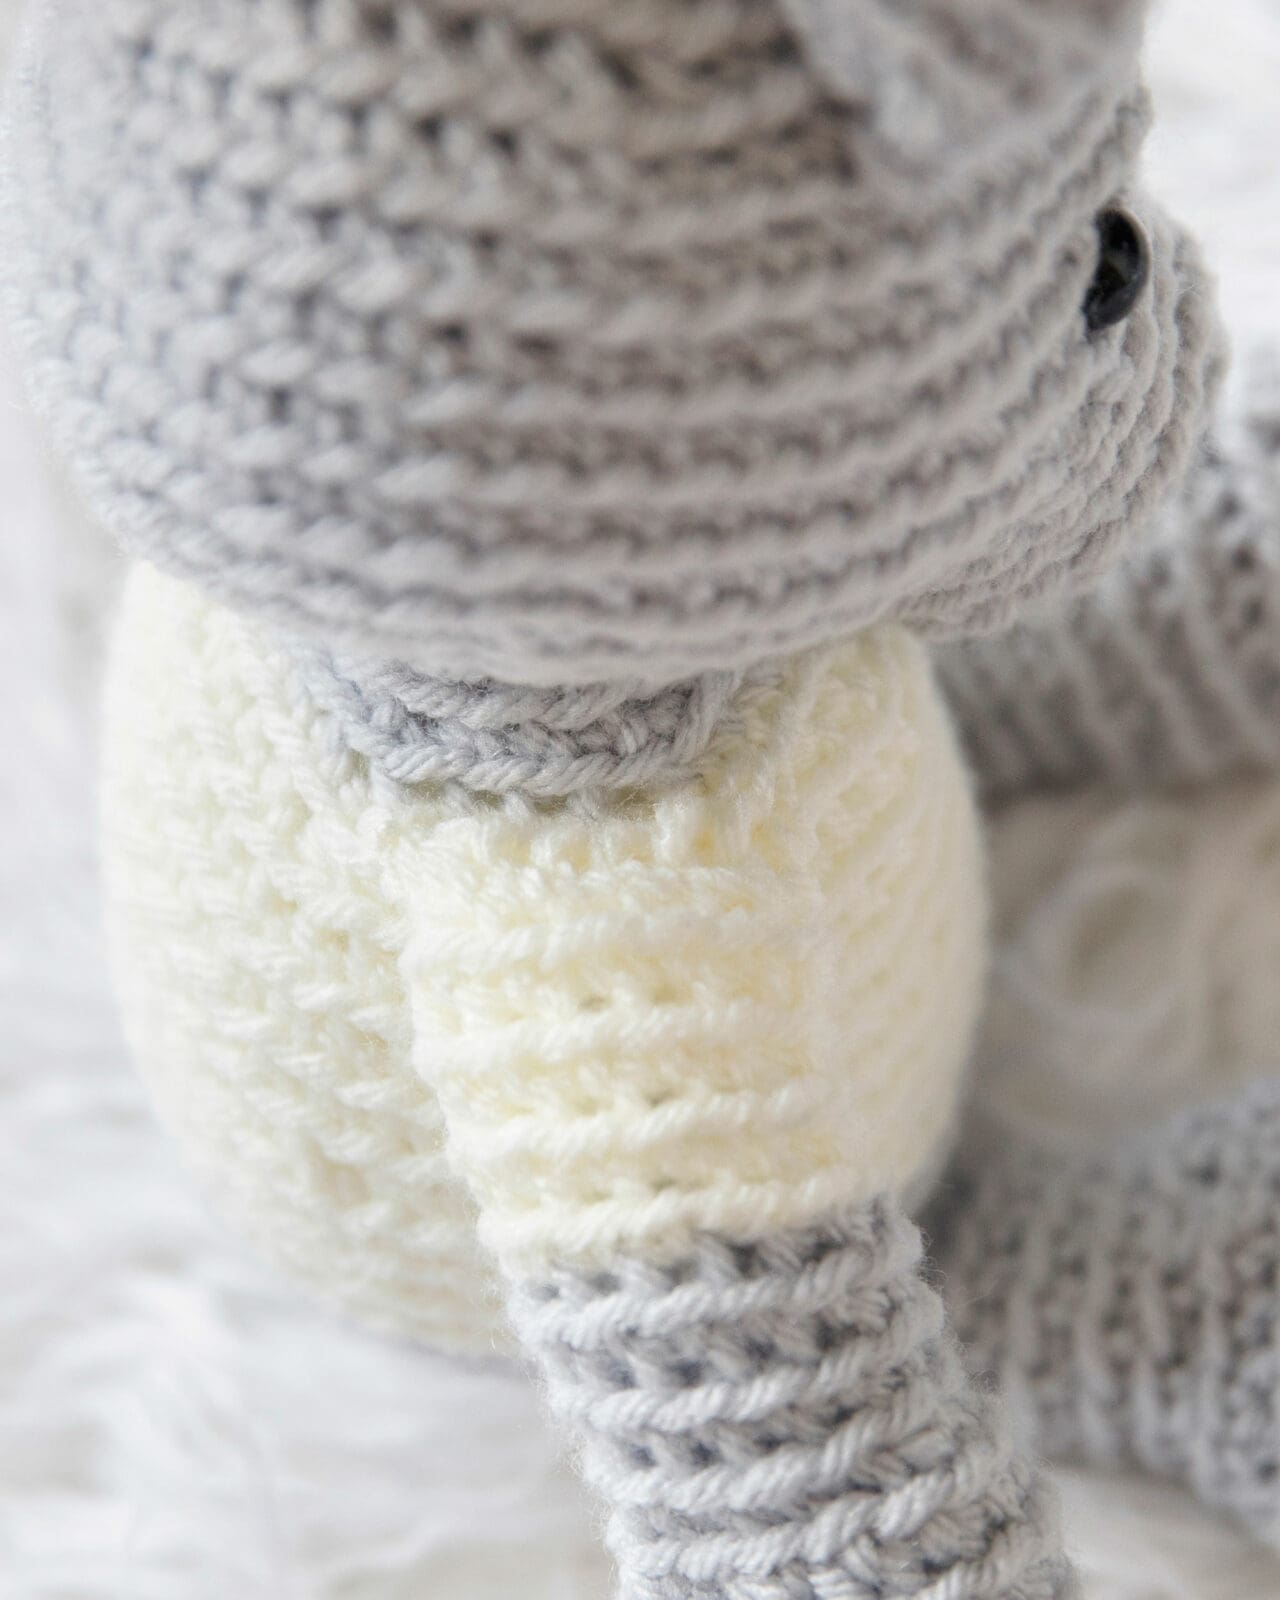
Fasten off (leave a few inches of yarn for sewing). Then lightly stuff the arms, adding more stuffing to the balls of the hands, and then attach to the sides of the body where the t-shirt starts (see photo below).
Legs:
With colour A, make a magic circle or adjustable ring
Round 1: Make 6 SC in magic circle (6 St).
Round 2: SC twice in each stitch (12 St).
Round 3: *SC twice in next stitch, SC in next stitch. Repeat from * until end of round (18 St).
Round 4: *SC twice in next stitch, SC in next 2 stitches. Repeat from * until end of round (24 St).
Round 5-7: SC in each stitch (24 St).
Round 8: *SC2Tog, SC in next 2 stitches. Repeat from * to end of round (18 St).
Rounds 9-15: SC in each stitch (18 St).
Fasten off (leave a few inches of yarn for sewing). Then, lightly stuff the legs (adding more stuffing to the balls of the feet) and attach legs evenly spaced 4 rows up from bottom of body.
That’s it! You now have an adorable, cuddly crochet teddy bear, all made by your own hands! Feel free to personalize him (or her) further with accessories or different yarn textures to make this bear uniquely yours.

Pattern PDF File
I hope you enjoyed this teddy bear crochet pattern.
If you’d like your own copy, the Ad-Free PDF file (which will be emailed to you automatically) can be purchased through Ravelry, or by clicking the “Purchase PDF File” button to the right.
Thank you so much for your support! It means the world to me, and I’m beyond grateful to be able to share my passion with you all.