Crochet Cable Blanket – A Timeless Pattern
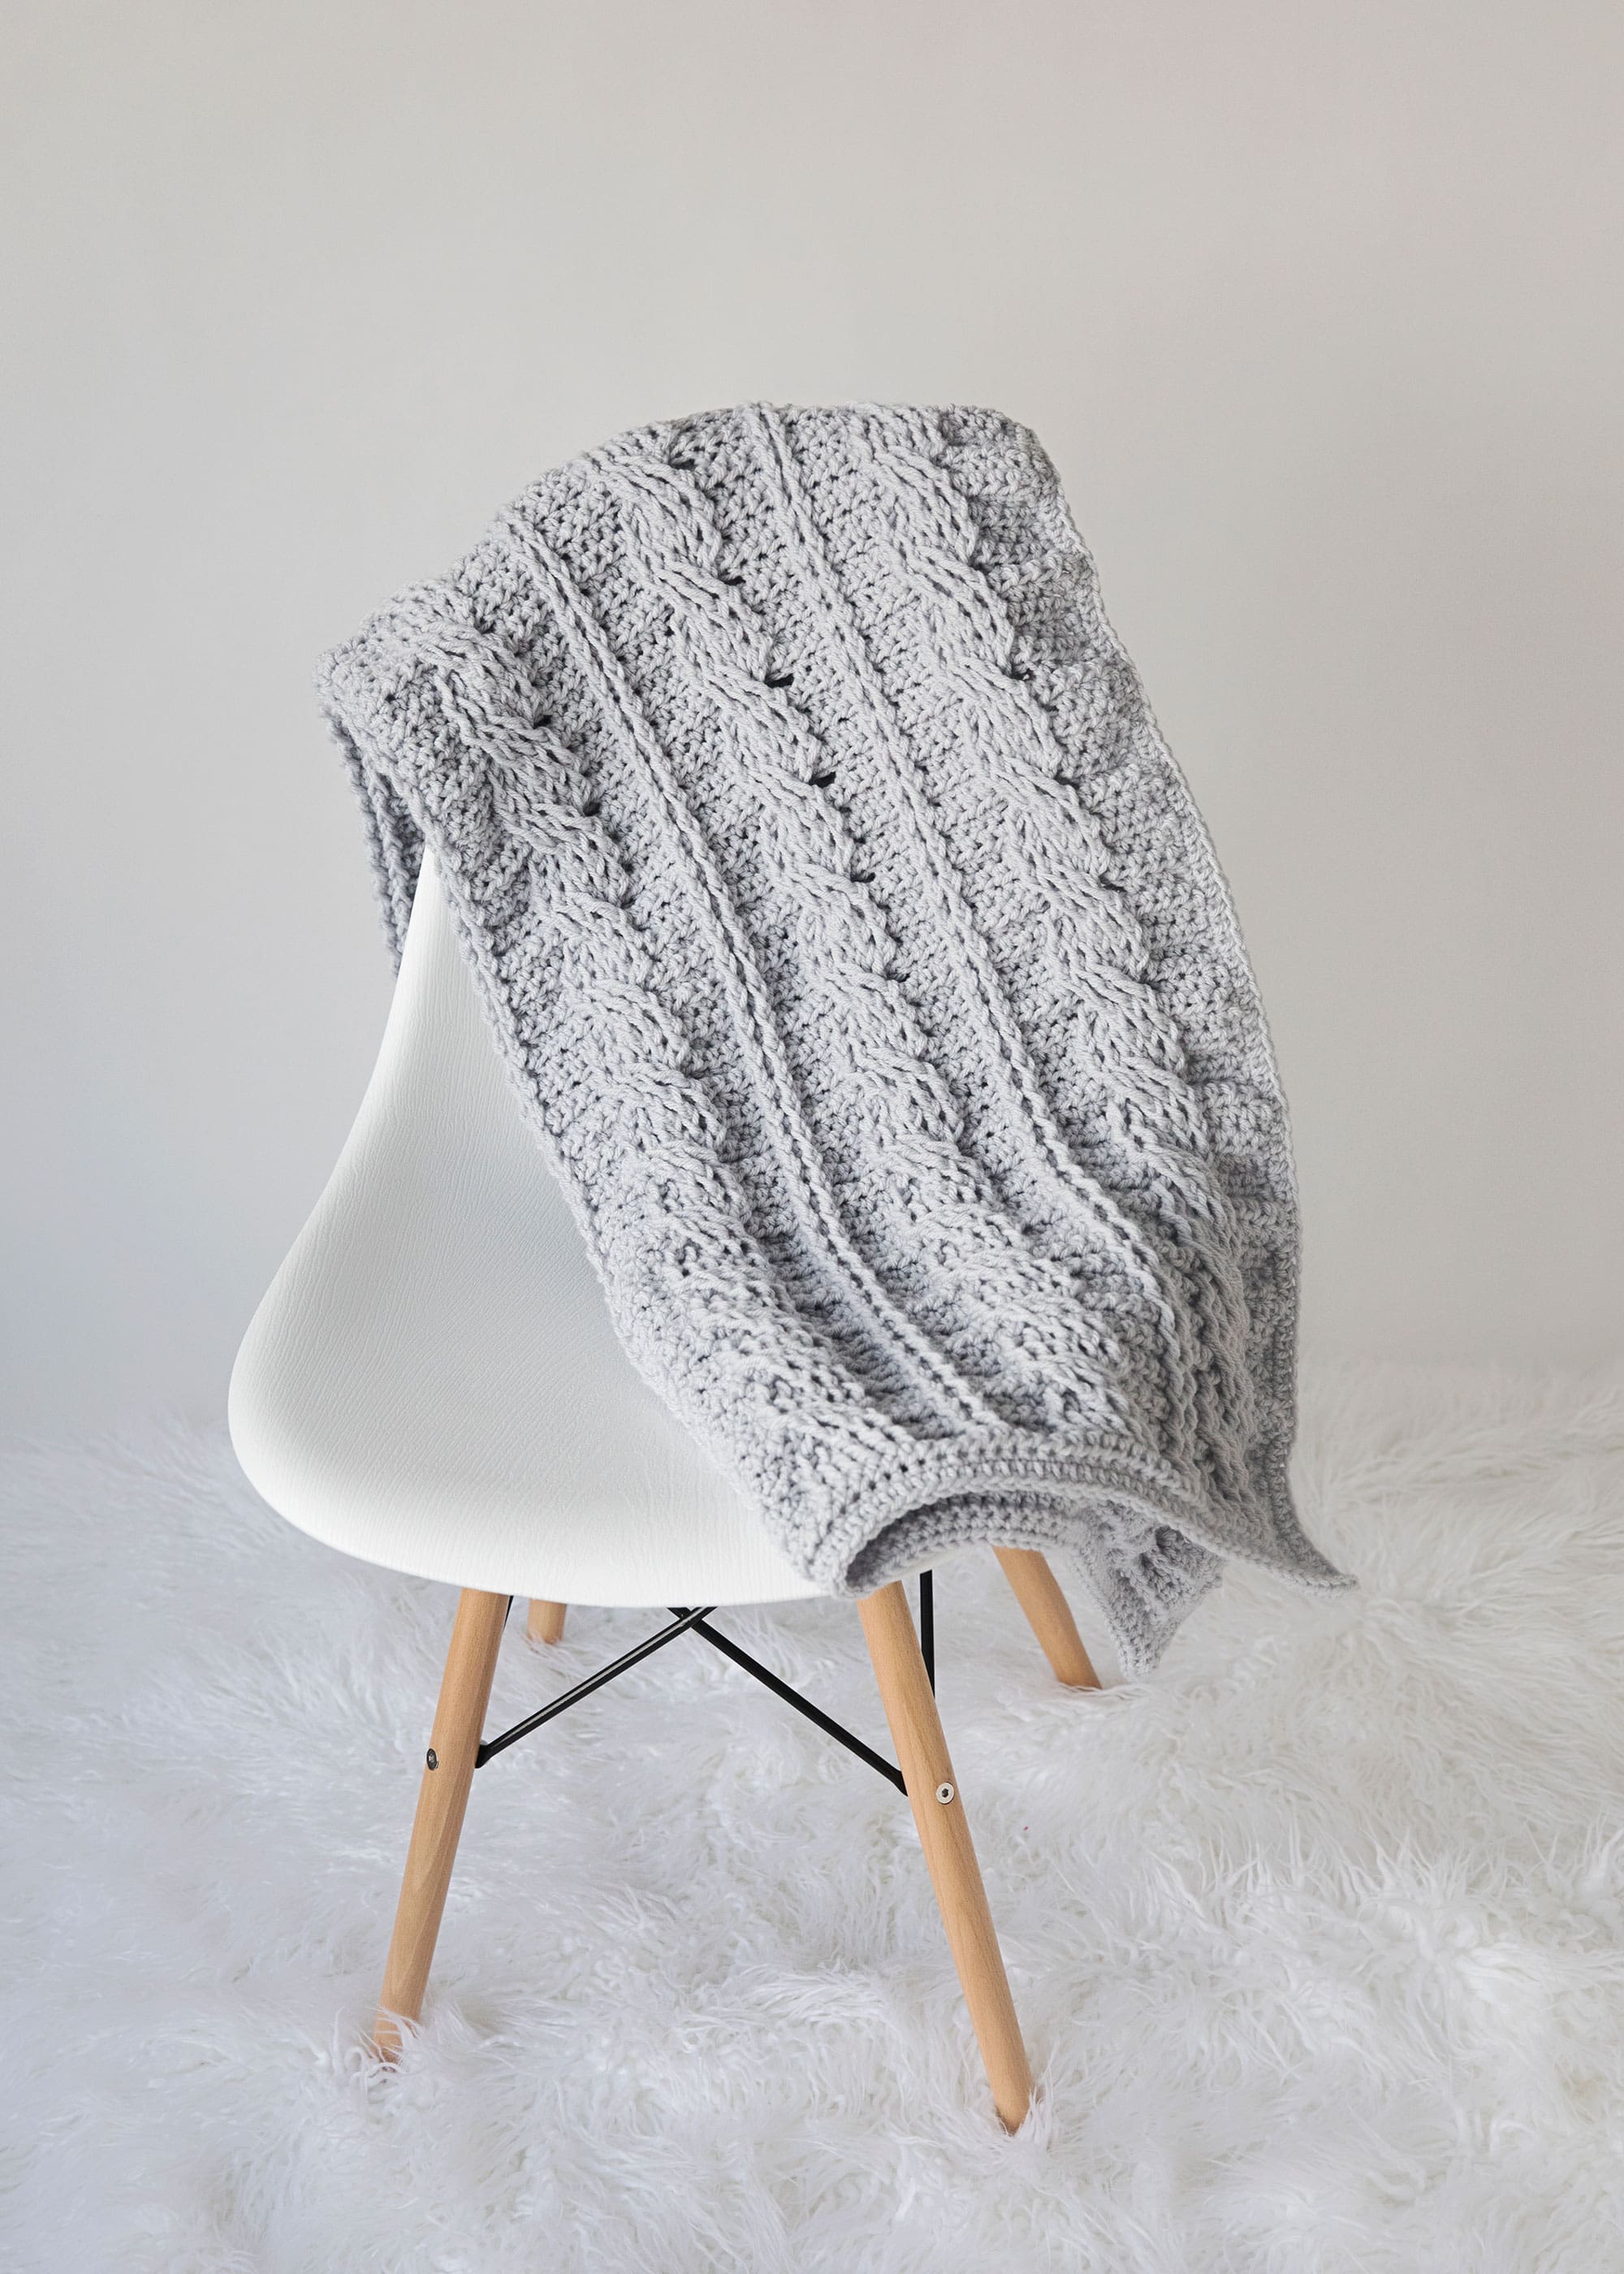
Timeless Crochet Cable Stitch Blanket
Oh, it’s been a hot minute since I last dropped a crochet throw/afghan pattern here, and honestly, I’m scratching my head as to why, because creating blankets is pretty much my jam! There’s this magical thing about creating something that wraps you up in warmth as you’re working on it. And in our home, we’re always on the lookout for another blanket to cuddle under.
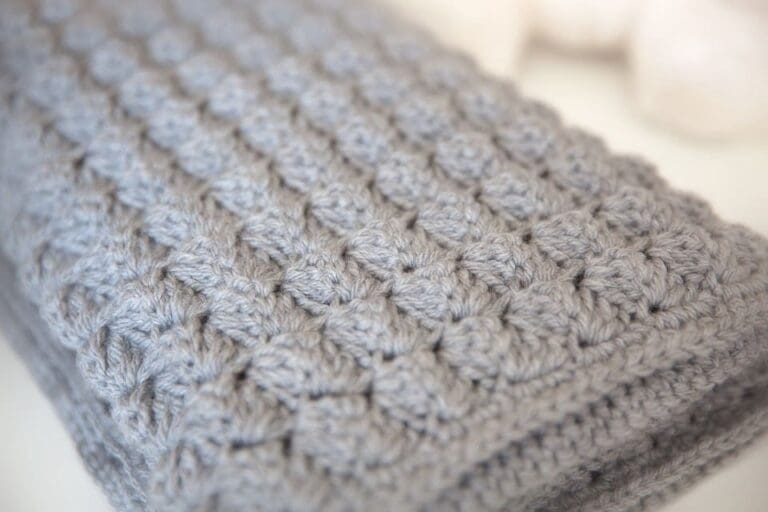
Enter the Timeless Cable Crochet Blanket – it’s a great project for anyone who’s got a soft spot for the cozy elegance of cable designs. Made with chunky yarn, this blanket isn’t just a feast for the eyes; it’s super cozy and warm, making it the perfect addition to any home.
Why Crochet Cable Stitches
I know you might be thinking that the cabled stitches in this blanket look intimidating. But I promise you, once you get the hang of it, it’s like unlocking a new level in your crochet game. It’s empowering, really. You start to see your yarn and hook as tools of transformation, turning simple strands into something extraordinary.
Unlike regular crochet stitches that lie flat, cabled stitches offer a three-dimensional look that can range from simple twists to intricate designs involving multiple strands. To put it simply, cabling in crochet is just a technique that creates a textured, twisted, or braided effect on the fabric, mimicking the look of cables found usually in knitting. The cabled effect is achieved by using front or back post stitches to raise and cross certain stitches off the surface of the fabric.
Yarn Choice
I chose to work with Paintbox Yarns Simply Chunky Yarn in Misty Grey. for this blanket. The entire Paintbox Simply line is affordable and great quality. They also have a large selections of colours and shades to choose from, so if grey’s not your colour, feel free use whatever catches your eye!
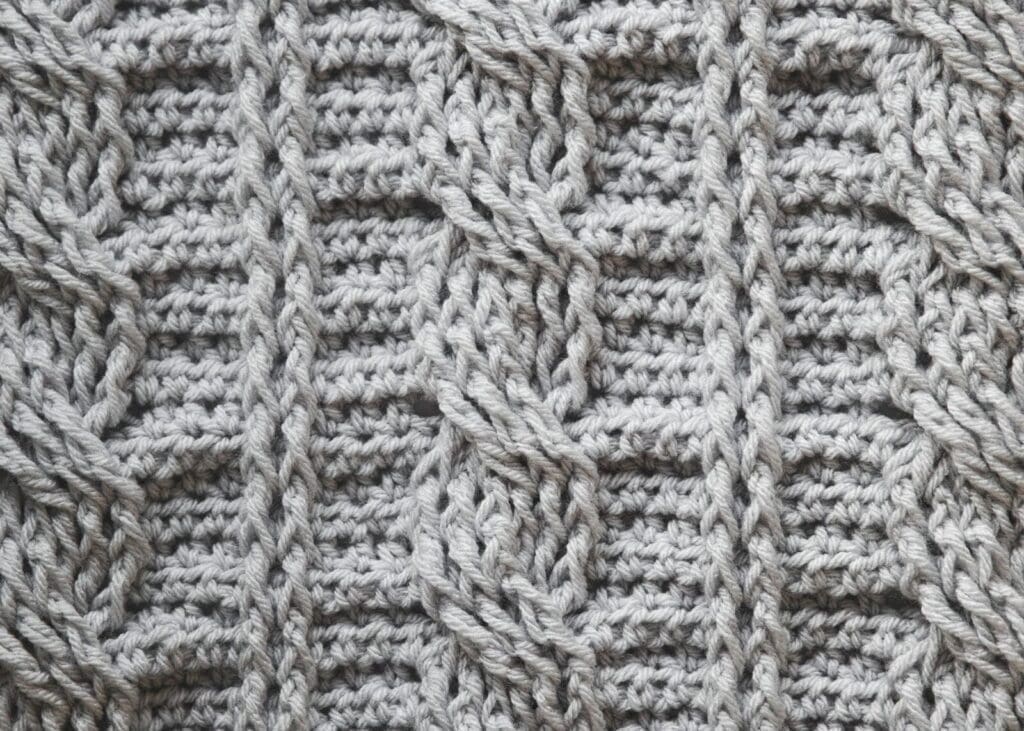
The free pattern for this cabled crochet blanket is available right here on this page, as this site is sustained through ad support.
If you like things a little more streamlined, I’ve put together an ad-free, downloadable PDF version of the pattern. It’s perfect for easy printing and can be can be purchased through My Ravelry Store or by clicking the button below.
Thank you so much for your support! Whether you’re navigating through the ads or opting to purchase the PDF, you’re playing a huge part in helping me continue to share my patterns and tutorials online. Your support means the world to me, and I’m so grateful to be able to share my passion with you all.

Please note that some of the links below are affiliate links and I will earn a commission if you purchase through those links. I use all of the products listed below and recommend them because they are companies that I have found helpful and trustworthy. Please let me know if you have any questions about anything listed below!
Cable Crochet Blanket – Free Pattern
What you will need
Here is what you will need to make this blanket:
- A size k-10.5 (6.5 mm) Crochet Hook.
- 14 Skeins Paintbox Yarns Simply Chunky Yarn in Misty Grey.
- Scissors.
Measurements
Finished blanket measures: 33″ Wide X 59″ Long
Special Stitches:
Front Post Treble Crochet (FPtr): Yarn over 2 times, insert hook from front to back to front around the post of the corresponding stitch below, yarn over and pull up loop [yarn over, draw through two loops on hook] 3 times.
Front Post Double Crochet (FPdc): Yarn over, insert hook from front to back to front around post of corresponding stitch below, yarn over and pull up loop [yarn over, draw through 2 loops on hook] 2 times.
More Free Crochet Patterns From Leelee Knits!
The Pattern:
Please don’t be intimidated by the many rows in the instructions. Rows 1- 3 are only worked one time – and row 3 may look scary, but that is the most complicated row of the pattern and you only have to do it once. I would recommend that before you start working on the blanket, to try out the pattern on a smaller swatch. As well, I have created a video tutorial for a similar (but not exactly the same) stitch that I used to create the Crochet Cabled Throw Pillow Pattern. This video tutorial should make you much more comfortable with crocheting cables.
If you would like to make this blanket larger or smaller, you can chain a multiple of 14 plus 15.
Chain 85.
Row 1 (RS): HDC in third chain from hook and in each remaining chain. CH2 (counts as first hdc of following row) and turn.
Row 2: HDC in next stitch and in each remaining stitch until the end of the row. CH2 and turn.
Row 3: HDC in next 3 hdc, *skip next 3 hdc, work FPtr around each hdc one row below the next 3 hdc (Row 1); working in front of the 3 FPtr just made, work FPtr around each hdc one row below the 3 skipped hdc (this will form the twisty part of the cable); HDC in next 3 hdc, FPdc around each hdc one row below next 2 hdc, HDC in next 3 hdc; repeat from * until the last 10 stitches. Skip next 3 hdc, work FPtr around hdc one row below next 3 hdc; working in front of the 3 FPtr just made, work FPtr around hdc one row below the 3 skipped hdc; HDC in next 4 hdc. CH2 and turn.
Row 4: HDC in next stitch and in each remaining stitch until the end of the row. CH2 and turn.
Row 5: HDC in next 3 hdc, *work FPdc around next 6 FPtr, HDC in next 3 hdc, FPdc around next 2 FPdc, HDC in next 3 hdc; repeat from * until the last 10 stitches. Work FPdc around next 6 FPtr, HDC in next 4 hdc. CH2 and turn.
Row 6: HDC in next stitch and in each remaining stitch until the end of the row. CH2 and turn.
Row 7: HDC in next 3 hdc, *work FPdc around next 6 FPdc,HDC in next 3 hdc, FPdc around next 2 FPdc, HDC in next 3 hdc; repeat from * until the last 10 stitches. Work FPdc around next 6 FPdc, HDC in next 4 hdc. CH2 and turn.
Row 8: HDC in next stitch and in each remaining stitch until the end of the row. CH2 and turn.
Row 9: HDC in next 3 hdc, *skip next 3 FPdc, work FPtr around next 3 FPdc; working in front of FPtr just made, work FPtr around each skipped FPdc; HDC in next 3 hdc, FPdc around next 2 FPdc, HDC in next 3 hdc; repeat from * until the last 10 stitches. Skip next 3 FPdc, work FPtr around next 3 FPdc; working in front of FPtr just made, work FPtr around each skipped FPdc; HDC in next 4 hdc. CH2 and turn.
Repeat rows 4-9 until your work measures approximately 57 inches (or desired length). Work one last row of only HDC before starting the border.
Border and Finishing:
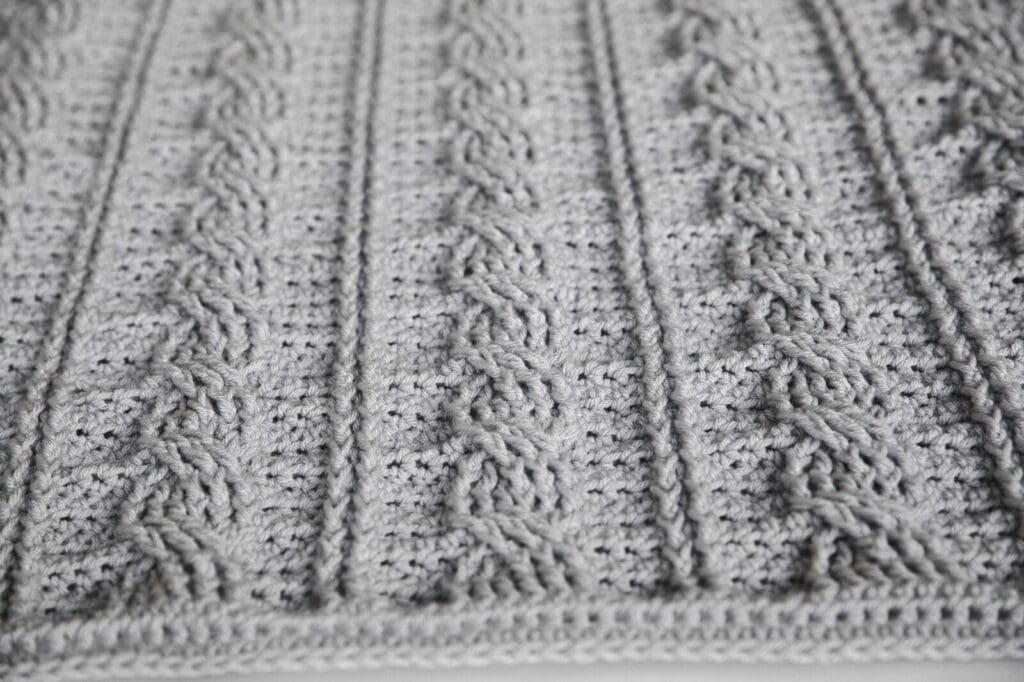
Work 1 round around the border of the blanket evenly in single crochet. Make sure that you do 3 SC in each corner of the blanket (or your edges will be too tight and curl inwards). When working down the sides, work one loose SC in each ch2 space.
Once you have completed one round of single crochet, join with a slip stitch and work one round of HDC in each SC (making sure to work 3 HDC in each corner to keep edges from curling in). Join with a slip stitch, fasten off, and weave in loose ends.
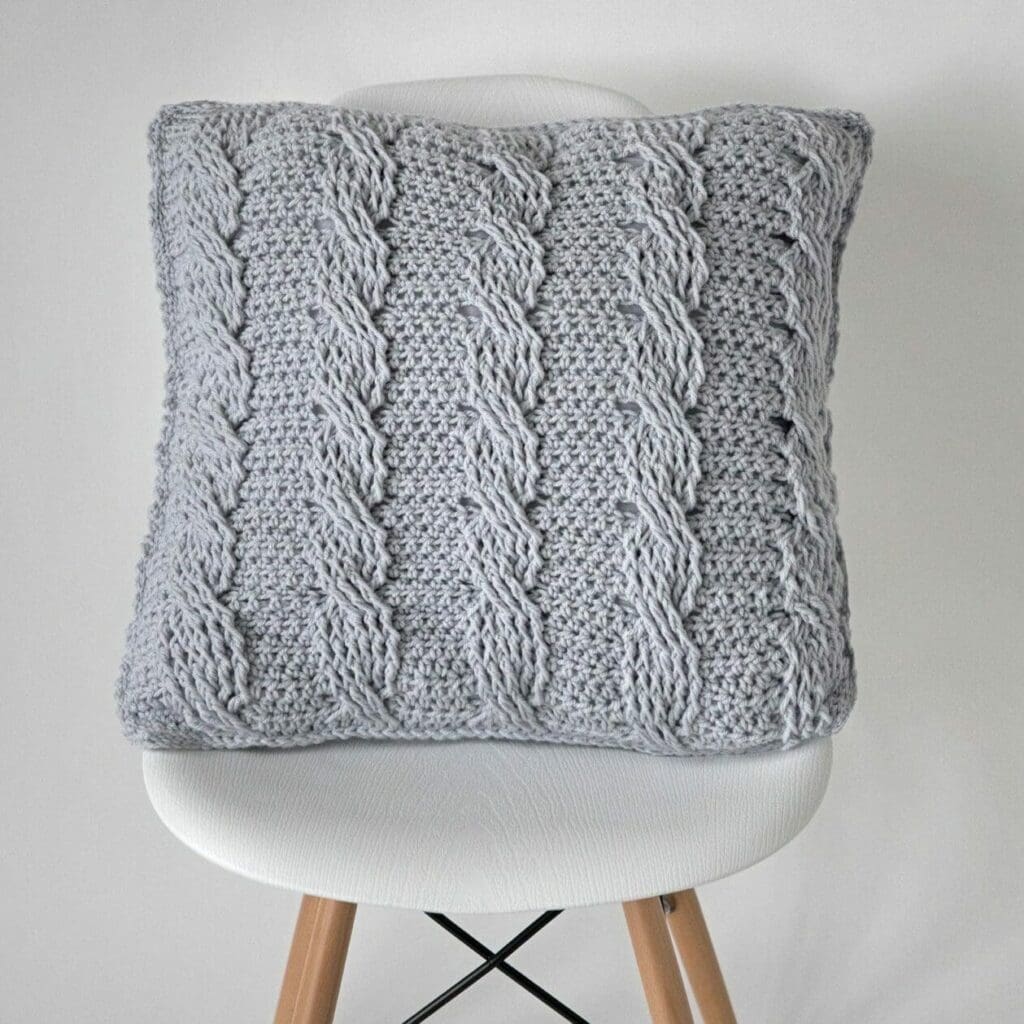
If you loved crocheting this cabled blanket, check out the free pattern to make a matching throw pillow!
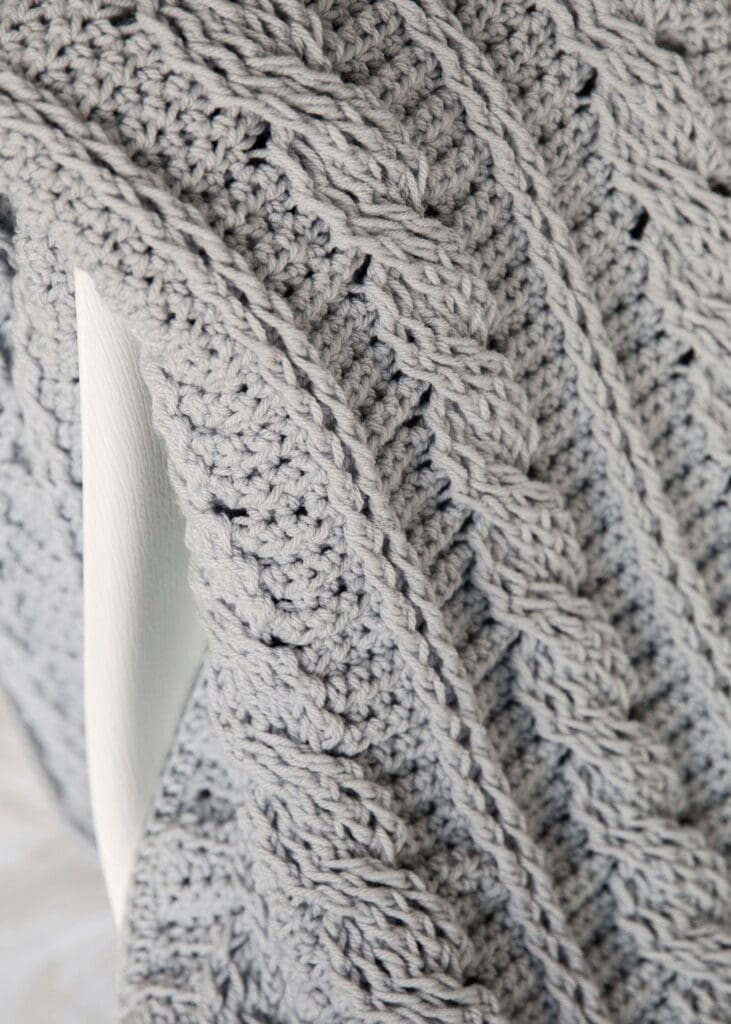
And, if you’d like your own ad-free copy for easy printing and reading, the PDF file can be purchased through My Ravelry Store or by clicking the button below.
Once again, I’m incredibly grateful for your support! Happy Crocheting 💙



I love this! Crochet cables are so great. 🙂
Hi,
What a beautiful blanket. I would like te make it.
Just a question, when you ch2 and turn, do you then skip one stitch, or crochet in the first stitch?
Hi Maritha, you crochet in the first stitch. Enjoy the pattern!
Hi. Do you think a medium worsted weight yarn such as Lion brand Vanna’s choice would work for this pattern? Thank you for sharing this beautiful pattern!
Vanna’s choice would work beautifully!
I’m on it, thanks
Do you think baby yarn would work for this project?
Definitely! Keep in mind, that you will need a smaller hook.
The pattern does not look like the throw pictured I do not have the two raised stitches in between the cables and I only have three hdc in between cables. Following both instructions and tutorial. Do you have pattern available on one pictured as was going to give as wedding gift.
Hi Loni, the video tutorial is just for the cable stitch. It doesn’t include the two raised stitches. The written instructions do have the raised stitches. Please double check which pattern instructions you are following for the written instructions. For example row 5 where it says: “FPdc around next 2 FPdc,” that is where they are created.
I love this! I’ll have to search engine search how to do half the stitches and hopefully find some video tutorials on them so I know how to do the stitches but I’ll give it a go! Thank you for the pattern xoxo
Beautiful pillow. I am making a swatch right now. I wonder if you could post a picture of the back side of the piece. I seem to have what looks like pockets that don’t seem to be
anchored. Is that. Ore the?
That is correct! That is how it is supposed to look in the back.
One more question. As I am getting ready to order the yarn for this pillow, I noticed that the color on their website is much lighter than the color of the picture of your pattern. Is the color of the actual yarn closer to your picture or to their website?
Thanks so much for your reply.
Karin
Its pretty true to the photo that I posted. Its a light grey colour.
This is a beautiful classic cable pattern. I have already made two pillow cases and am now working on a king size throw. I also enjoyed discovering the paintbox yarn from Love Knitting website that was recommended. Beautiful colors and soft feel to the touch. Thank you!
You are most welcome! I’m glad to hear that you enjoyed the pattern and the yarn! Its one of my favourite yarns too!
I want to make this pattern bigger. I read that you said to make it in multiples of 14 plus 15. So if I wanted it to be 126 chains (9X14) then add 15? Is that correct?
You got it! 🙂
Beautiful blanket. It would be great to see it in international symbol crochet. “One picture worth a thousand words.” Also, for me and for many, works up faster in symbol.
Hi,
I have a question on row 4. The hdc across…do you hdc in the top of the fpdc cable or just go straight across the back in a straight line? Thanks
Hi Deb, yes you just hdc in each stitch all the way across the back in a straight line.