Crochet Potholder Pattern
Crochet Potholders
This year, I’m determined to stay ahead of the holiday hustle. I’ve already started shopping for gifts and picking up unique decor pieces so that I can truly relax and soak in the festive spirit when the holidays roll around. One of my favourite ways to enhance the holiday ambiance is by setting a beautiful table, complete with handmade touches. That’s why I’ve decided to make my own potholders in vibrant, festive colours and share the crochet potholder pattern with you!
Why Crochet Potholders?
Potholders are super useful because they protect our hands and surfaces from hot dishes. Making your own means you can customize them to match your kitchen style or even whip them up as thoughtful, personalized gifts for friends and family. Who wouldn’t love a handmade gift that’s both cute and useful?
Besides being functional, making your own potholders is a quick and easy project. You can finish one in just a sitting or two, making them perfect for those of us who want the satisfaction of completing something without a huge time commitment. It’s incredibly satisfying to see your work come to life, especially when it’s something that can be used every day. AndPlus being quick to make, potholders make excellent projects for beginner crocheters.
If you’re someone who loves playing with colours and textures, crocheting potholders gives you the perfect canvas to experiment. You can mix and match yarns and stitches to create something unique and stylish. The yarn I recommend for potholders, Knit Picks Dishie, offers a wide range of colours, making it easy to find exactly what you need.
Share and Inspire!
I hope you enjoy this crochet potholder pattern! Please feel free to share the link to this page on your social media or Pinterest account.
I truly appreciate all of you who get the word out about this site and my patterns!
❤️ Alnaar
Crochet Potholders Stitch
When crocheting your own potholders, it’s important to make a thick fabric so that you have a strong barrier between the heat and your hands or other surfaces in your kitchen. That means no lace or mesh stitches! This is a situation where dense and chunky is what you’re looking for when deciding which stitch to use.
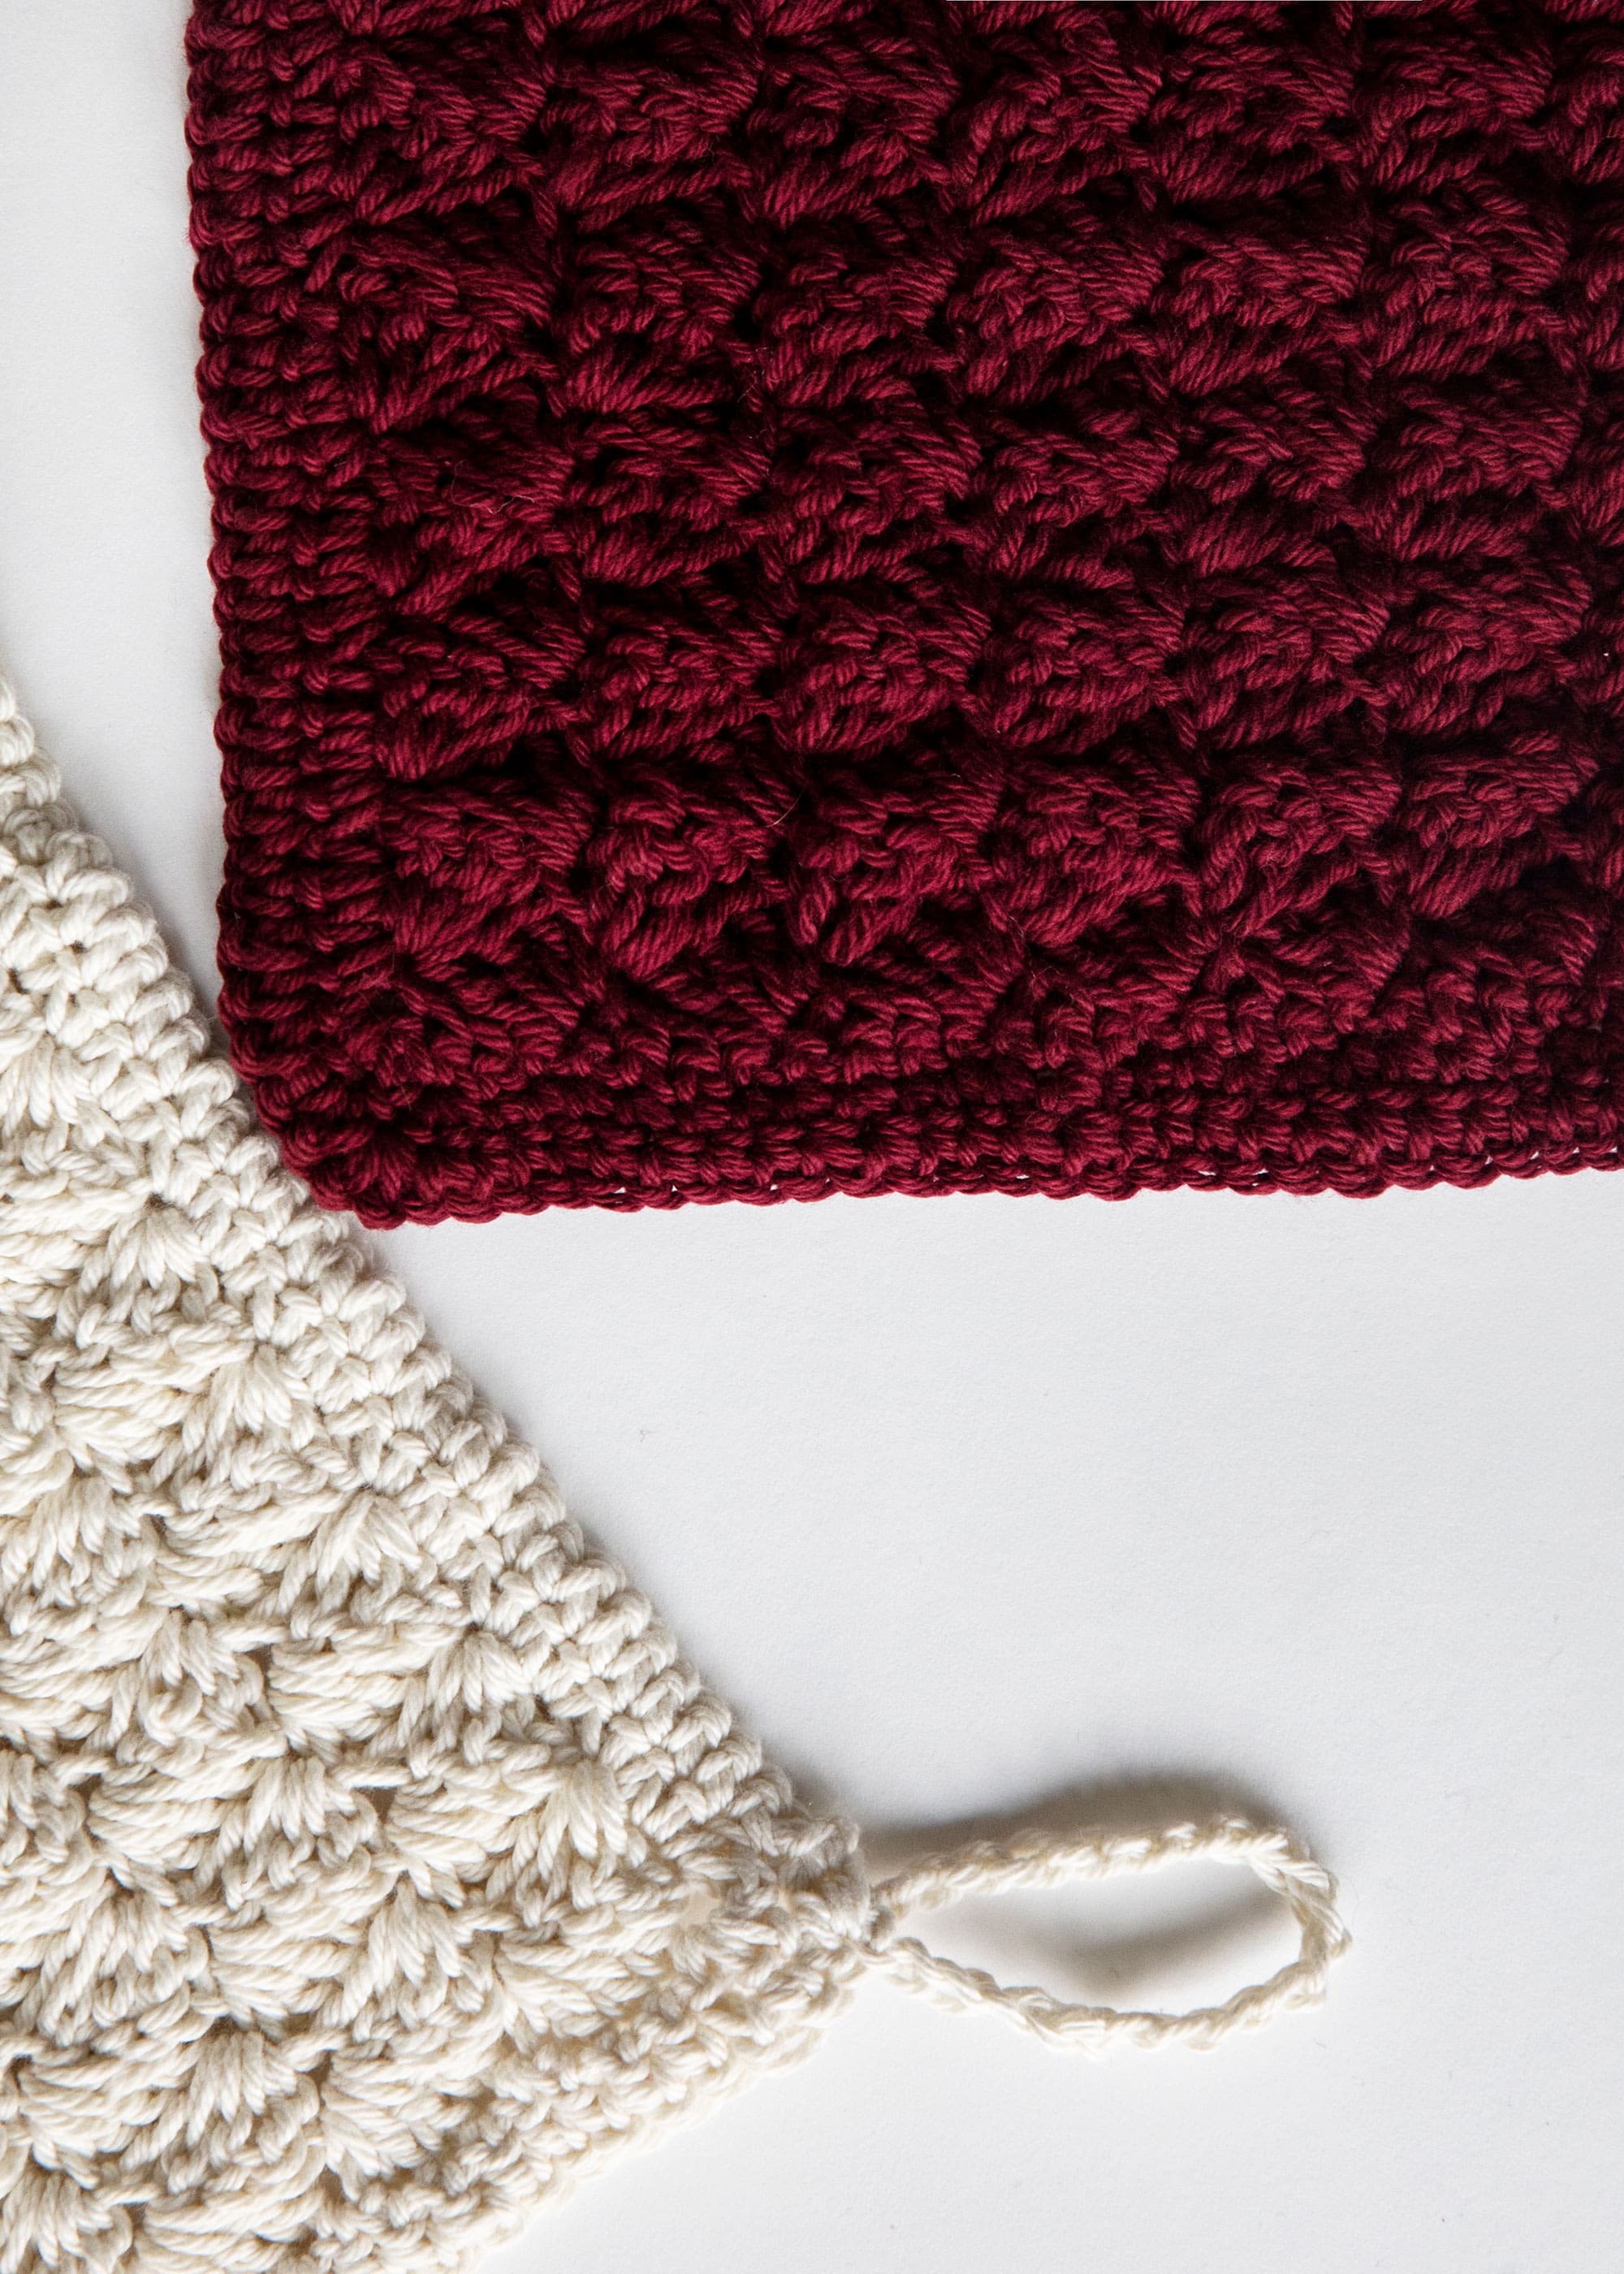
The stitch that I used in this pattern might look familiar because it’s the same bumpy rows stitch from my Bumpy Rows Baby Blanket Crochet Pattern. I fell in love with it for potholders because it creates a thick, textured fabric that’s excellent for protecting surfaces and looks fabulous. I made a video tutorial on this stitch too, which you can watch at the following link: Bumpy Rows Crochet Stitch tutorial.
Ad Free PDF File
The free pattern for these potholders is available right here on this page, as this site is sustained through ad support.
If you like things a little more streamlined, I’ve put together an ad-free, downloadable PDF version of the pattern. It’s perfect for easy printing and can be can be purchased through My Ravelry Store or by clicking the “Purchase PDF File” button to the right.
Thank you so much for your support! It means the world to me, and I’m beyond grateful to be able to share my passion with you all.
Please note that some of the links on this page are affiliate links and I will earn a commission if you purchase through these links. I use all of the products listed on this page and recommend them because they are companies that I have found helpful and trustworthy. Please let me know if you have any questions about anything I have recommended!
Crochet Potholder Pattern:
What you will need
You will need the following materials to crochet one potholder:
- A size G-6 (4 mm) Crochet Hook.
- 70 yards of Knit Picks Dishie Yarn in your colour of choice (Colours used in photos are Pomegranate and Swan).
- Scissors.
- Tapestry needle to weave in ends.
Crochet Potholder Measurements
Each potholder measures 8″ X 8″.
Special Stitches and Abbreviations
Ch : Chain.
Sc : Single Crochet.
Hdc : Double Crochet.
Crochet Potholder Pattern
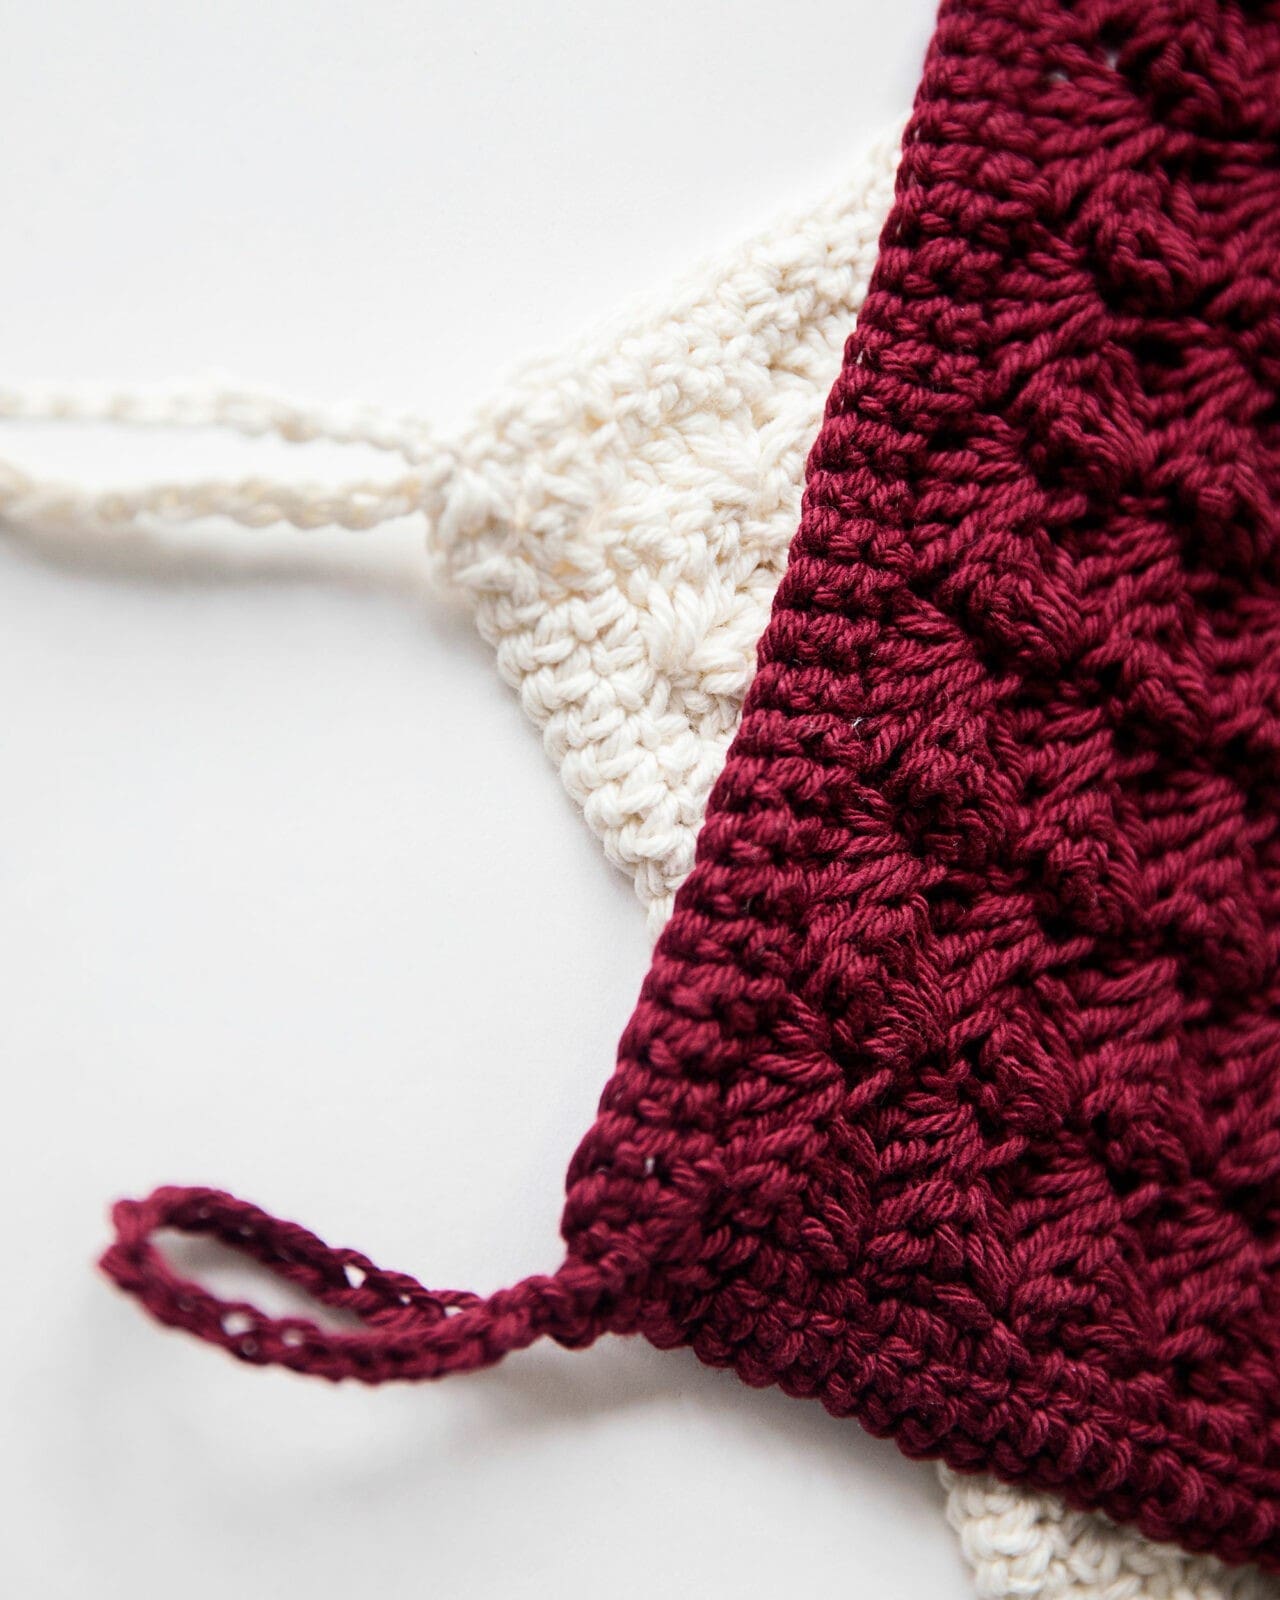
Chain 34 (or a multiple of 4 + 2).
Row 1: SC in second chain from hook and in each remaining chain; CH 2, turn.
Row 2: 3 DC in first sc; *Skip next 3 sc, (SC, 3DC) in next sc; repeat from * to last 4 stitches, skip 3 sc, SC in last sc; CH 2, turn.
Row 3: 3 DC in first sc; *Skip next 3 dc, (SC, 3DC) in next sc; repeat from * to last sc; SC in top of turning chain; CH2, turn.
Repeat row 3 until your work measures 7 inches (should look square) and continue on to Border.
Border
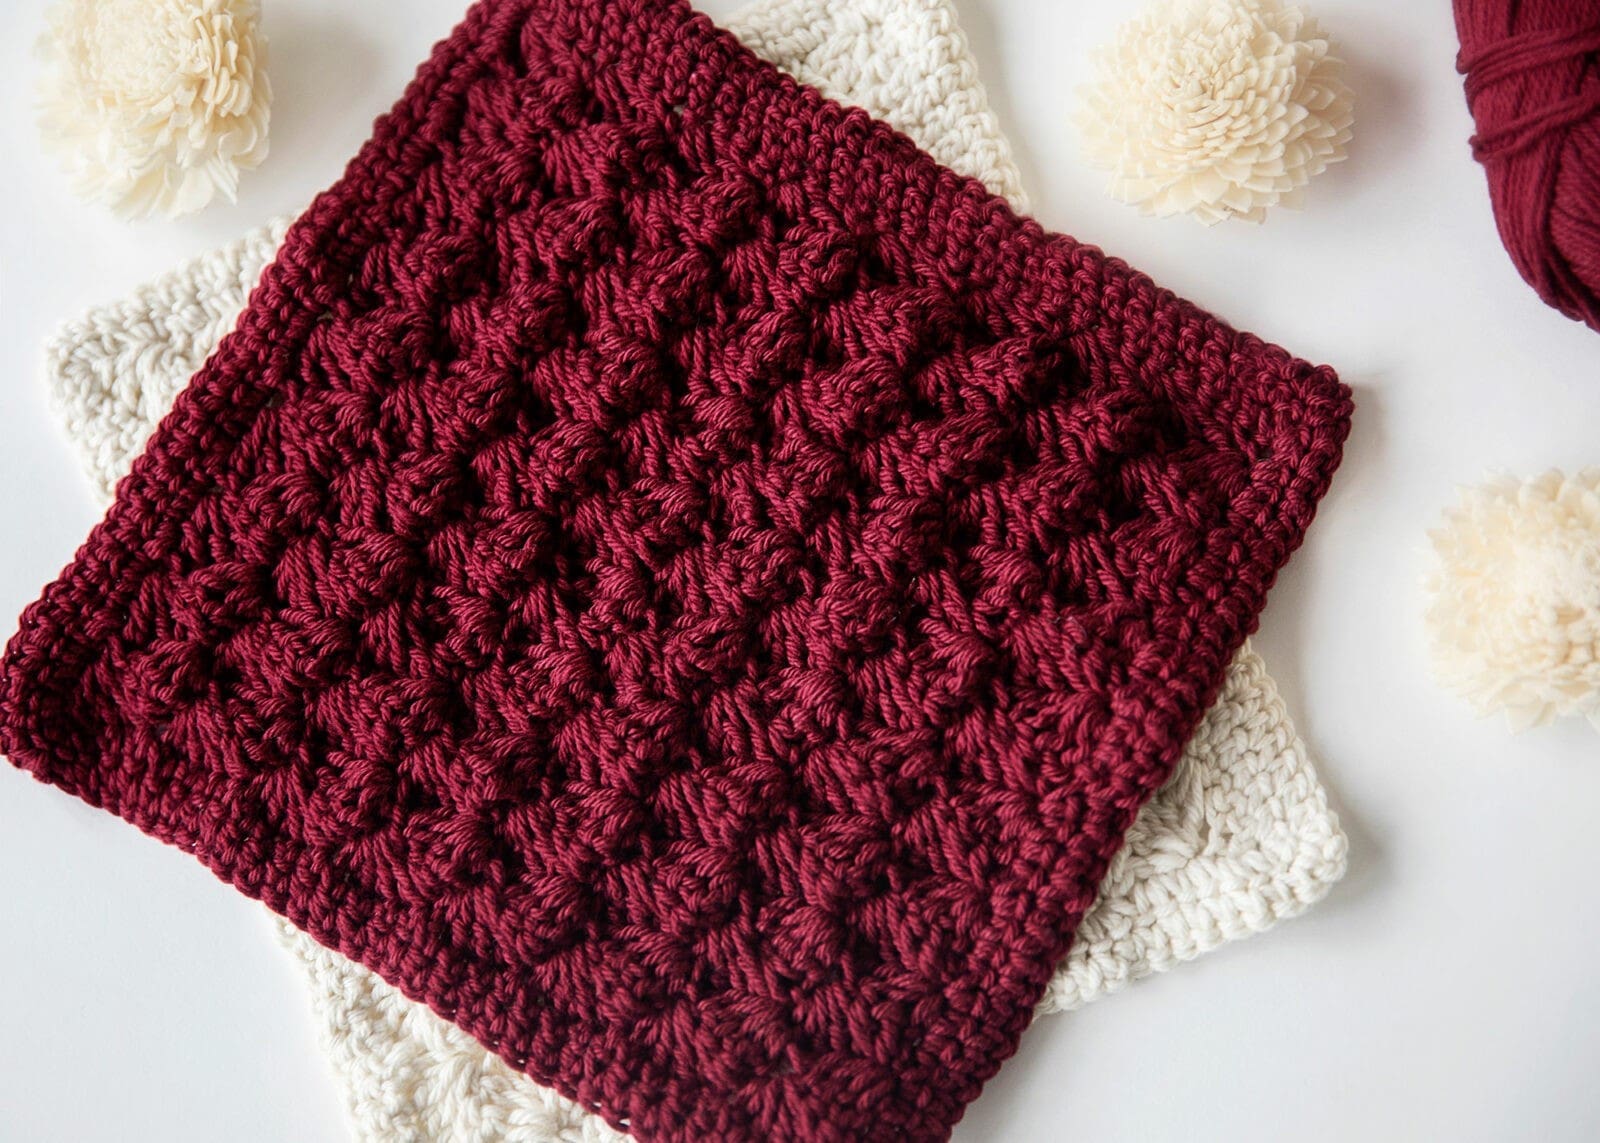
Crochet 2 rounds around the border of the potholder evenly in single crochet. Make sure that you work 3 SC in each corner of the border (or your edges will be too tight and curl inwards).
When you have completed two rounds, work a slip stitch into the next stitch and chain 20. Secure back into the same stitch with a slip stitch to create the hook. Fasten off, weave in the ends and enjoy your handmade crochet potholder!
Pattern PDF File
I hope you enjoyed this free crochet potholder pattern.
If you’d like your own copy, the Ad-Free PDF file (which will be emailed to you automatically) can be purchased through Ravelry, or by clicking the “Purchase PDF File” button to the right.
Thank you so much for your support! It means the world to me, and I’m beyond grateful to be able to share my passion with you all.




Stupid question… since it says decorative potholder does that mean you shouldn’t use it to remove hot pans from the oven? Should it be used as a hot pad to sit things on instead?
Hi Christy, I plan to use them as a hot pad on the table.
Should the pattern read “repeat row 3 until the potholder measures 7 inches” and not row 2? When I made this there was no last sc from the previous row to put a sc into, so I put the sc into the top of the turning chains as in row 3 directions
Thanks for catching that! I will update the pattern right away!
thank you
Thank you for this pattern! I’m working on the potholder and after that will start on the baby blanket. One question, I find it so much easier to do a foundation crochet chain whenever I can. If I do this do I do the same number of stitches? Do I make any changes when beginning the second row? Thank you. I’m a beginner. For me learning the stitches are easy, but knowing where the stitches go at the beginning and the end of the row can really mess me up, causing my sides to be bumpy or actually increasing the row size. I want a beautifully perfect square lol!
Thank you for this beautiful pattern! I’m working on the potholder and after that will start on the baby blanket. One question; I find it so much easier to do a foundation crochet stitch wherever I can. If I do this do I do the same number of stitches in the foundation row? Do I make any changes starting the second row. I’m a beginner, for me learning the stitches is the easy part, knowing where the stitches go at the beginning and the end of the row can really mess me up, causing my sides to be bumpy or actually increasing the row size. I want a beautifully perfect square lol!
PS I would love it if on your youtube channel you did a tutorial for a baby sweater. Your tutorials are so very good!
Hi Vernah, I would think that you should subtract the skipped chains for the type of stitch you are using. So if it was a single crochet then you should subtract one… hope that makes sense!
Great hotpad. Well written pattern.
At the end of the row it is easier to sc in the chain 2 space than it is to sc in the top of the turning chain.
Crochet on!
Thanks for the comment Pamela! Great idea 🙂
I want to make this but you said you use it as a hot pad to set on the table. Is it thick enough to use as a potholder? Thank you for the pattern.
Hi Jan, it works as a potholder or to use on the table.
Thank you for sharing this lovely pattern. I’m working on it now and am getting noticeable gaps where the {SC, 3DC} clusters meet. When I look at your photo, I do not see any gaps. Could it be that maybe I need to relax my tension a bit?
Hi Kimberly, I’m not sure… it could be the yarn you are using is stiffer as well. Try using a softer yarn and loosen up your tension – that should help.
My question/post got somewhat deleted. Maybe I am not doing something right. I tried this beautiful pattern but I too get holes and I am a “tight” crocheter. I am a bit concerned of burns cause of the holes. Could I make two and sew them together or will it be too thick? Or maybe just a plain sc square for the backing will solve the problem of those holes? I just love the design. Thank you.
I think that would look lovely! I’m wondeirng if you need to use a thicker yarn… but regardless, if you sew two together that would be a great solution!
Hi, I just found your pattern and love the look of the potholder! However, I’m two rows in and my work is very open as others mentioned above – not close together and heavy looking as your picture is. I’m using worsted weight yarn and a size G hook. When you do your double crochets in row 2 are they in the back loop of the single crochets or should I make them in both loops?
Hi Jill, unfortunately every yarn brand differs on what they consider worsted weight. It may be a bit thinner than the yarn that I used (Knit Picks Dishie). I would suggest purchasing the same yarn or going down a hook size to tighten up the stitches. The double crochets go through both loops 🙂
Thank you for responding. I’ll have to get some of the specified yarn. And I believe that going through both loops will make a difference too. ?
I found a nice and creative idea on your site. this is so impressive and useful for everyone. you are doing amazing work.
thank you very much for this…I love the pattern…think it suits a potholder very much 🙂
This looks simple enough that I might be able to do it! Thanks for the free pattern.
Awe, you are most welcome! Enjoy the pattern and happy holidays! 💖
I just discovered your site and pattern and I can’t wait to try it. I have one question, though. Under “Special Stitches and Abbreviations” you have the abbreviation “HDC” but say that it means “Double Crochet”, and the pattern says “DC”. I’m a little confused about whether I use double crochet or half double crochet when I make this.
Hi Allie, I’m so sorry – that was a typo! I’ve updated the HDC yo DC (Double Crochet). Thank you for pointing it out to me! I hope you enjoy the pattern 💖