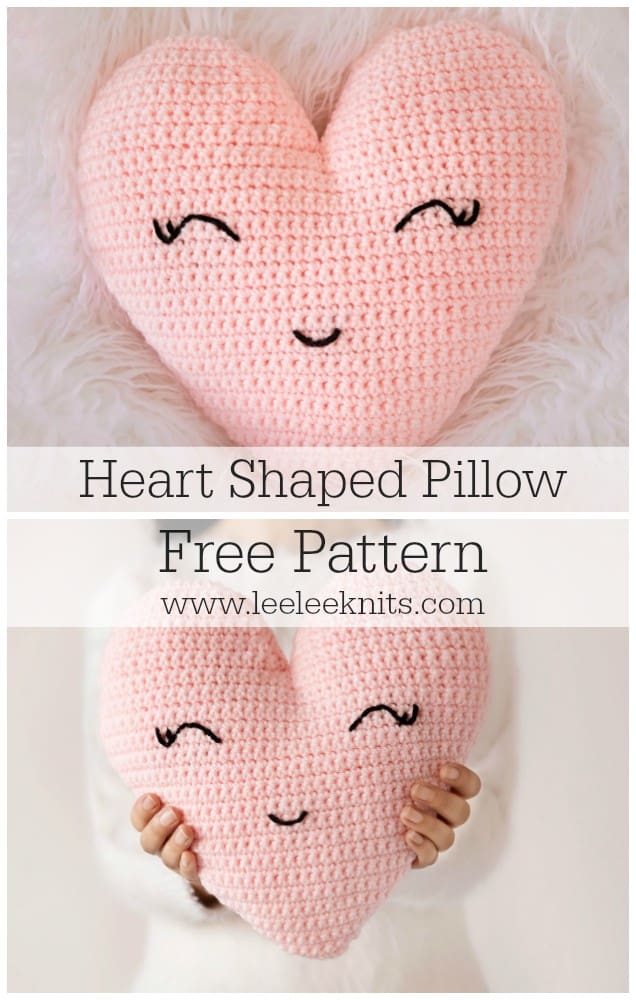
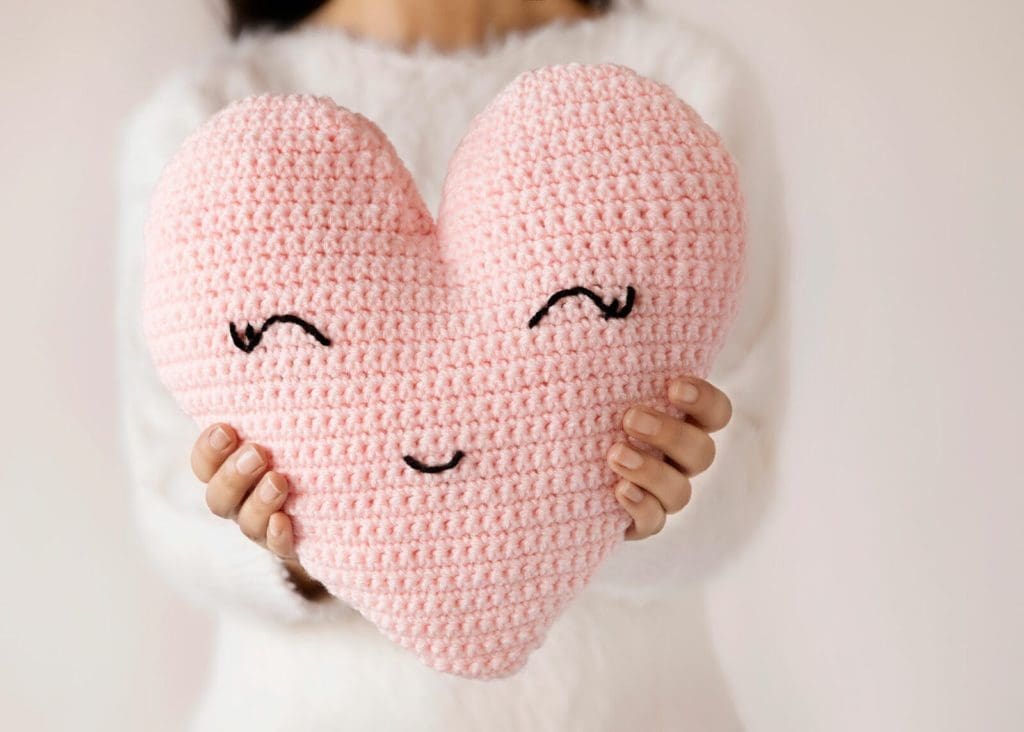
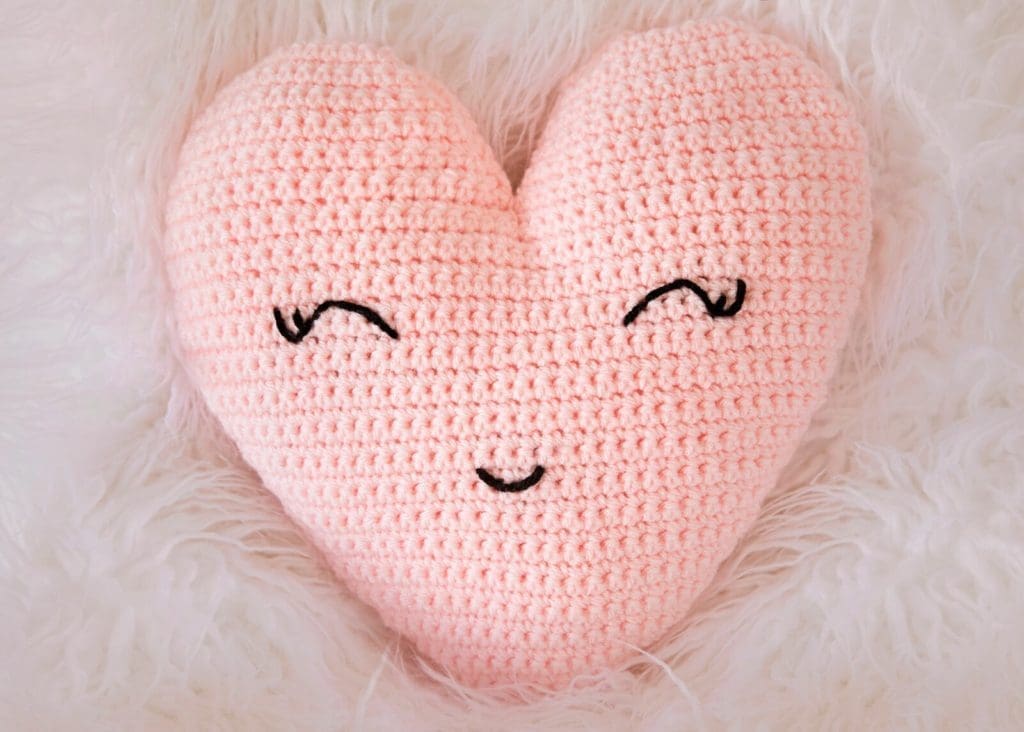
In our family, Valentine’s Day is about celebrating the love in our house. Its about baking heart shaped cookies with yummy royal icing, and surprising the kids with sweet treats, and lots and lots of hugs! I have to say, being a mom has transformed Valentine’s Day from one of the most stressful days of the year to one of my favourites! In honour of the day of love, I have designed a super cute heart shaped pillow for my sweet little girl. And of course I have written out the pattern to share with you!
Please note that some of the links below are affiliate links and I will earn a commission if you purchase through those links. I use all of the products listed below and recommend them because they are companies that I have found helpful and trustworthy. Please let me know if you have any questions about anything listed below!
Heart Shaped Pillow Crochet Pattern
What you will need
You will need the following materials to make this super cute pillow:
- A size H (5 mm) Crochet Hook.
- Paintbox Yarns Simply Chunkyyarn in:
- Ballet Pink (2 Skeins).
- Pure Black (optional if you are going to embroider face) .
- Scissors.
- Tapestry/Yarn needle to sew up seams.
- Poly-Fil for stuffing pillow.
Ad Free PDF File
The free pattern for this crocheted heart pillow is available right here on this page, as this site is sustained through ad support.
If you like things a little more streamlined, I’ve put together an ad-free, downloadable PDF version of the pattern. It’s perfect for easy printing and can be can be purchased through My Ravelry Store or by clicking the “Purchase PDF File” button to the right.
Thank you so much for your support! It means the world to me, and I’m beyond grateful to be able to share my passion with you all.
Measurements
Finished pillow measures 12” tall X 11.5” wide (at the widest part of the heart).
Abbreviations:
SC: Single Crochet
ST: Stitch
SC2Tog: Single Crochet Two Together
Pattern:
This pattern is for one heart shaped pillow. You will be making 2 flat hearts by following the pattern below and then seaming them together.
Bottom of heart
Chain 2
Row 1: SC in second chain from the hook. CH1, turn. (1 sts)
Row 2: Work 2 SC in sc from row 1. CH1, turn. (2 sts)
Row 3: 2 SC in first sc, 1 SC in second sc. CH1, turn. (3 sts)
Row 4-14: 2 SC in first sc; *1 SC in next sc; repeat from * to last sc; 2 SC in last sc. CH1, turn.
At this point, the last row of the heart will have 25 sts and your work will look like a wide triangle. We now start shaping the rounded outer portion of the heart.
Row 15: 1 SC in each sc. CH1, turn.
Row 16: 2 SC in first sc; *1 SC in next sc; repeat from * to last sc; 2 SC in last sc. CH1, turn.
Repeat rows 15 and 16 until you have 41 stitches.
Work 5 more rows of: 1 SC in each sc. CH1, turn.
Decrease the 6th row by one stitch so that there are 40 stitches total: SC in first 19 sc, SC2Tog, SC in remaining sc. CH1, turn. Continue to Top of Heart (Right Side).
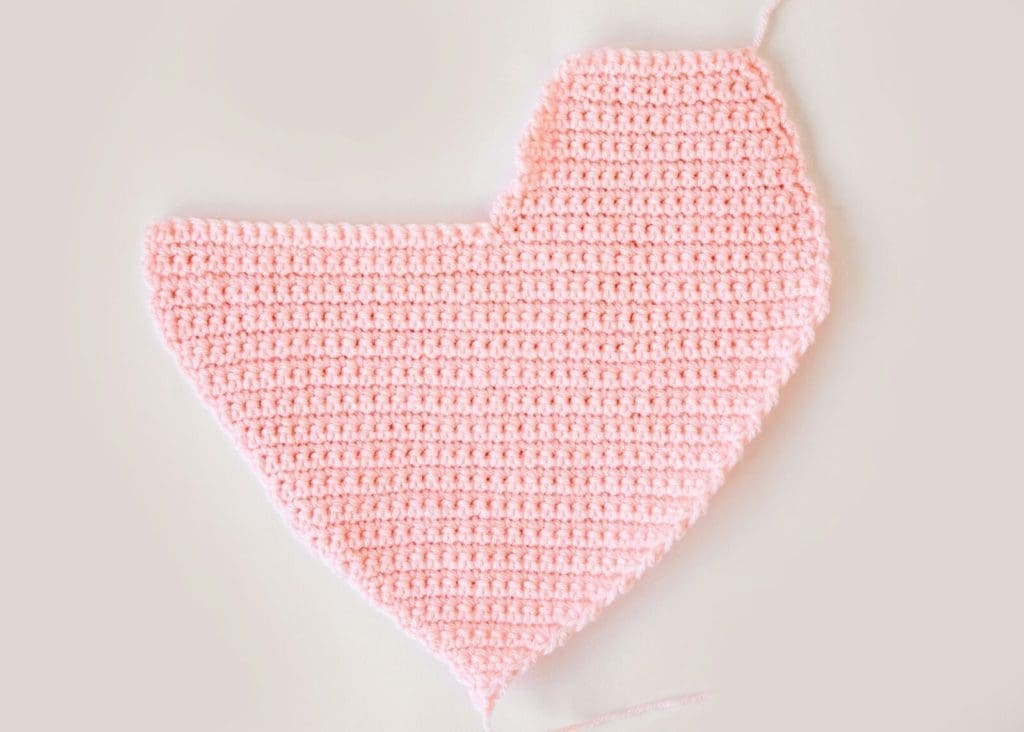
Top of heart (Right Side)
Row 1: 1 SC in first 20 sc. CH1, turn. (20 sts).
Row 2: 1 SC in each sc. CH1, turn. (20 sts).
Row 3: SC2tog; *1 SC in next sc; repeat from * to last two sc, SC2tog.CH1, turn. (18 sts)
Row 4-6:1 SC in each sc. CH1, turn. (18 sts).
Row 7: SC2tog; *1 SC in next sc; repeat from * to last two sc, SC2tog.CH1, turn. (16 sts).
Row 8: 1 SC in each sc. CH1, turn. (16 sts).
Row 9: SC2tog; *1 SC in next sc; repeat from * to last two sc, SC2tog. CH1, turn. (14 sts).
Row 10: 1 SC in each sc. CH1, turn. (14 sts).
Row 11: SC2tog; *1 SC in next sc; repeat from * to last two sc, SC2tog. CH1, turn. (12 sts).
Row 12: 1 SC in each sc.
Fasten off and continue to Top of Heart (Left Side).
Top of heart (Left Side)
The left side is worked in the remaining 20 stitches of the last row full row of the heart. Starting at the 21st SC of the last full row, attach yarn and:
Row 1: 1 SC in each remaining 20 sc. CH1, turn. (20 sts).
Row 2: 1 SC in each sc. CH1, turn. (20 sts).
Row 3: SC2tog; *1 SC in next sc; repeat from * to last two sc, SC2tog. CH1, turn. (18 sts)
Row 4-6:1 SC in each sc. CH1, turn. (18 sts).
Row 7: SC2tog; *1 SC in next sc; repeat from * to last two sc, SC2tog. CH1, turn. (16 sts).
Row 8: 1 SC in each sc. CH1, turn. (16 sts).
Row 9: SC2tog; *1 SC in next sc; repeat from * to last two sc, SC2tog. CH1, turn. (14 sts).
Row 10: 1 SC in each sc. CH1, turn. (14 sts).
Row 11: SC2tog; *1 SC in next sc; repeat from * to last two sc, SC2tog. CH1, turn. (12 sts).
Row 12: 1 SC in each sc.
Fasten off. You can embroider on some eyes and mouth like the pillow in the photo, or you can just leave your heart as it is.
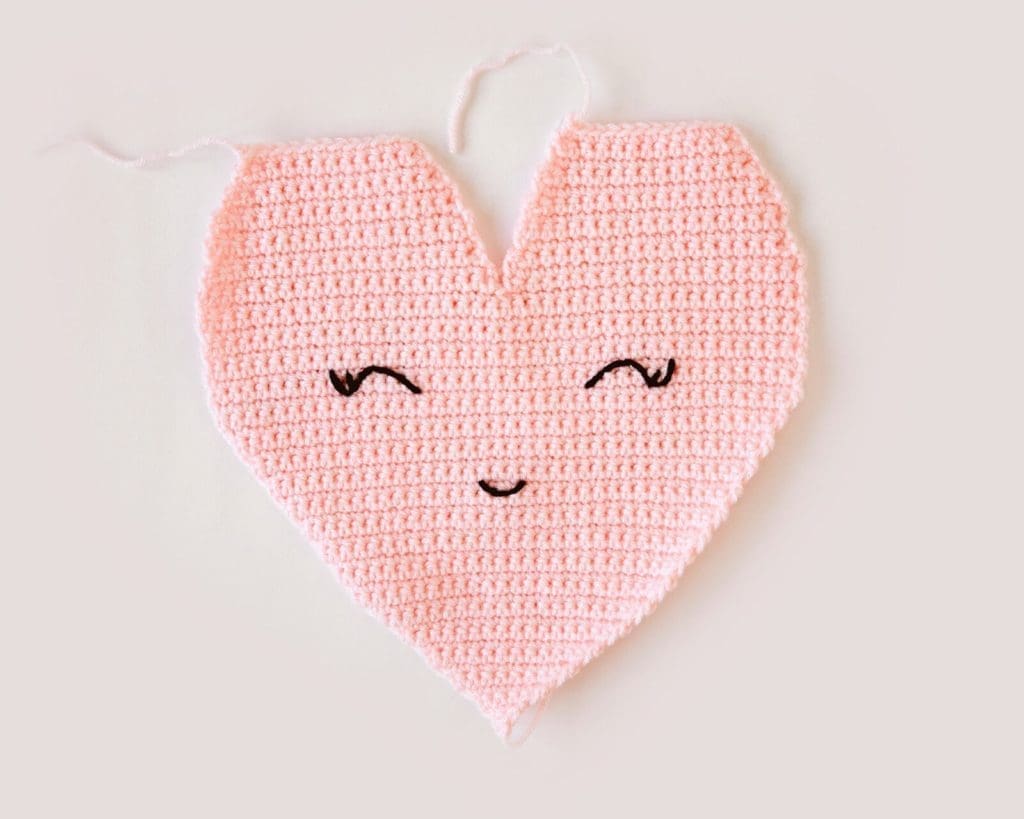
Once you have two flat hearts, sew up the edges (it’s a good idea to pin the hearts together first). When the pillow is almost completely seamed shut, stuff it generously with poly-fil. For this step, its important to stuff the pillow as evenly as possible. You can mould the shape of the heart with how you stuff it – so take the time to do this part right. It will make all the difference in how your finished pillow looks and feels. Once you are happy with the shape, and have made sure that there are no lumps, finish sewing up the pillow. Fasten off and pull in all loose ends to the inside with a crochet hook.
I hope you enjoyed this pattern, and if so please share on social media so that others can try it out as well!
Pattern PDF File
I hope you enjoyed this heart shaped pillow pattern.
If you’d like your own copy, the Ad-Free PDF file (which will be emailed to you automatically) can be purchased through Ravelry, or by clicking the “Purchase PDF File” button to the right.
Thank you so much for your support! It means the world to me, and I’m beyond grateful to be able to share my passion with you all.



15 Responses
Love the pattern. Can’t wait to make it.
Thank you for the free pattern
You’re welcome Jill, enjoy!
Wonderful! Thanks a lot for sharing! Loving the eyes 🙂
Thank you! A perfect gift for my granddaughter who is away at college!
Thank you so much for this pattern! I made it, mines don’t look as great as yours but she’s too cute and she makes me laugh every time I look at her lol sooooo cute lol perfect in time for valentines day.
lol! Glad to hear you enjoyed the pattern!
OMGosh! This is super cute! <3
Thanks Tressa!
That is really cute, thank you
Really cute pattern! Thank you for sharing 🙂 I do have a question about sewing the two halves together.. do you sow wrong sides facing each other or right sides facing each other?
Hi Marlies,
I sewed them up facing together and then flipped inside out when almost done. After stuffing, I sewed up the remaining stitches. Its a good idea to try to start near the bottom so that you can stuff it easily too.
So cute and good for a beginner! This is my granddaughter’s first real pattern! Thank you for the adorableness.
Thank you. Great simple pattern. I got a square look to the top of my heart as I joined the sides front side out, but am making another one now and will try to curve the tops of the heart.
Really very cute this smilly heart. Thank’s for the pattern.
Love it making it in red for a friend it is her bday Feb 14 thank you