
CrocheT Throw Pillow Pattern
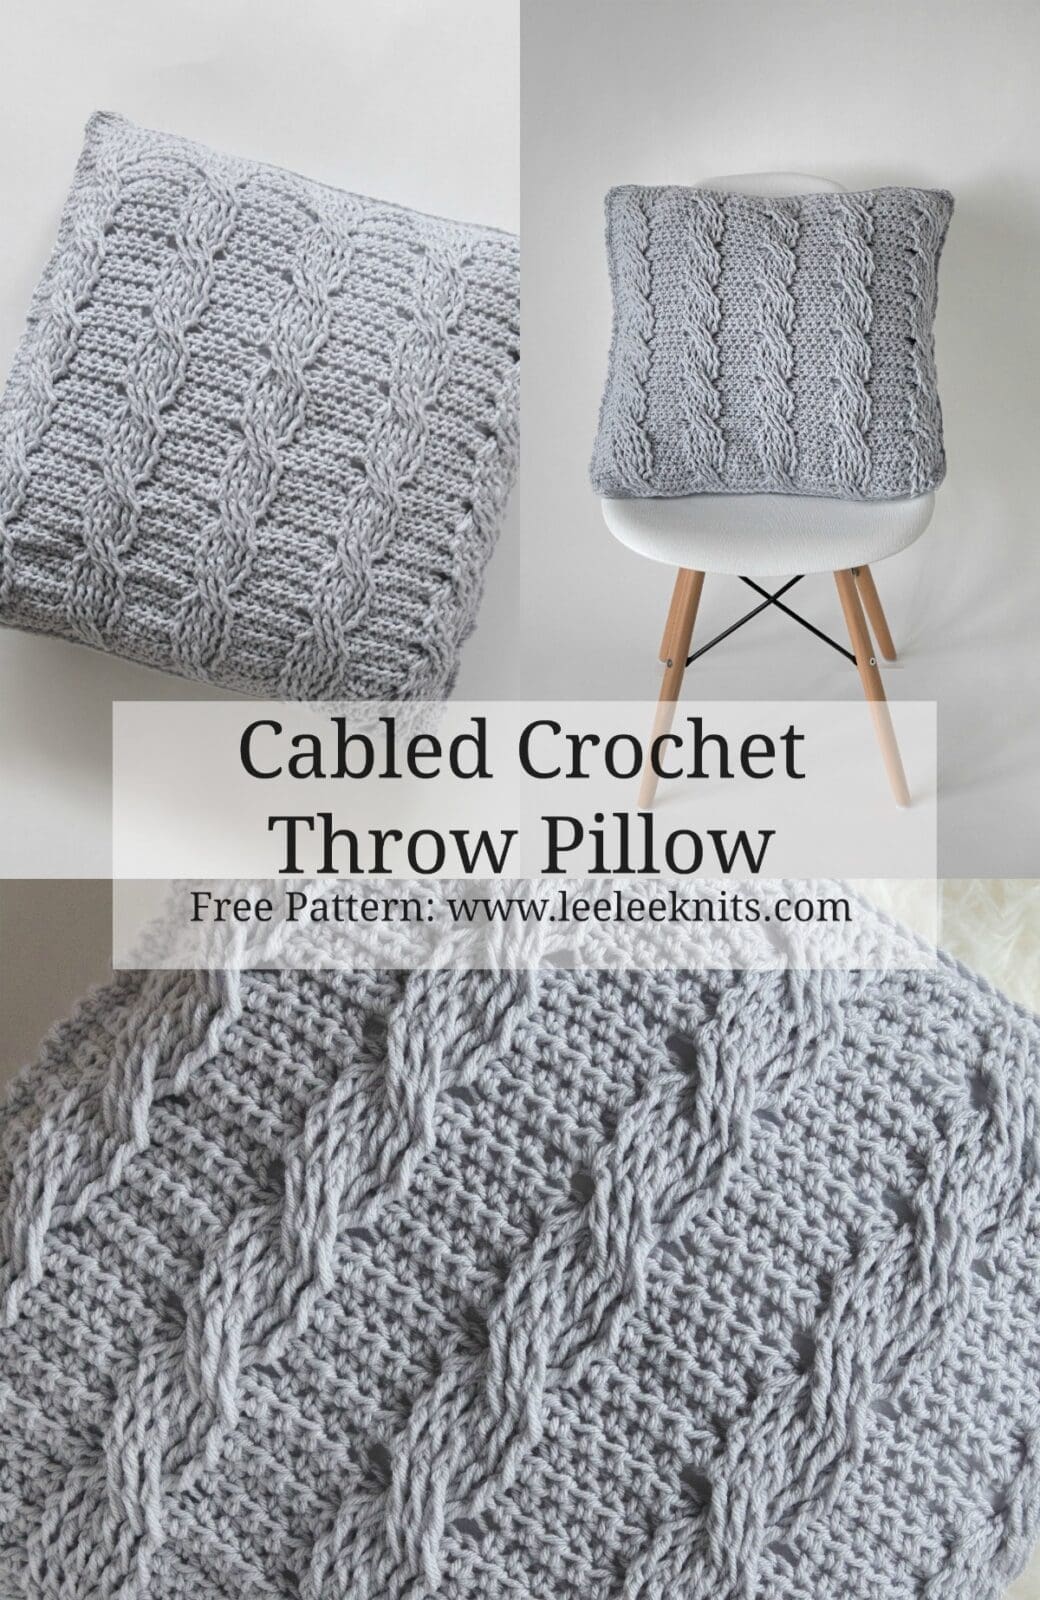
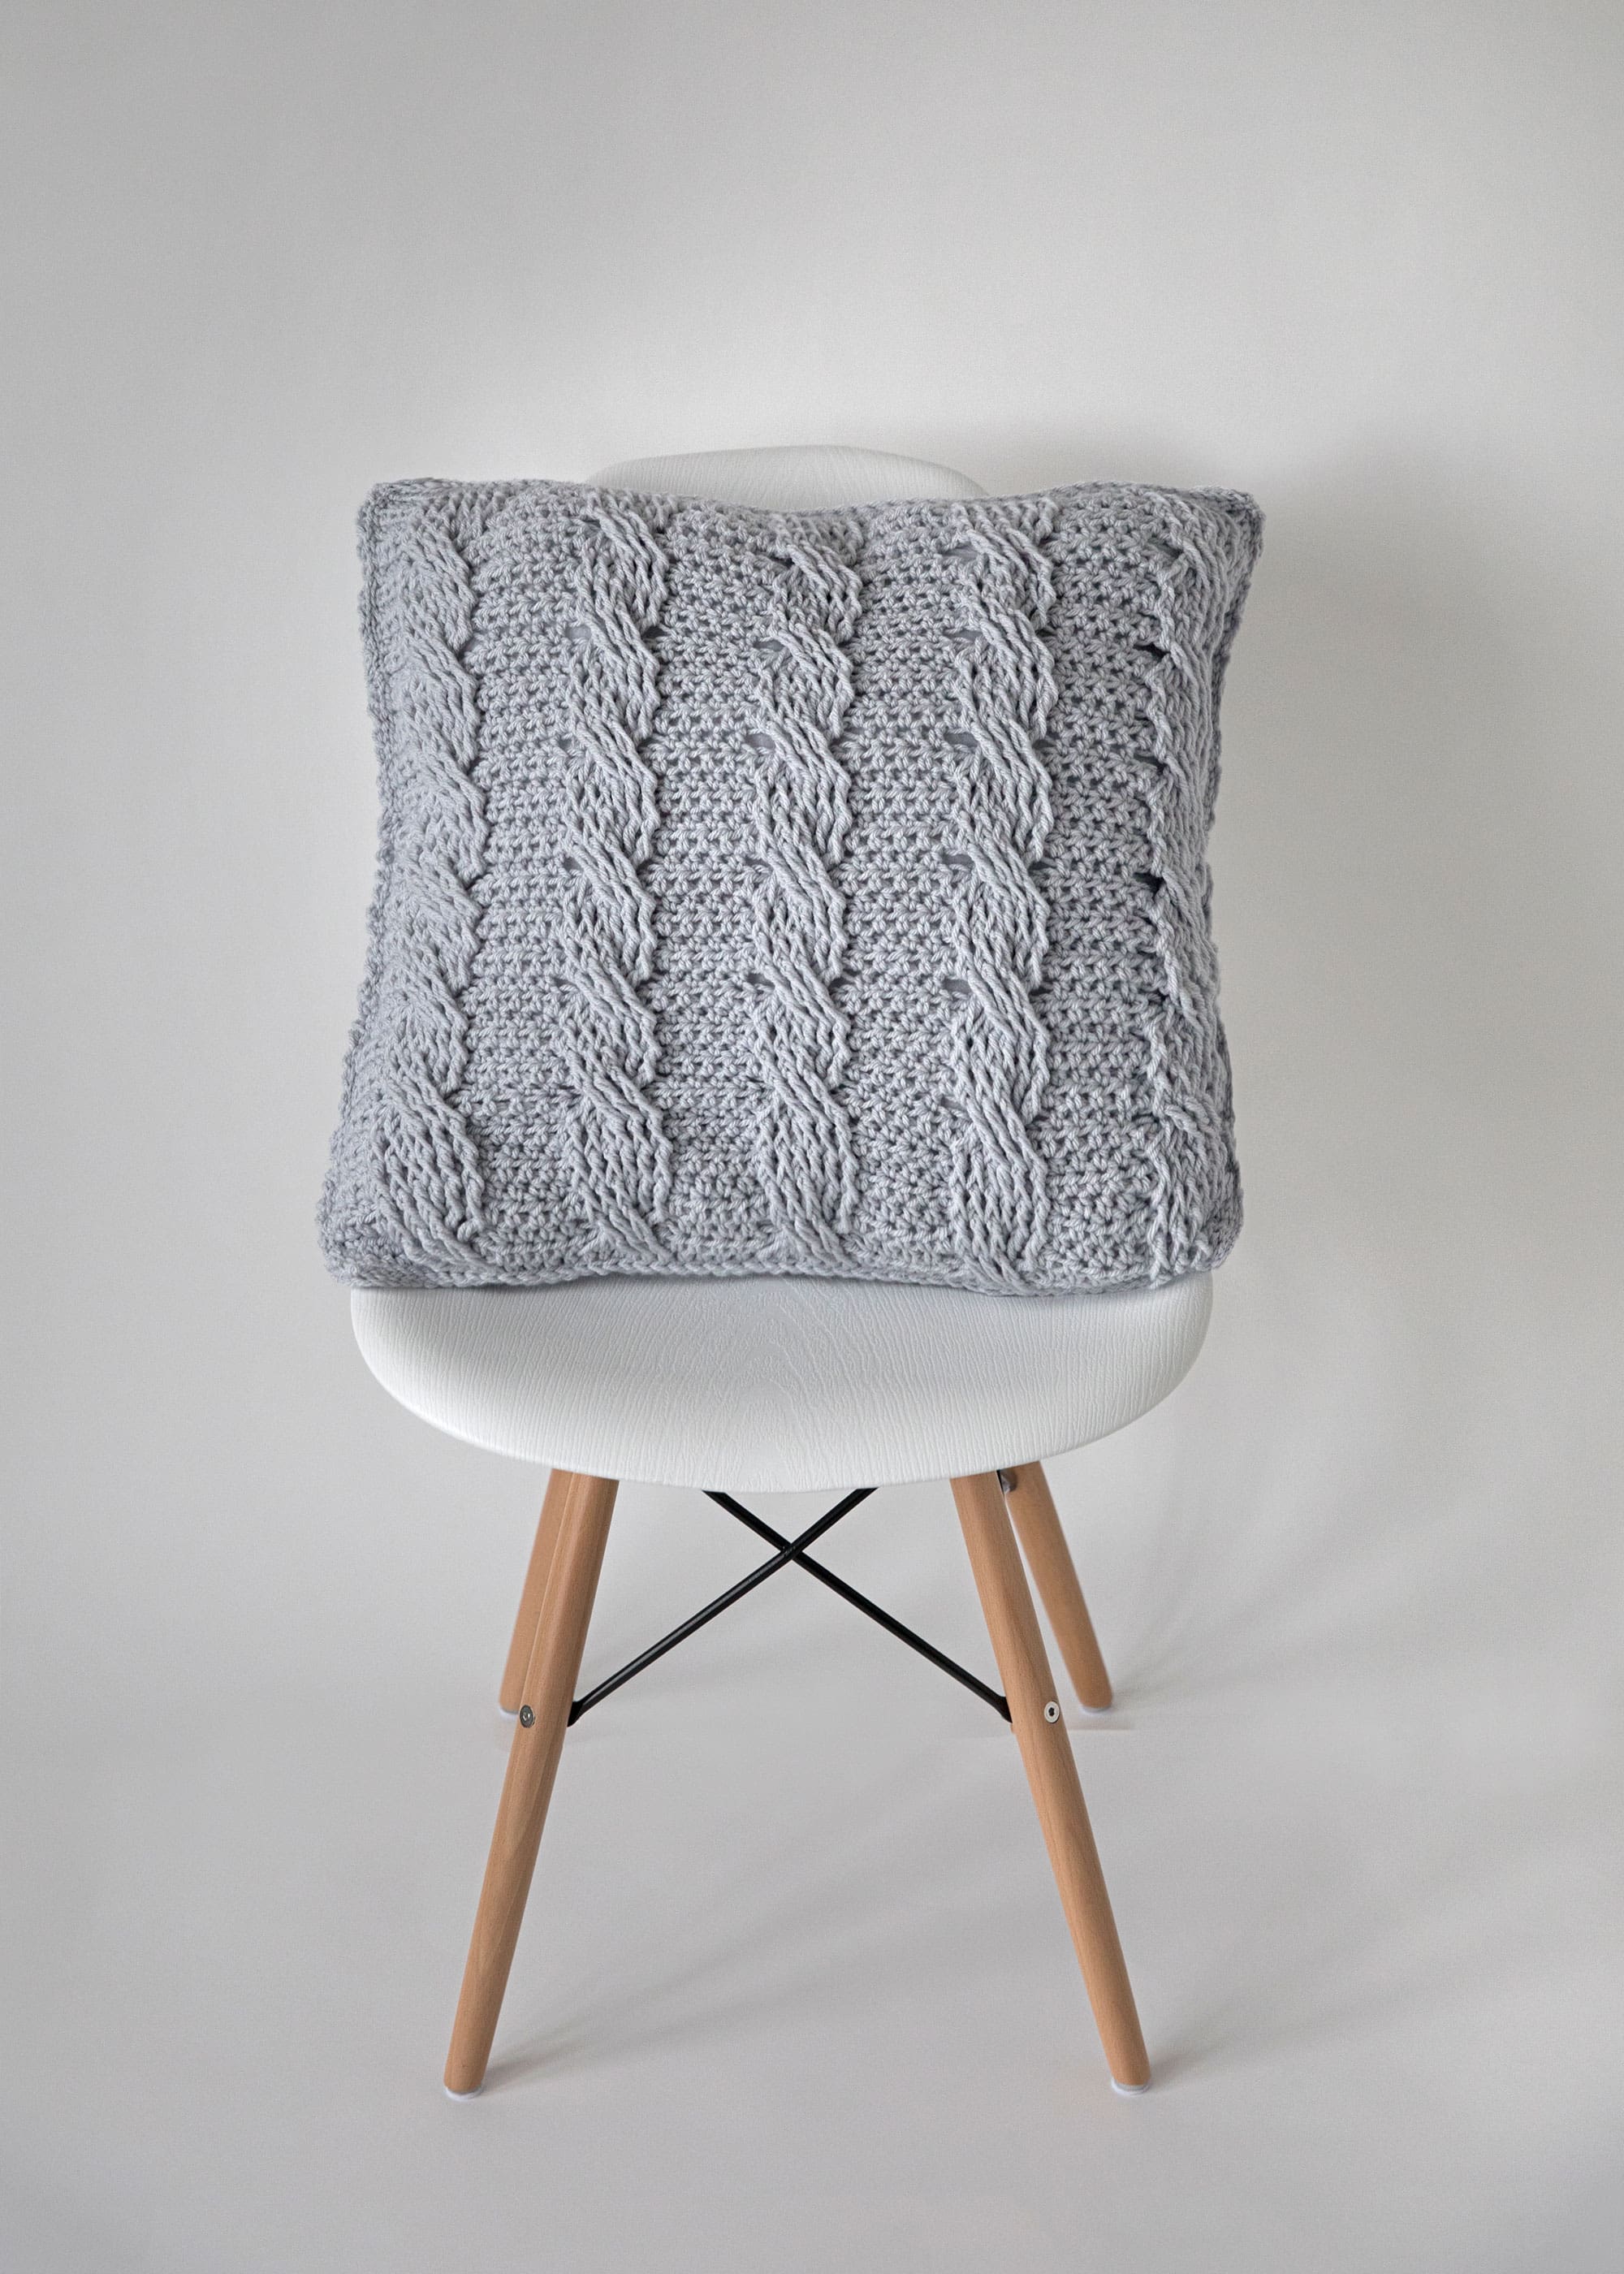
Cables are not just for knitters! I’m in love with how beautiful chunky cables look when used in home decor. I have a couple of 20″ X 20″ pillow forms lying around that I’ve been meaning to make covers for – for over year now! So, I thought a pillow cover would be a great way to demonstrate how easy it is to create cables with crochet.
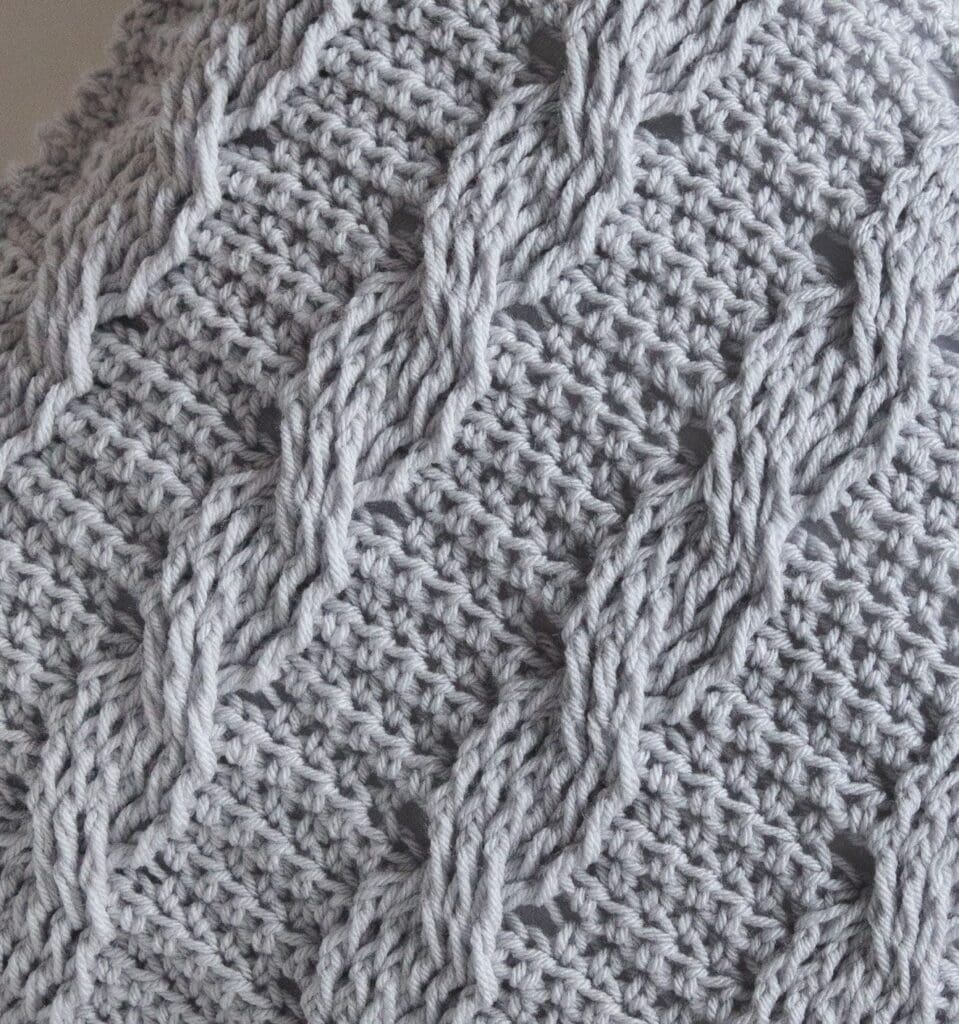
This pattern is a simple repeat of a 6 stitch cable and is perfect for anyone new to crocheting cables. You will create a stunning throw pillow cover that will look incredible on any sofa or bed. I know many of my followers are visual learners so I have also embedded a video on this page of me demonstrating how to crochet this cable stitch.
Scroll down to see the free pattern for the Crochet Cabled Throw Pillow. The ad-free instant download PDF file can be purchased for easy printing and reading through Ravelry or by clicking the button below.
Disclaimer: Please note that some of the links below are affiliate links and I will earn a commission if you purchase through those links.
Crochet Cabled Throw Pillow Pattern
What you will need
Here is what you will need to make one throw pillow:
- A size k-10.5 (6.5 mm) Crochet Hook
- 7 Skeins Paintbox Yarns Simply Chunky Yarn
- Scissors
- Tapestry/Yarn needle
- A 20″ X 20″ Pillow Form
Measurements
Each square will measure 20 ” X 20 “
Special Stitches:
Front Post Treble Crochet (FPtr): Yarn over 2 times, insert hook from front to back to front around the post of the corresponding stitch below, yarn over and pull up loop [yarn over, draw through two loops on hook] 3 times.
Front Post Double Crochet (FPdc): Yarn over, insert hook from front to back to front around post of corresponding stitch below, yarn over and pull up loop [yarn over, draw through 2 loops on hook] 2 times.
Pattern:
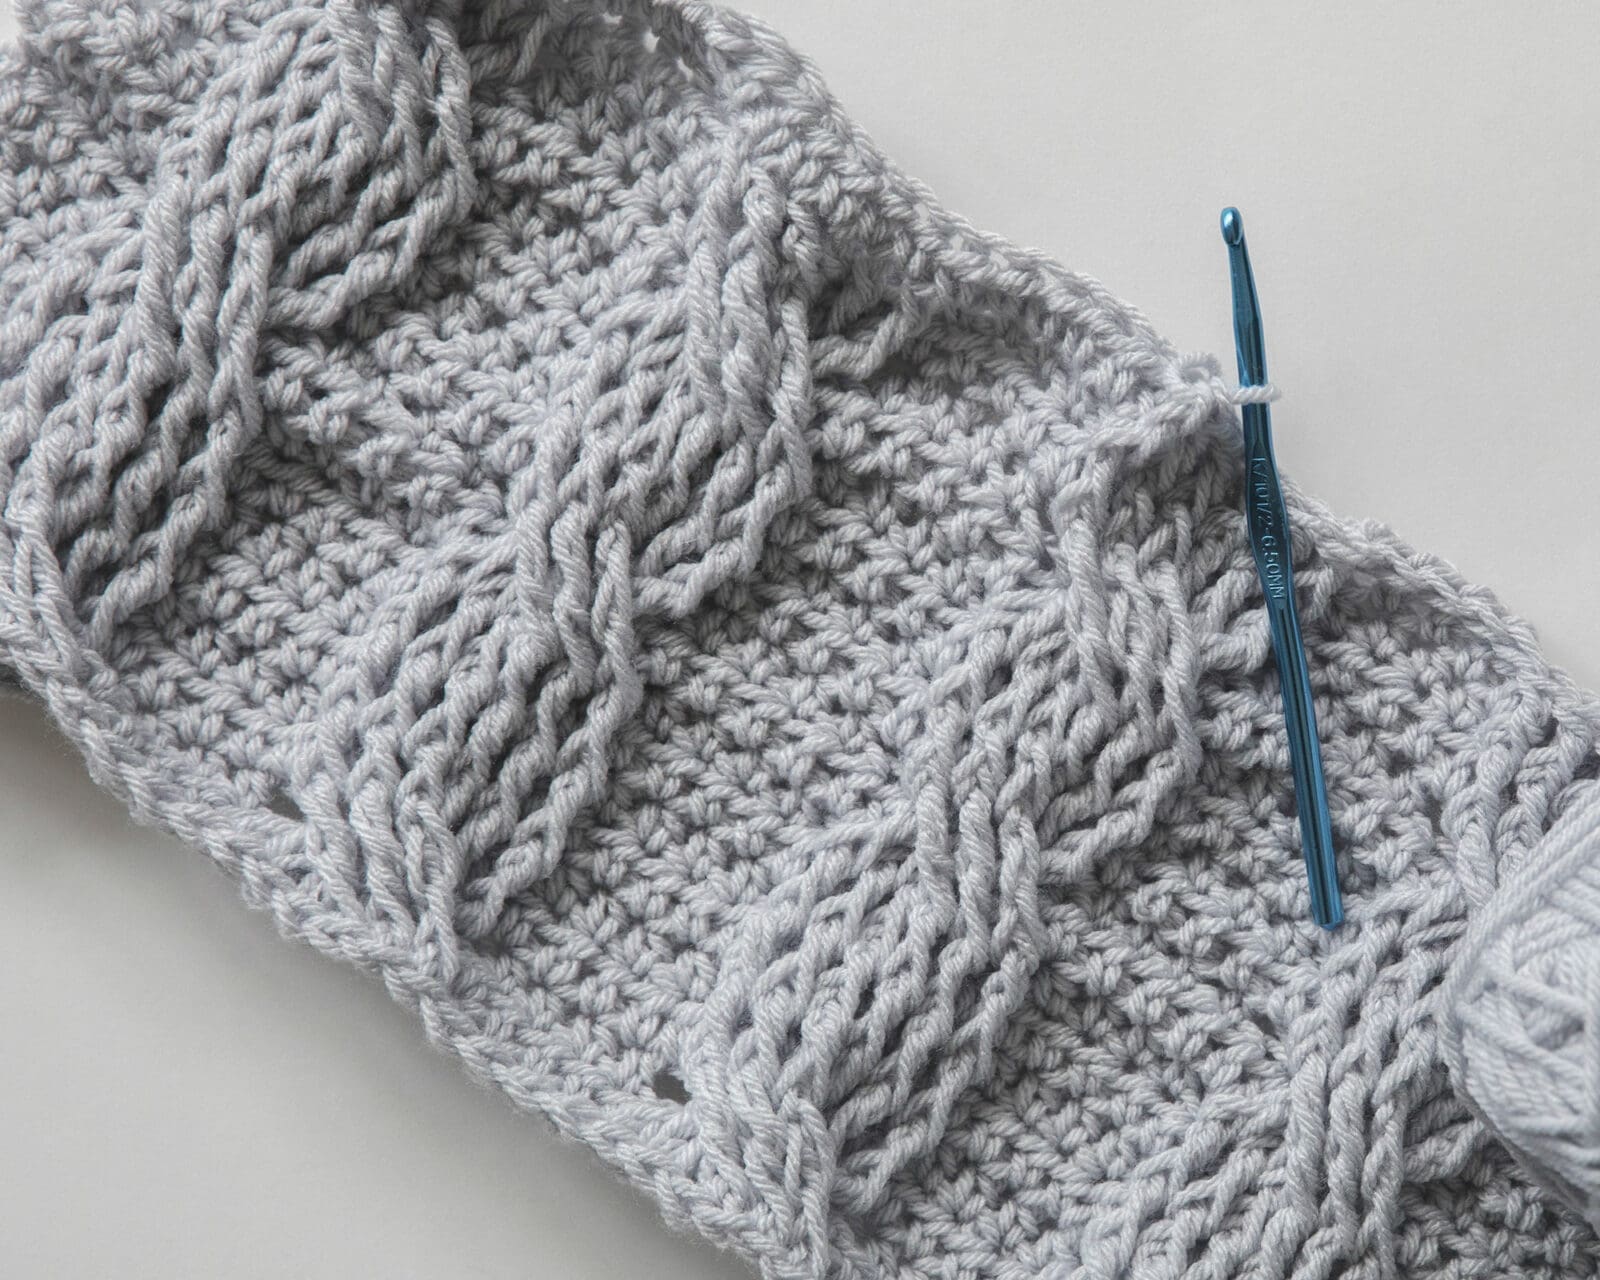
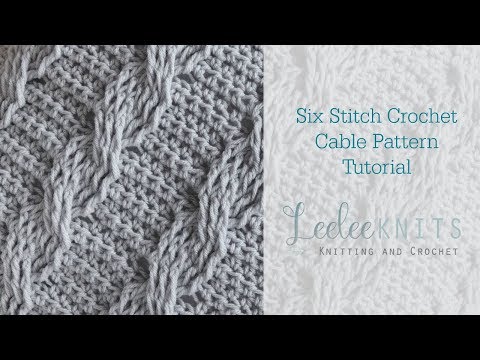
Note: This pattern uses the Six Stitch Cable stitch. For all of you visual learners out there, I have created a video tutorial on this stitch:
This pattern is for a 20″ X 20″ pillow form. If you would like to make the cover larger or smaller, you can chain a multiple of 10 plus 5. The beginning chain should be the length of the pillow form width.
You will be making 2 squares by following the pattern below:
Chain 55.
Row 1 (RS): HDC in third chain from hook and in each remaining chain. CH2 (counts as first hdc of following row) and turn.
Row 2: HDC in next stitch and in each remaining stitch until the end of the row. CH2 and turn.
Row 3: HDC in next 3 hdc, *skip next 3 hdc, work FPtr around hdc one row below next 3 hdc; working in front of FPtr just made, work FPtr around hdc one row below the 3 skipped hdc; HDC in next 4 hdc; repeat from * until the end of the row. CH2 and turn.
Row 4: HDC in next stitch and in each remaining stitch until the end of the row. CH2 and turn.
Row 5: HDC in next 3 hdc, *work FPdc around next 6 FPtr, HDC in next 4 hdc; repeat from * until the end of the row. CH2 and turn.
Row 6: HDC in next stitch and in each remaining stitch until the end of the row. CH2 and turn.
Row 7: HDC in next 3 hdc, *work FPdc around next 6 FPdc, HDC in next 4 hdc; repeat from * until the end of the row. CH2 and turn.
Row 8: HDC in next stitch and in each remaining stitch until the end of the row. CH2 and turn.
Row 9: HDC in next 3 hdc, *skip next 3 FPdc, work FPtr around next 3 FPdc; working in front of FPtr just made, work FPtr around each skipped FPdc; HDC in next 4 hdc;repeat from * until the end of the row. CH2 and turn.
Repeat rows 4-9 until your work measures 20″. Fasten off.
I hope you enjoyed this pattern.
The Ad-Free PDF file (which will be emailed to you automatically) can be purchased for $5 USD through Ravelry, or by clicking the button below.
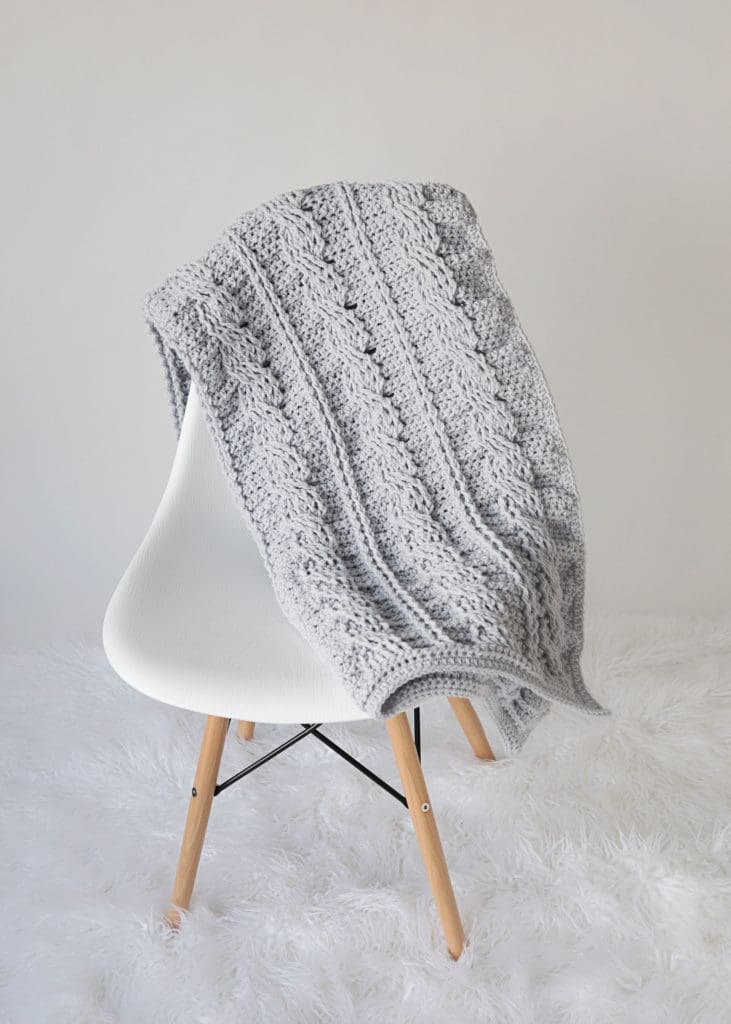
I hope you enjoyed this pattern, and if so please share on social media so that others can try it out as well! And check out the free pattern to make a matching cabled afghan by clicking on the photo below!
Thank you so much! I hope you don’t get this twice. My internet is having a problem today.
I just love this pattern! I’ve got a couple pillows also that need help. lol I can’t wait to start,and thanks again.
You’re most welcome! Enjoy the pattern!
This is fantastic! I didn’t even know that it was possible to crochet cables, but I will have to give it a try! 🙂 Lisa
you make it look so easy with your tutorial, thank you, will give it a go
You’re welcome Petra!
In the picture of the pillow and in your video tutorial it doesn’t look like you used bulky (weight 5) yarn. When I completed the first row of 55 stitches using this yarn it was over 25 inches long, not 20 as the pattern says it should be. Did you really use a bulky weight 5 yarn for this project as the pattern says?
Hi Carly, yes I did… unfortunately different yarn brands have a different standard for what they call bulky – it can vary – so its a good idea to use the yarn that I recommend or check the gauge of the yarn I use with the yarn you would like to use.
This pattern is genius!!! Thank you so much for a simple and lovely project! Just to be clear: Row 3 has trebles and then (not counting the rows of hdc) 2 rows with fpdc and then row 9 had trebles again. Repeating rows 4 to 9 from row 9 onwards eliminates one of the rows of trebles? So there would be a fpdc row after row 10, then a hdc row, then a fpdc row, then a row of hdc and row 15 would be a fpTc row? Is that correct??
Yup! you got it!
Thanks for your response! I appreciate having you help and will purchase the PDF – this will be a life-long favorite, for sure!!
So glad to hear Karen!! I truly appreciate your support to! Hugs!
I recently used this pattern, love it! I suggest you watch the video it definitely helps understand the pattern for the cables.
Hi I started out with 55 chains but now it’s increased to 65! Is that right??
Hi Denise, the number of stitches should remain the same throughout the pattern.
Do you recommend blocking each side? I used the recommended yarn and it’s just shy of 20”. I feel like if I block it, though, it would be perfect.
HI Samantha, yes, I think this a great idea to stretch out the fabric. I’ve done this myself many times when my work turns out smaller than the required measurements 🙂
Thanks! It came out amazing! I wish I could share a picture of it with you. I really had fun making it.
Hi Samantha, I’m so happy to hear that you enjoyed the pattern! I am on Instagram at @leelee_knits and would love to see the finished blanket. Feel free to tag me if you’re also on Instagram ❤️