Long Cardigan Knitting Pattern

Knit a Long Flowy Cardigan – Free Pattern
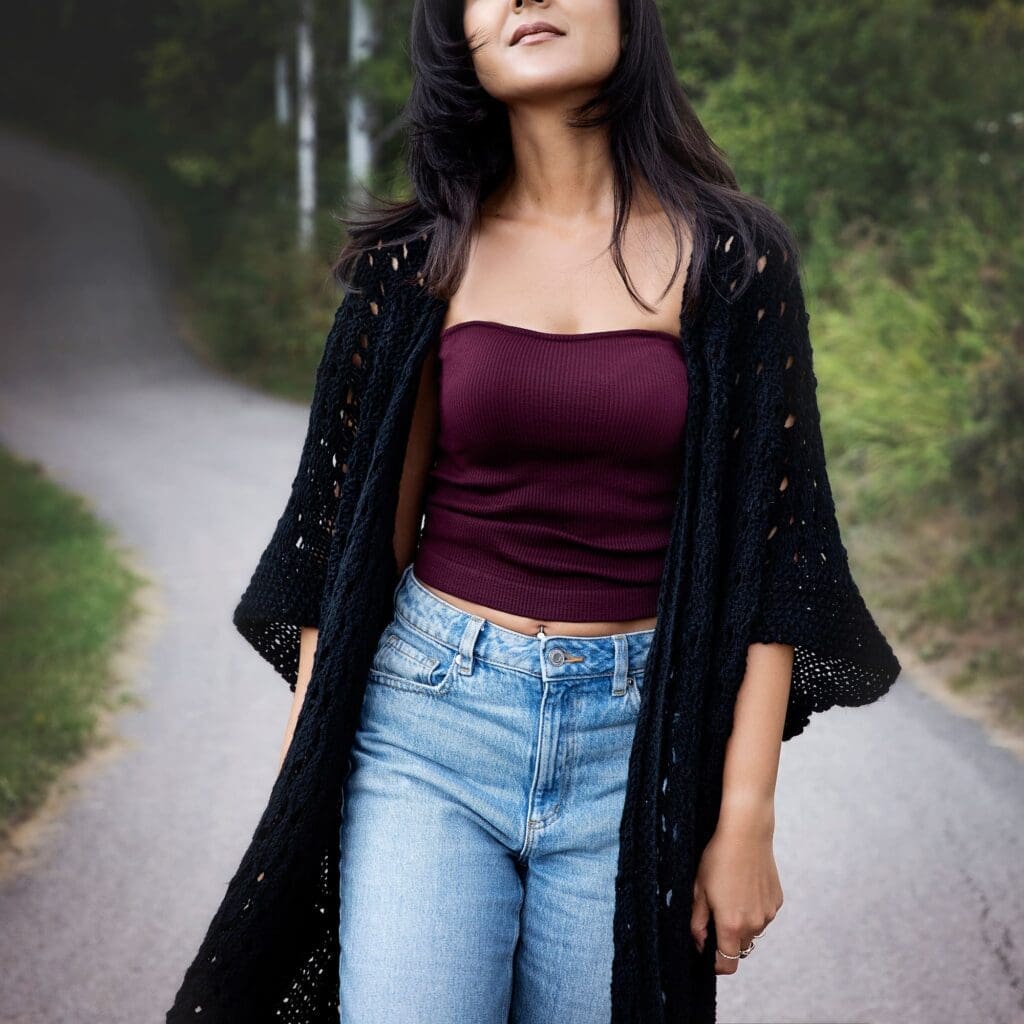
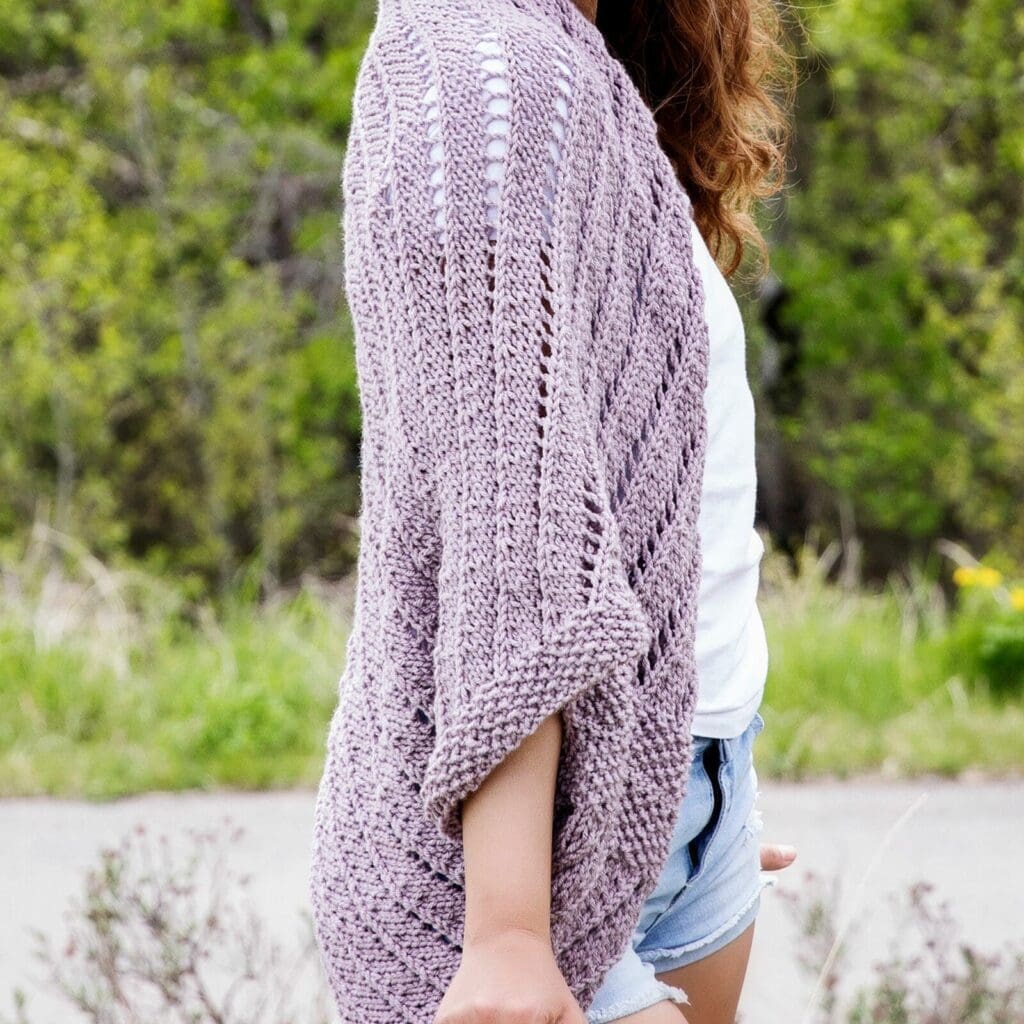
Are you ready to fall in love with your new favourite knitting project? Because I’m about to introduce you to a cozy, yet cool addition to your spring/summer wardrobe. The Cinder Cardigan is an oversized long cardigan knitting pattern that is perfect for breezy spring days and early summer evenings, when you need a little extra something wrapped around you.
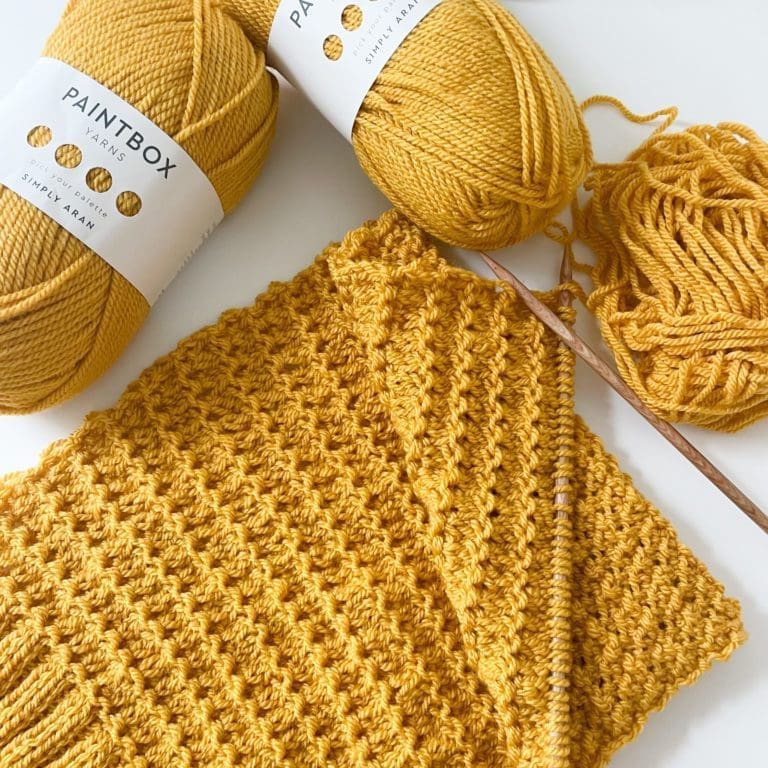
If you’re thinking that long and flowy sounds like a forever project, you’ll be happy to know that this cardigan is knit with worsted weight yarn, which is a medium weight yarn. Worsted weight yarn is also often referred to as aran weight, although aran can be slightly thicker from my experience. Because medium weight yarn pairs best with medium sized knitting needles for a good drape, this results in a combination of yarn thickness and needle size that helps your knitting build quickly.
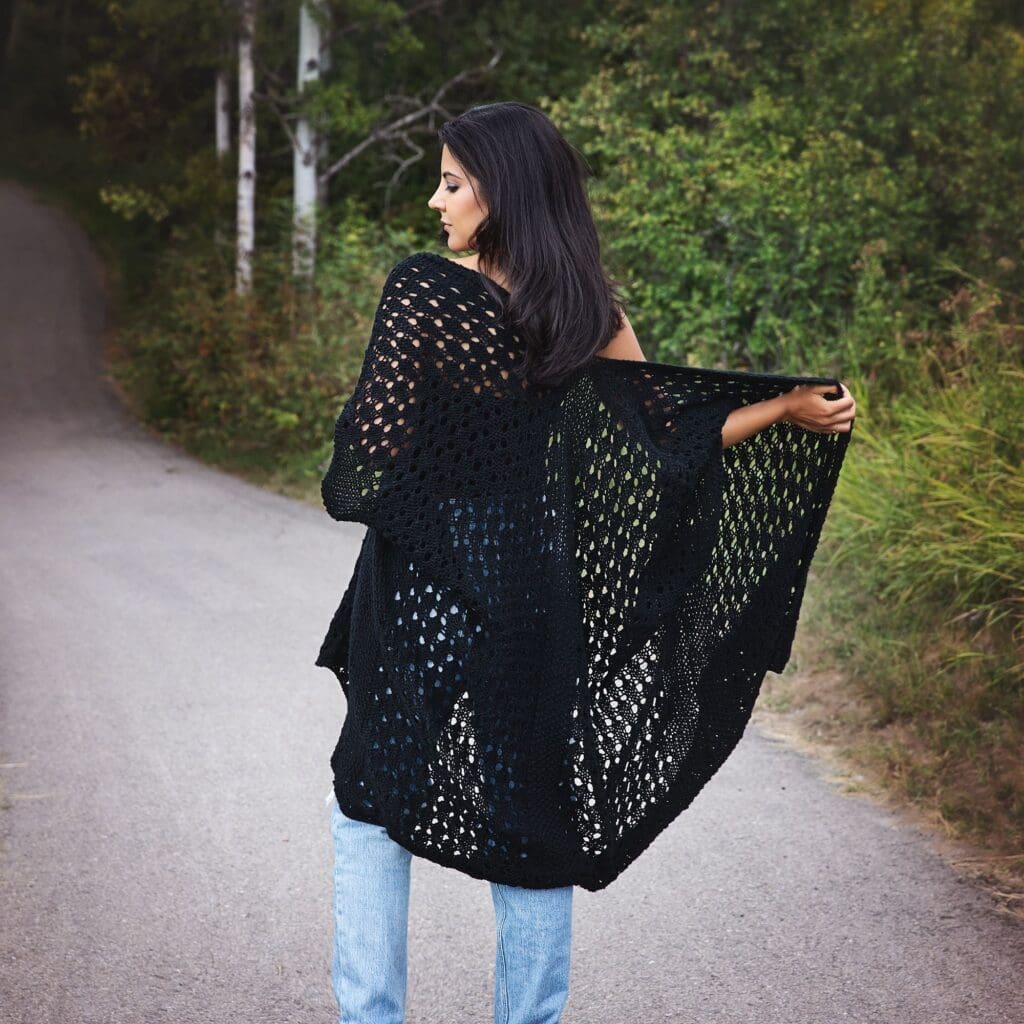
Also, the simple lace design not only adds a touch of elegance but also speeds up the knitting process. Lace patterns have intentional “holes,” which means less yarn per row and quicker progress. Plus, it gives the cardigan a light, airy feel to counteract the heavier yarn weight.
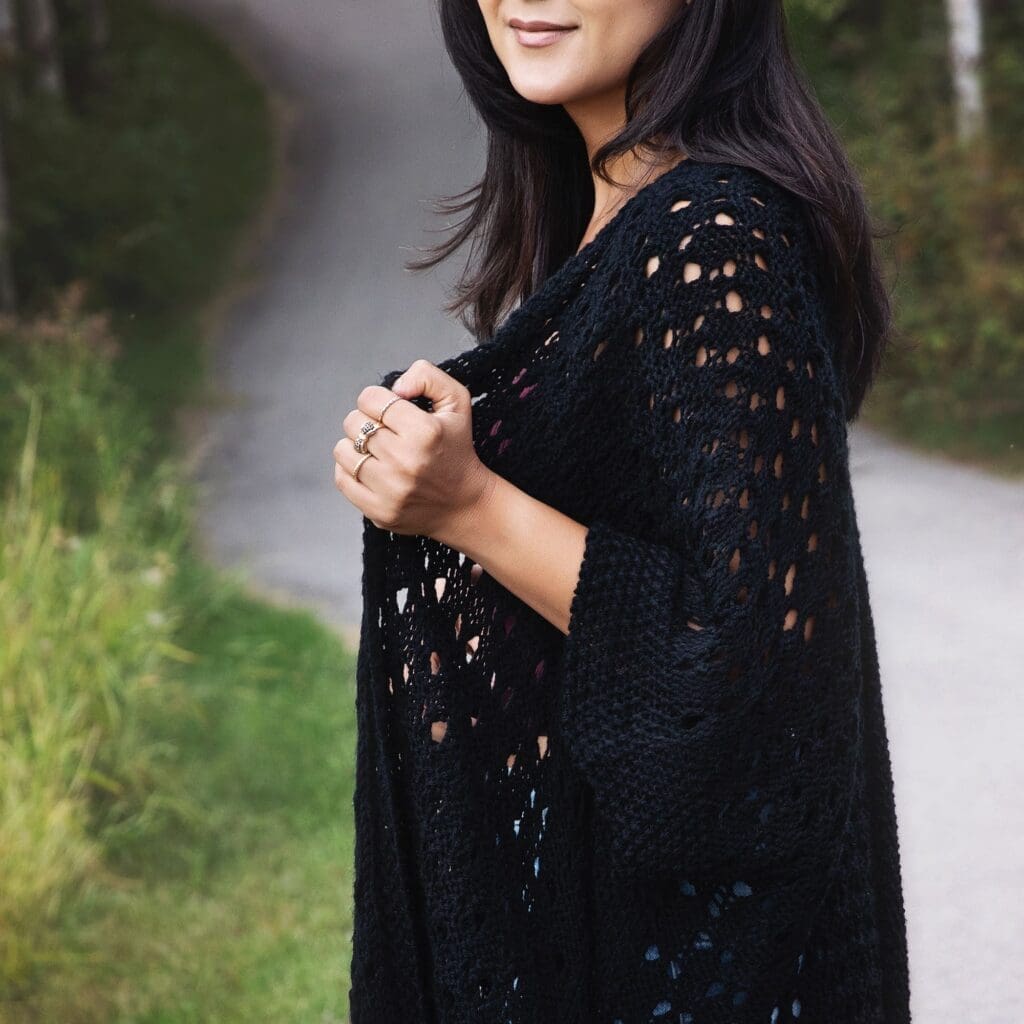
And lastly, you do not need to knit sleeves for this cardigan, which saves a huge amount of time! Since this cardigan is designed to be long and oversized, the fabric extends in a dolman style over the top part of the arm, which gives the appearance of sleeves without the need for separate pieces. In other words, you get that relaxed, elegant look without any extra fuss!
Share and Inspire!
I hope you enjoy this knitting pattern for the long, flowy Cinder Cardigan! Please feel free to share the link to this page on your social media or Pinterest account.
I truly appreciate all of you who get the word out about this site and my patterns!
❤️ Alnaar
Please note that some of the links on this page are affiliate links, which means that I will earn a commission if you purchase through these links. I use all of the products listed on this page and recommend them because they are companies that I have found helpful and trustworthy. Please let me know if you have any questions about anything I have recommended!
Free Pattern – Flowy Long Knit Cardigan
What You’ll Need:
To knit this cardigan, you will need the following supplies:
- (6, 7, 8) skeins (1308, 1526, 1744 yards) Knit Picks Brava Worsted Weight Yarn in Black.
- US size 10/6 mm circular knitting needles (32” cord).
- 4 stitch markers.
- Scissors.
- Tapestry/yarn needle.
Yarn Choice
I really wanted to make a longer cardigan pattern for you guys that wouldn’t break the bank. That is why I chose to use up my stash of Black Knit Picks Brava Worsted Weight Yarn. I love Brava for large projects because of its affordability and quality. And if you’ve been following this blog for a while, then you’ll know that Brava is my go-to acrylic yarn. If you can’t access Knit Picks yarn where you live, feel free to substitute with another worsted/aran weight (4 ply) yarn. Just make sure that you check your gauge before beginning (see gauge swatch with the pattern below on this page).
Ad Free PDF File
The free pattern for the Cinder Cardigan is available right here on this page, as this site is sustained through ad support.
If you like things a little more streamlined, I’ve put together an ad-free, downloadable PDF version of the pattern. It’s perfect for easy printing and can be can be purchased through My Ravelry Store or by clicking the “Purchase PDF File” button to the right.
Thank you so much for your support! It means the world to me, and I’m beyond grateful to be able to share my passion with you all.
Sizes:
This flowy long cardigan can be knit in 3 sizes:
XS/SM: 30″-34″ chest circumference.
M/L: 36″-40″ chest circumference.
XL/XXL: 42″-46″ chest circumference.
Gauge Swatch:
14 sts X 20 rows = 4 inches before blocking.
To get gauge, cast on a multiple of 6 plus 5 sts (e.g., 17 sts). Repeat rows 1-8 below:
Row 1: Knit all sts.
Row 2: Purl all sts.
Row 3: k1, *k3, yf, sl1 knitwise, k2tog, psso, yf, repeat from * to last 4 sts, k4.
Row 4: P4, *k1, p1, k1, p3, rep from * to last st, p1.
Row 5: As row 1.
Row 6: As row 2.
Row 7: K1, *yf, sl1 knitwise, k2tog, psso, yf, k3, repeat from * to last 4 sts, yf, sl1 knitwise, k2tog, psso, yf, k1.
Row 8: P1, k1, p1, k1, *p3, k1, p1, k1, rep from * to last st, p1.
Abbreviations:
K: Knit.
P: Purl.
Sts: Stitches.
Sl1: Slip one stitch from left-hand needle to right-hand needle.
K2tog: Knit the next two stitches together (decrease).
Psso: Pass the slipped stitch over the stitch that was just knit (decrease).
Yf: Bring the yarn forward from the back of your work to the front between the two needles, then take the yarn over the top of the right-hand needle in order to knit the next stitch (increase).
Special Stitches:
Seed Stitch:
Repeat the following two rows:
Row 1: *K1, p1; repeat from * to end of row.
Row 2: *P1, k1; repeat from * to end of row.
Pattern Notes:
Because the Knit Cinder Cardigan is designed to be long, oversized, and flowy, it is essential to wet or steam block your work after knitting to match the measurements in the chart below. Wet blocking will relax the fibres in the yarn, as well as stretch out the fabric for the perfect drape.
The cardigan is knit back and forth in rows as one piece. We begin with the back panel, which is knit in one long piece, and then split the front into two halves by working one half of the fabric at a time for each front panel.
The only seaming required is along the sides joining the front panels to the back panels along the side body (leaving space for arm openings).

More Free Patterns From Leelee Knits!
Flowy Long Cardigan Knitting Pattern – Written Instructions
Cast on 94–106–118 sts. Work in rows beginning with Back Panel.
Back Panel:
Work 8 rows in seed stitch for the bottom border, and then repeat rows 1-8 below until work measures 31 inches (place stitch markers after semicolons in Row 1). Continue to Right Front Panel.
Row 1: (K1, p1) 4 times; k35–41–47; (K1, p1) 4 times; k35–41–47; (K1, p1) 4 times.
Row 2: (P1, k1) 4 times; p35–41–47; (P1, k1) 4 times; p35–41–47; (P1, k1) 4 times.
Row 3: (K1, p1) 4 times; k1, *k3, yf, sl1 knitwise, k2tog, psso, yf, repeat from * to last 4 sts before marker, k4; (K1, p1) 4 times; k1, *k3, yf, sl1 knitwise, k2tog, psso, yf, repeat from * to last 4 sts before marker, k4; (K1, p1) 4 times.
Row 4: (P1, k1) 4 times; p4, *k1, p1, k1, p3, rep from * to last st before marker, p1; (P1, k1) 4 times; p4, *k1, p1, k1, p3, rep from * to last st before marker, p1; (P1, k1) 4 times.
Row 5: As row 1.
Row 6: As row 2.
Row 7: (K1, p1) 4 times; k1, *yf, sl1 knitwise, k2tog, psso, yf, k3, repeat from * to last 4 sts before marker, yf, sl1 knitwise, k2tog, psso, yf, k1; (K1, p1) 4 times; k1, *yf, sl1 knitwise, k2tog, psso, yf, k3, repeat from * to last 4 sts before marker, yf, sl1 knitwise, k2tog, psso, yf, k1; (K1, p1) 4 times.
Row 8: (P1, k1) 4 times; p1, k1, p1, k1, *p3, k1, p1, k1, rep from * to last st before marker, p1; (P1, k1) 4 times; p1, k1, p1, k1, *p3, k1, p1, k1, rep from * to last st before marker, p1; (P1, k1) 4 times.
Right Front Panel:
Work only the first half of sts. Leave the remaining 47–53–59 sts on cord to be worked later for Left Front Panel.
Row 1: (K1, p1) 4 times, k35–41–47, (K1, p1) twice.
Row 2: (P1, k1) twice, p35–41–47, (P1, k1) 4 times.
Row 3: (K1, p1) 4 times; k1, *k3, yf, sl1 knitwise, k2tog, psso, yf, repeat from * to last 4 sts before marker, k4; (K1, p1) twice.
Row 4: (P1, k1) twice; p4, *k1, p1, k1, p3, rep from * to last st before marker, p1; (P1, k1) 4 times.
Row 5: As row 1.
Row 6: As row 2.
Row 7: (K1, p1) 4 times; k1, *yf, sl1 knitwise, k2tog, psso, yf, k3, repeat from * to last 4 sts before marker, yf, sl1 knitwise, k2tog, psso, yf, k1; (K1, p1) twice.
Row 8: (P1, k1) twice; p1, k1, p1, k1, *p3, k1, p1, k1, rep from * to last st before marker, p1; (P1, k1) 4 times.
Repeat rows 1-8 above until work measures 31″. Cast off in pattern and continue to Left Front Panel.
Left Front Panel:
Repeat rows 1-8 below with the remaining stitches until work measures 31″. Cast off in pattern and continue to Finishing.
Row 1: (K1, p1) twice, k35–41–47, (K1, p1) 4 times.
Row 2: (P1, k1) 4 times, p35–41–47, (P1, k1) twice.
Row 3: (K1, p1) twice; k1, *k3, yf, sl1 knitwise, k2tog, psso, yf, repeat from * to last 4 sts before marker, k4; (K1, p1) 4 times.
Row 4: (P1, k1) 4 times; p4, *k1, p1, k1, p3, rep from * to last st before marker, p1; (P1, k1) twice.
Row 5: As row 1.
Row 6: As row 2.
Row 7: (K1, p1) twice; k1, *yf, sl1 knitwise, k2tog, psso, yf, k3, repeat from * to last 4 sts before marker, yf, sl1 knitwise, k2tog, psso, yf, k1; (K1, p1) 4 times.
Row 8: (P1, k1) 4 times; p1, k1, p1, k1, *p3, k1, p1, k1, rep from * to last st before marker, p1; (P1, k1) twice.
Finishing:

Weave in all Loose ends and then wet or steam block the fabric to measurements in the diagram above (left-hand side).
Once the fabric has dried, fold over the front panels and then seam the front panels to the back along the side body (leaving space for arm openings as shown in the diagram above), and enjoy your new hand knit flowy long cardigan!
Pattern PDF File
I hope you enjoyed this free long cardigan knitting pattern.
If you’d like your own copy, the Ad-Free PDF file (which will be emailed to you automatically) can be purchased through Ravelry, or by clicking the “Purchase PDF File” button to the right.
Thank you so much for your support! It means the world to me, and I’m beyond grateful to be able to share my passion with you all.



I love this cardigan so much!
I’m 5’3″ and would like to know how I can make it a little shorter. I’d like it to hit me above my knees, otherwise I’m going to look even more short legged than I already am!
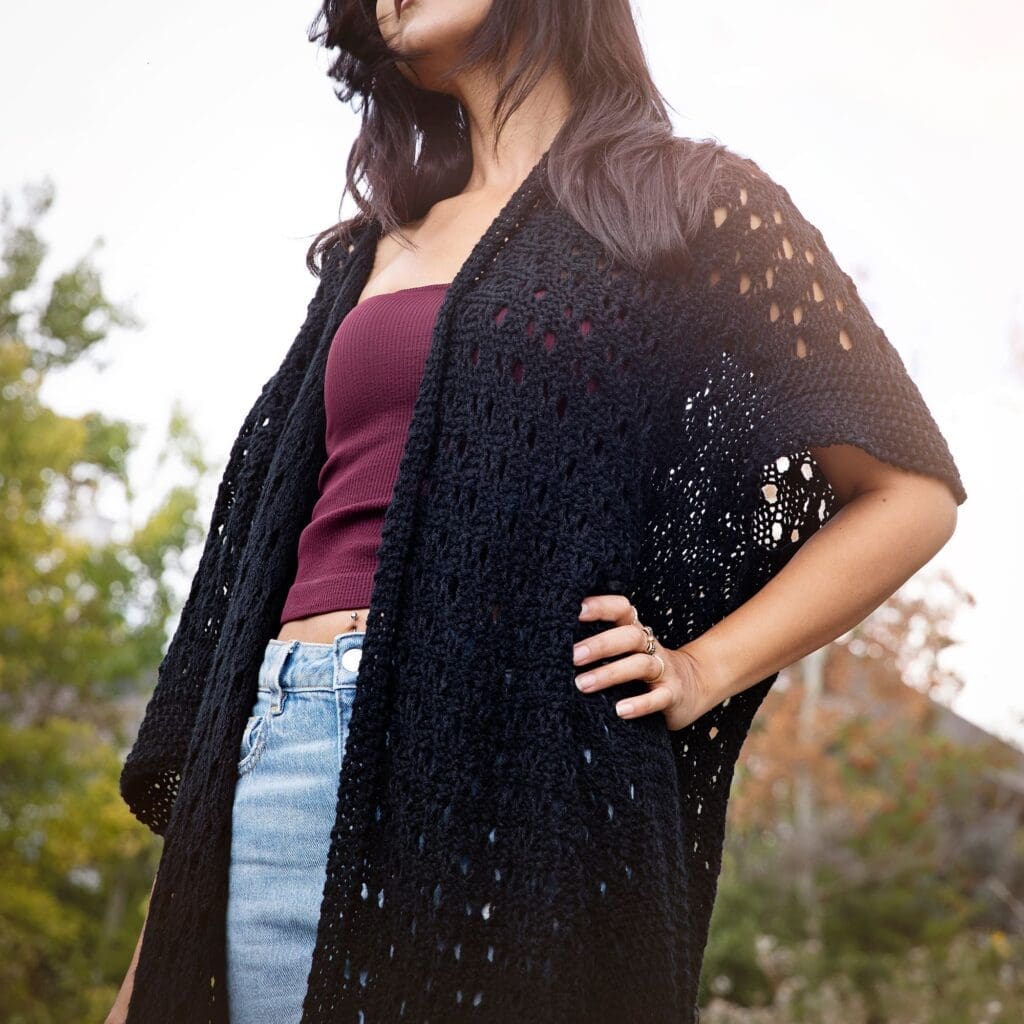
Hi Deb, thank you! You can definitely make it shorter by stopping once the back panel and front panels are at about 28″ instead of 31″. Then when you block the material, stretch it to somewhere between 32″-34″ instead of 36″. I am 5’5″, so only a couple of inches taller than you are (that is me in the photos). Hope this helps!
Oh my gosh. This is so, so beautiful and I cannot wait to make it. I absolutely love your crocheting and knitting.
Thank you for sharing. I will definitely be purchasing this pattern.
Thank you Joanne! I’m so happy to hear this 🙂 Enjoy the pattern ❤️
A bit confused; is there no moss stitch in the front panels?
Hi Sally Ann, you are correct, there is no moss stitch at the bottom of the front panels.
Beautiful!
Your designs are always so pretty!
Thanks for sharing!
Mona.
Awe, thank you for the kind words Mona and happy knitting! ❤️