
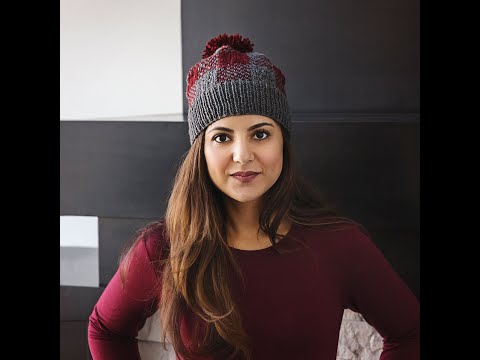
Double Brim Hat Knitting Pattern

Why a Double Brim?
Double brim hats are the best for keeping warm on the coldest of winter days! Not only are they incredibly stylish and simple to make, they also have an extra layer of warmth from where the brim is folded over.
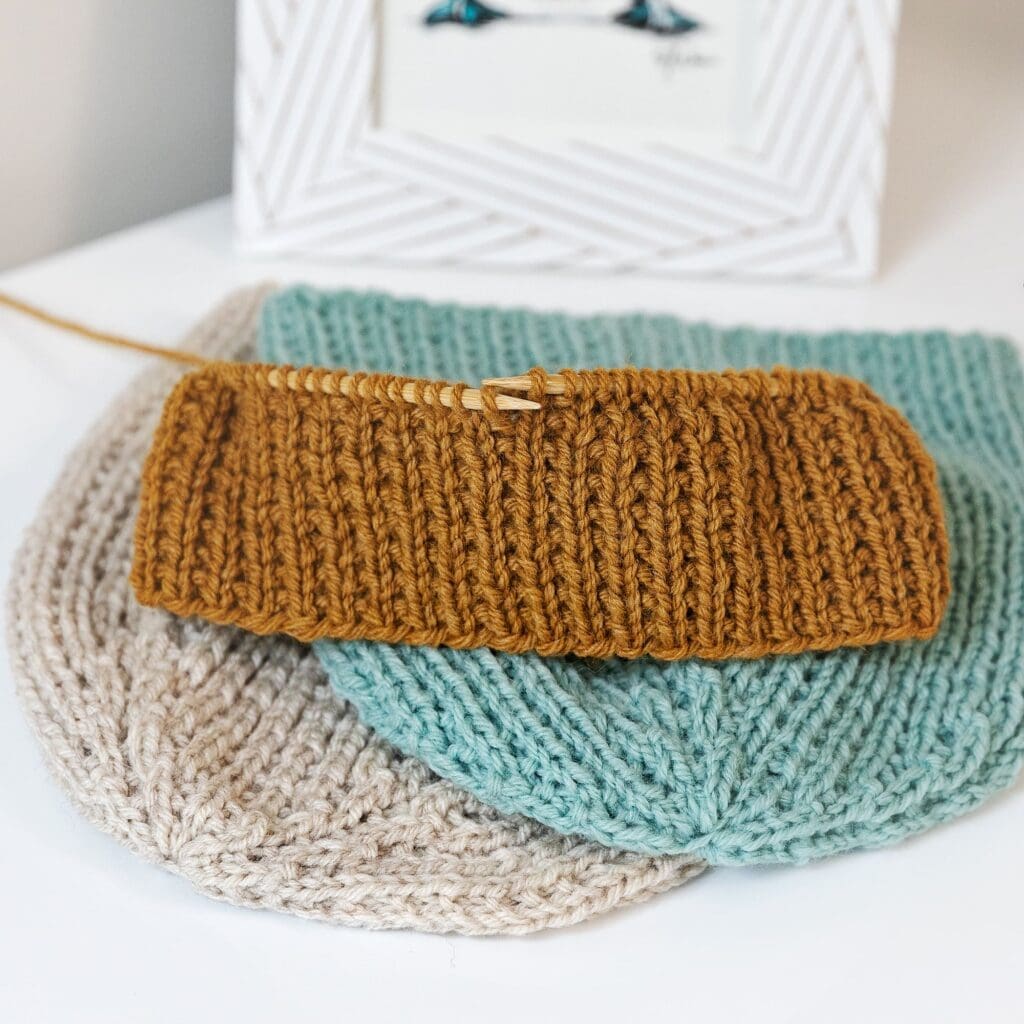
Instead of a traditional ribbed edge, a double-brim hat is knit entirely in stockinette stitch. The bottom of the hat is worked to twice the desired brim width, then folded over and joined before knitting the top half of the hat.
I’ve had the intention to create a fair isle obmre hat for a while, so I thought this would be the perfect combination after posting my last pattern and stranded knitting video tutorial for the Buffalo Plaid Winter Hat. I had a lot of fun coming up with this design, and I really hope that you have a lot of fun knitting up this cozy warm winter hat!
Pay it Forward!
I hope you enjoy this pattern! If so, please feel free to share the link to this page on your social media or Pinterest account.
I truly appreciate all of you who get the word out about this site and my patterns!
❤️
Alnaar

Please note that some of the links on this page are affiliate links and I will earn a commission if you purchase through these links. I use all of the products listed on this page and recommend them because they are companies that I have found helpful and trustworthy. Please let me know if you have any questions about anything I have recommended!
Materials:
- Paintbox Yarns Simply Chunky 100% Acrylic Yarn
- 1 Skein Misty Grey
- 1 Skein Pure Black
- Size 10 (6 mm) 16” circular knitting needles.
- Size 10 (6 mm) double pointed knitting needles.
- Size J/10 (6 mm) Crochet Hook (for provisional cast on).
- Stitch Marker.
- Scissors.
- Yarn needle.
Size:
Adult.
Pattern PDF File
The free knitting pattern for this ombre double brim beanie is available right here on this page, as this site is sustained through ad support.
If you’d like your own copy, the Ad-Free PDF file (which will be emailed to you automatically) can be purchased through Ravelry, or by clicking the “Purchase PDF File” button to the right.
Thank you so much for your support! It means the world to me, and I’m beyond grateful to be able to share my passion with you all.
Gauge:
15 stitches, 18 rows = 4 Inches in stockinette stitch.
Abbreviations:
K: Knit
P: Purl
K2Tog: Knit Two Together decrease
Notes:
This hat is knit in the round on circular knitting needles, switching to double pointed needles when necessary during the decreasing of stitches for shaping the top.
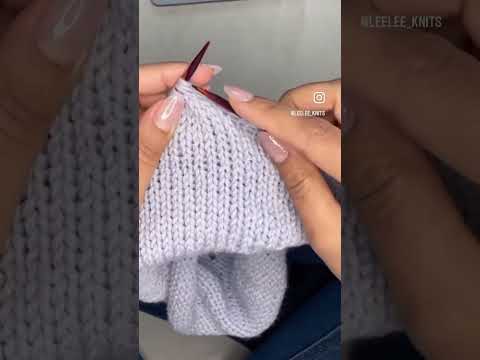
To begin the double-brim construction, first cast on your stitches using waste yarn and the Provisional Cast On technique. Then, once your cast on is complete, continue with the next step of the pattern. If you need a visual guide, you can find a YouTube Short on this method over on the Leelee Knits YouTube channel.
When working the stranded stitches, always hold the non-dominant colour to the left, and the dominant colour to the right. The yarn held to the left will produce a slightly larger stitch than the yarn held to the right; this will ensure the stitches are consistent in size and make the non-dominant colour pop.
I have created a bonus video on stranded knitting to show how I hold the yarn and switch colours
More Free Hat Knitting Patterns from Leelee Knits!

Free Double Brim Hat Pattern:
Using size 10 (6 mm) circular needles, crochet hook, and color A, cast on 56(64) stitches using provisional cast on method. Place stitch marker to mark the beginning of the round and join (being careful not to twist the stitches).
Knit in the round in stockinette stitch until work measures 5.5(6.5) inches.
Fold the brim inwards and line up provisional cast on stitches with the stitches on the needle. *Remove waste yarn from provisional cast on to expose 1 live stitch. Pick up this stitch with left hand needle and knit together with next stitch on the left needle. Repeat from * to end of round.

Knit one more round and then follow the color chart below for the next eight rounds.
Colour Chart
Color A is represented by the white squares, and color B is represented by the blue squares. Chart is read right to left for every round.
Click on the chart image belowfor a larger image.

Knit 12 more rounds with color B in stockinette stitch and then start decreasing to shape the top of the hat.
Decreasing Rounds:
Round 1: *K5(6), K2Tog; repeat from * to end of round (48(56) stitches remain).
Round 2: Knit all stitches.
Round 3: *K4(5), K2Tog; repeat from * to end of round (40(48) stitches remain).
Round 4: Knit all stitches.
Round 5: *K3(4), K2Tog; repeat from * to end of round (32(40) stitches remain).
Round 6: Knit all stitches.
Round 7: *K2(3), K2Tog; repeat from * to end of round (24(32) stitches remain).
Round 8: Knit all stitches.
Round 9: *K2, K2Tog; repeat from * to end of round (24 stitches remain).
Round 10: *K1, K2Tog; repeat from * to end of round (16 stitches remain). Continue to Finishing.
Finishing:
Cut yarn (leave a long tail) and pull through yarn needle. Then thread through the remaining stitches and pull tight. Finally, secure and weave in ends.
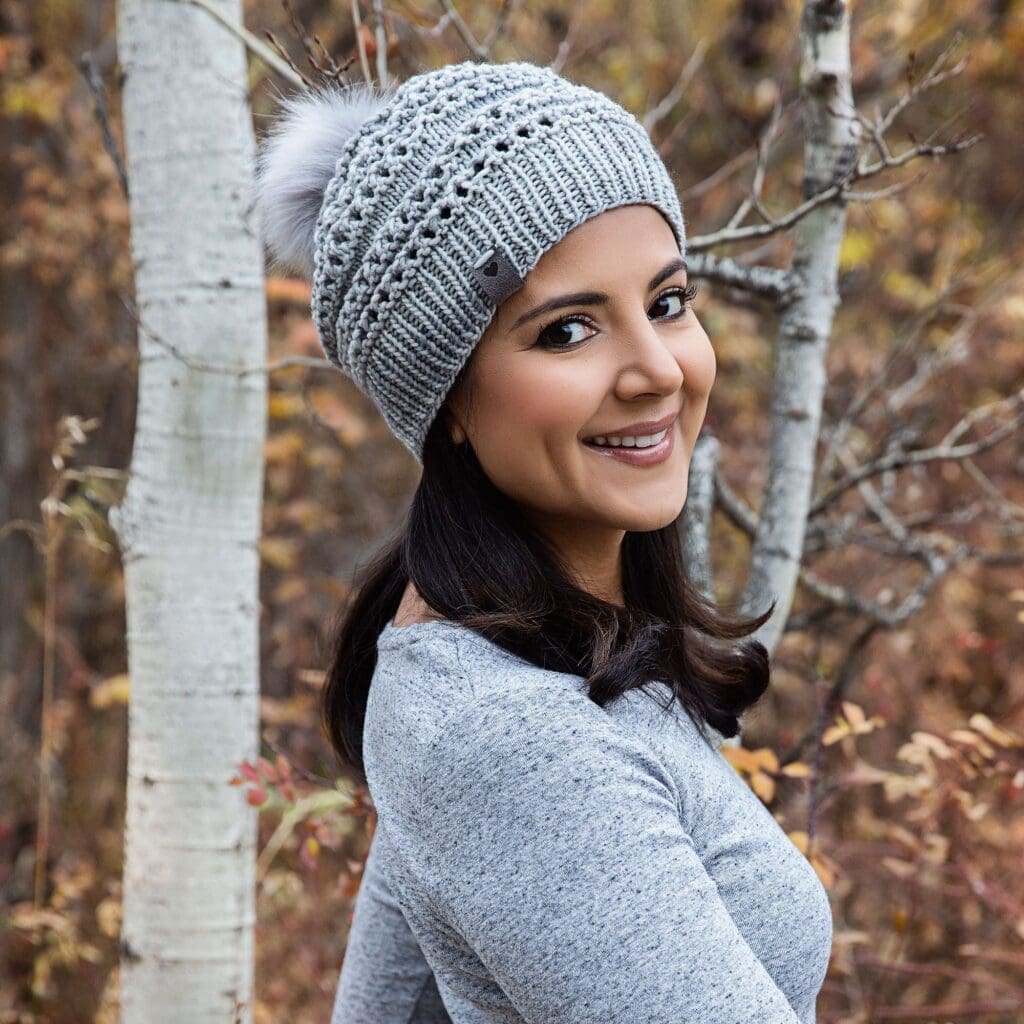
Attach a pompom to the top of the hat with a yarn needle.
Pattern PDF File
I hope you enjoyed this free double brim hat knitting pattern.
If you’d like your own copy, the Ad-Free PDF file (which will be emailed to you automatically) can be purchased through Ravelry, or by clicking the “Purchase PDF File” button to the right.
Thank you so much for your support! It means the world to me, and I’m beyond grateful to be able to share my passion with you all.

I love this pattern & hat but I have a problem with circular needles. I always get confused with which end to start with! I’m 69 yrs old & no dummy but I just can’t seem to get the gist of it! Could you give me some ideas how to make this work better for me!
Hi Pat, here’s a really good video tutorial that should help you understand knitting with circular knitting needles: https://www.youtube.com/watch?v=_BNZx2Nt8Ng
I have purchased your pattern through Ravelry. Do you have instructions for using a worsted weight yarn instead of chunky?
Hi Janet, No I’m sorry but the pattern is for chunky weight yarn. It really wouldn’t look the same with worsted weight and I haven’t worked it with thinner yarn. You could experiment with adding more stitches and a smaller needle size.
Hi! Absolutely love this pattern and can’t wait to have a go 🙂 do you use up both balls of chunky yarn or do you have any scraps left over at the end?
Hi Hazel, You will likely have some yarn left.