Christmas Stocking Knitting Pattern
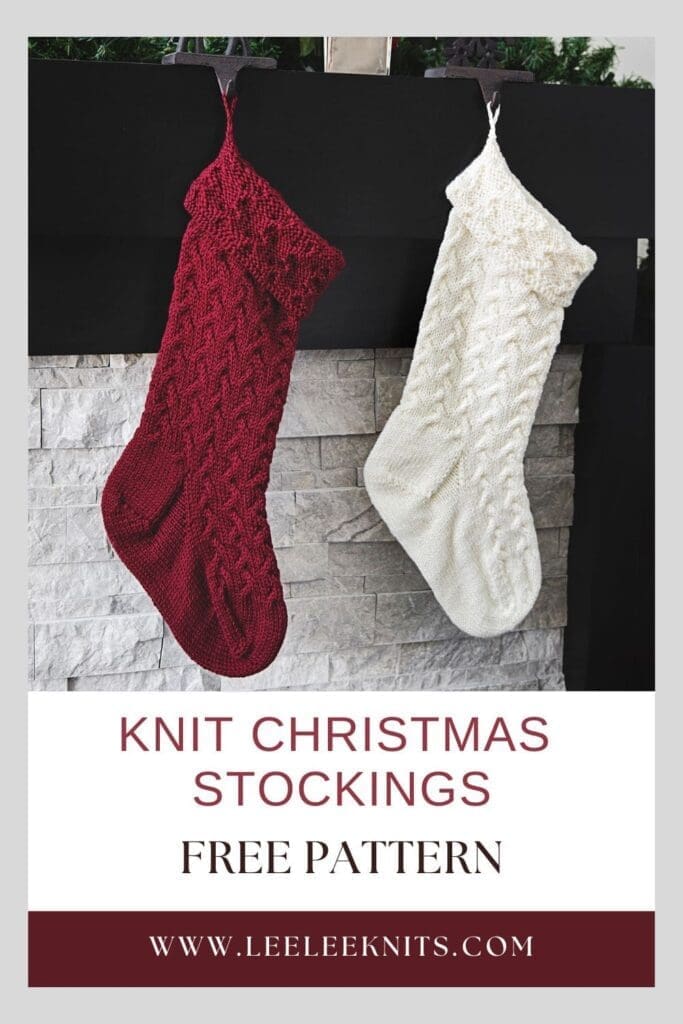
I decided to replace our Christmas stockings this year by knitting them myself! Knit stockings are just so gorgeous, and I thought it would be a great opportunity to share my Christmas Stocking Knitting Pattern with you!
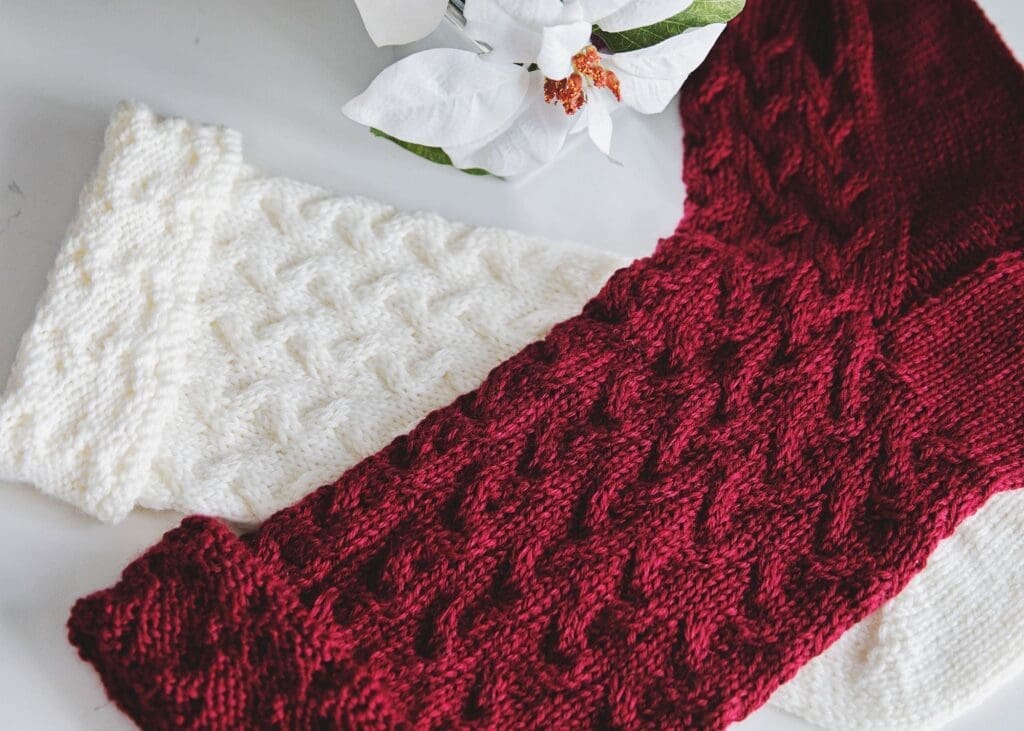
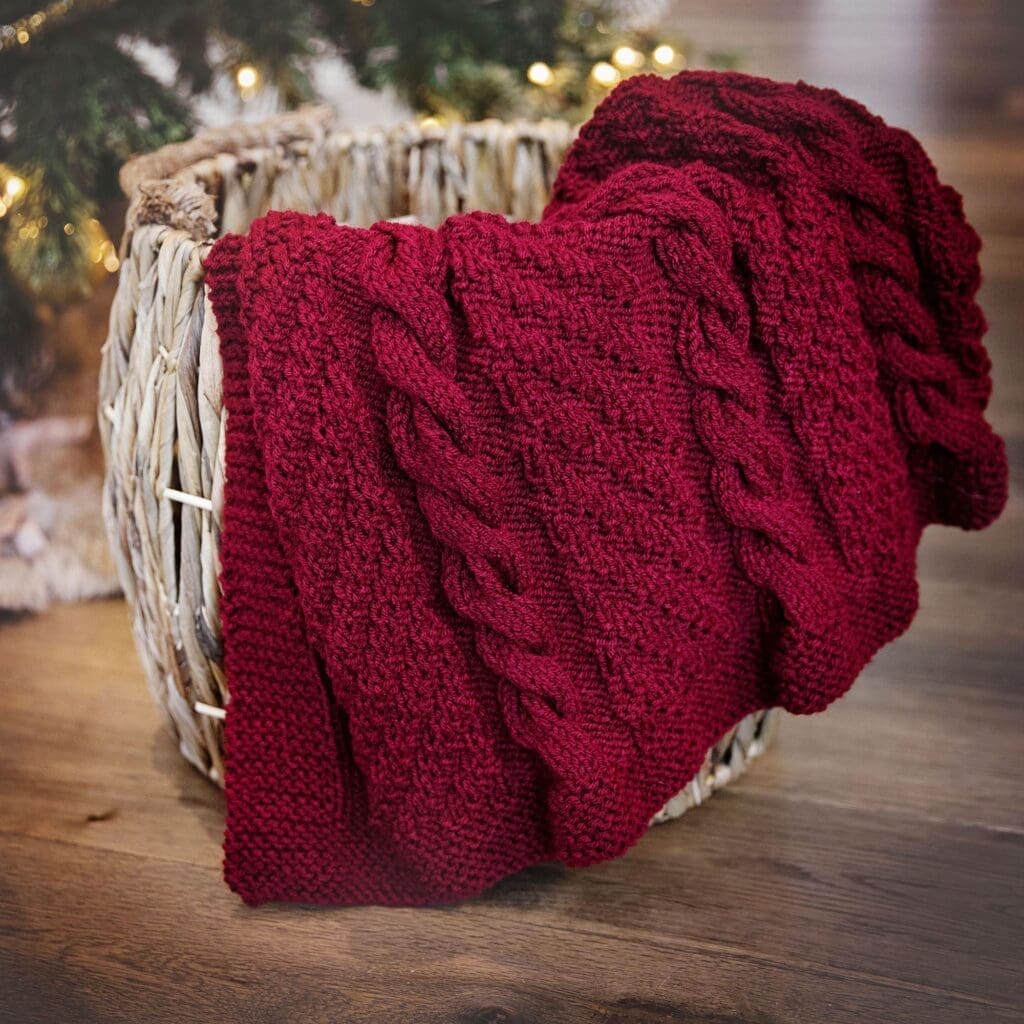
Since I just knit a Cozy Cables Throw Blanket for the sofa, I thought it would be fun to stick with the cable theme for these stockings. I chose to use the Ripple stitch, which a simple eight row repeat. Ripple stitch is pretty easy if you are new to cable knitting, and it looks gorgeous with pretty much any decor style!
These stockings are on the larger end since I wanted them to be as big as our old jumbo Pottery Barn stockings. Plus, the bigger the stockings, the more goodies they can hold! As a result, my yarn choice this time was Knit Picks Wool of the Andes Superwash Bulky Weight Yarn in the colours White, and Hollyberry. I had to make 4 stockings, so I really wanted to use a thicker yarn – and I just love the combination of these two colours.
So here it is, 22 days before Christmas… my very first Christmas stocking knitting pattern. I hope you guys enjoy this fun festive pattern, and I’m sorry that I haven’t had a chance to post it sooner. I don’t know how this happens, but every year the holidays creep up on me!

Pay it Forward!
I hope you enjoy this pattern as much I did creating it! If so, please feel free to share the link to this page on your social media or Pinterest account.
I truly appreciate all of you who get the word out about this site and my patterns!
❤️ Alnaar
Please note that some of the links on this page are affiliate links and I will earn a commission if you purchase through these links. I use all of the products listed on this page and recommend them because they are companies that I have found helpful and trustworthy. Please let me know if you have any questions about anything I have recommended!
Christmas Stocking Knitting Pattern
You will Need the Following Materials To Knit One Christmas Stocking:
- US size 9 (5.5 mm) circular knitting needles (min 32” cord for magic loop method), or double pointed knitting needles.
- 2 skeins (274 yards) of Knit Picks Wool of the Andes Superwash Bulky yarn in White or Hollyberry.
- Scissors.
- Stitch marker.
- Tapestry/yarn needle.
- Size 8 (5mm) crochet hook to make hanging loop.
Pattern PDF File
The free knitting pattern for these Christmas stockings is available right here on this page, as this site is sustained through ad support.
If you’d like your own copy, the Ad-Free PDF file (which will be emailed to you automatically) can be purchased through Ravelry, or by clicking the “Purchase PDF File” button to the right.
The PDF file also includes two additional sizes so that you can make this hat for smaller and larger head circumferences.
Thank you so much for your support! It means the world to me, and I’m beyond grateful to be able to share my passion with you all.
Gauge:
18 stitches X 22 rounds = 4” in stockinette stitch.
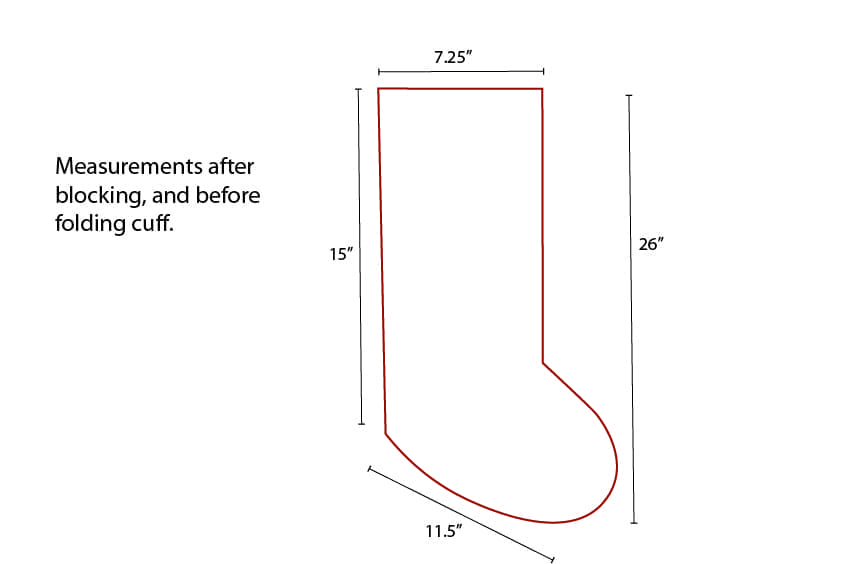
Knit Christmas Stocking Measurements:
Notes – Read Before Knitting Your Christmas Stocking:
The stocking is knit in the round from the cuff down with a French heel. To knit this project, you will need to know the following techniques:
- Basic knit and purl stitch, as well as the stitches listed in the abbreviations section below.
- Knitting in the round on double pointed needles or with circular needles using the Magic Loop method.
- Kitchener Stitch for invisibly grafting live stitches together (used to complete the toe).
- Crochet chain stitch for the hanging loop.
More Free Knitting Patterns from Leelee Knits!
Christmas Stocking Pattern Abbreviations:
k: Knit.
p: Purl.
pm: Place a stitch marker on your needle.
st: Stitch.
sl1k: Slip one stitch knitwise.
sl1p: Slip one stitch purlwise.
c4f: C4F: Cable 4 Front (slip 2 stitches onto your cable needle to the front of your work, knit the next two stitches, then knit the two stitches off the cable needle).
C4b: C4B: Cable 4 Back (slip 2 stitches onto your cable needle to the back of your work, knit the next two stitches, then knit the two stitches off the cable needle).
k2tog: Knit two stitches together decrease stitch.
ssk: Slip one stitch knitwise, slip next stitch knitwise, then insert left hand needle in front of slipped stitches and knit the two stitches together.
Special Stitches:
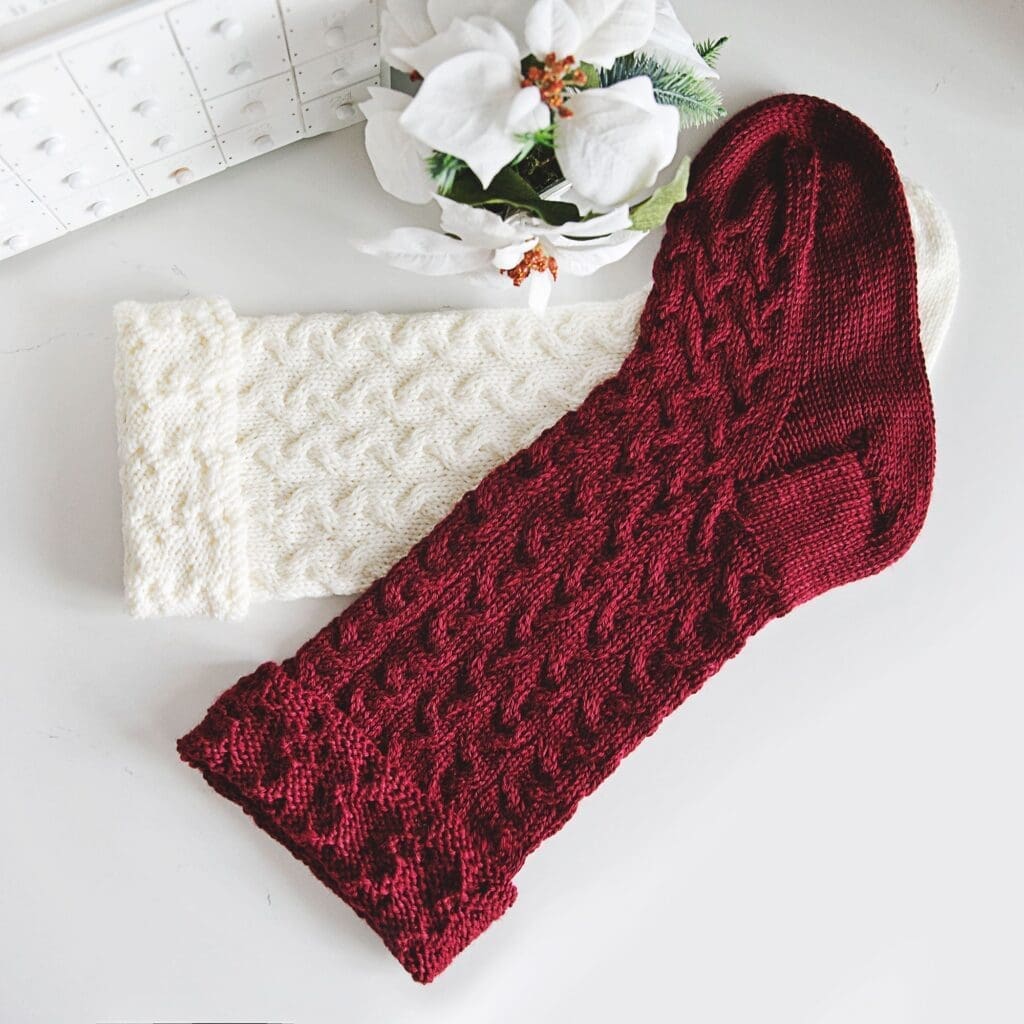
Ripple Stitch:
Rounds 1-2: Knit all sts.
Round 3: *K1, c4b, k2; repeat from * to end of round.
Rounds 4-6: Knit all sts.
Round 7: *K3, c4f; repeat from * to end of round.
Round 8: Knit all sts.
Pattern Instructions:
Begin knitting your Christmas stocking by casting on 70 sts and distribute them equally on your needles. Then mark the beginning of the round with a stitch marker and join (being careful not to twist the stitches). Continue to Cuff.
Cuff:
Working in the round, complete rounds 1 & 2 below.
Round 1: Knit all sts.
Round 2: Purl all sts.
Continue to Leg.
Leg:
Continue knitting the stocking in the round in Ripple Stitch until leg and cuff combined measures 14 inches in length, and then continue to Heel Flap. Take note of which round of the Ripple Stitch you stop on for when you continue working the instep later.
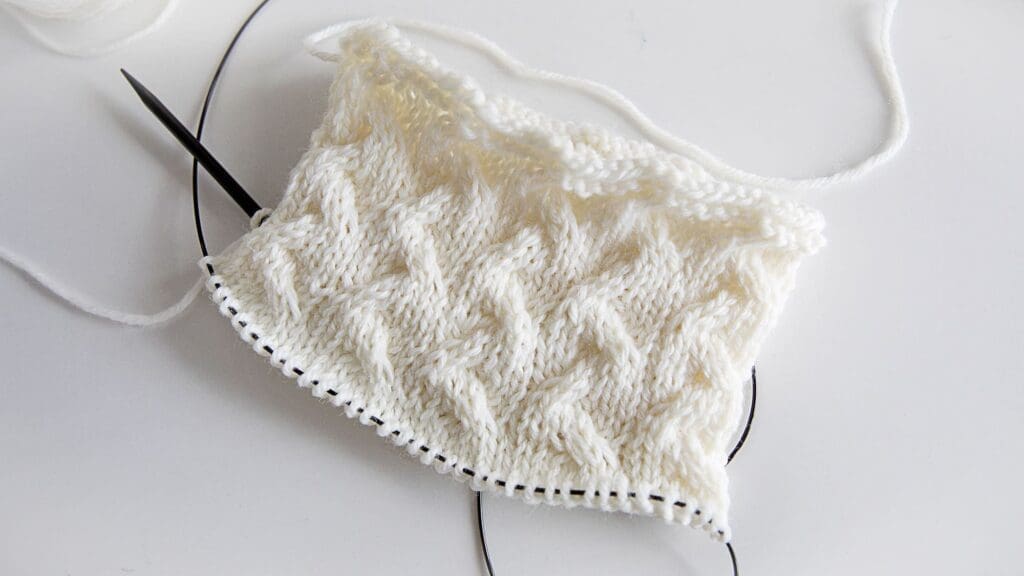
Heel Flap:
The heel flap of the stocking is knit back and forth in rows on the first 35 sts. The remaining 35 sts will stay on the cord (or needles if using dpns) and worked later.
Repeat rows 1 and 2 below ten times (twenty rows total), and then continue to Heel Turn.
Row 1: Sl1k, knit remaining sts.
Row 2: Sl1p, purl remaining sts.
Heel Turn:
Complete rows 1-12 below.
Row 1: Sl1k, k22, ssk, k1, turn.
Row 2: Sl1p, p12, p2tog, p1, turn.
Row 3: Sl1k, k13, ssk, k1, turn.
Row 4: Sl1p, p14, p2tog, p1, turn.
Row 5: Sl1k, k15, ssk, k1, turn.
Row 6: Sl1p, p16, p2tog, p1, turn.
Row 7: Sl1k, k17, ssk, k1, turn.
Row 8: Sl1p, p18, p2tog, p1, turn.
Row 9: Sl1k, k19, ssk, k1, turn.
Row 10: Sl1p, p20, p2tog, p1, turn.
Row 11: Sl1k, k21, ssk, turn.
Row 12: Sl1p, p21, p2tog, turn.
23 sts remain. Continue to Gusset.
Gusset:
Knit across the remaining 23 sts and then pick up and knit 12 sts along the side of the heel flap. Knit in Ripple Stitch for the next 35 sts (instep), and then pick up and knit 12 sts along the other side of the heel flap. K11, and pm to mark beginning of round in the centre of the Christmas stocking sole.
Repeat rounds 1 and 2 below to shape the gusset. When 70 sts remain, continue to Foot.
Round 1: K to 3 sts before the instep begins, k2tog, k1. Knit across instep in Ripple Stitch. K1, ssk, knit to end of round.
Round 2: K to instep. Knit across instep in Ripple Stitch. Knit remaining sts.
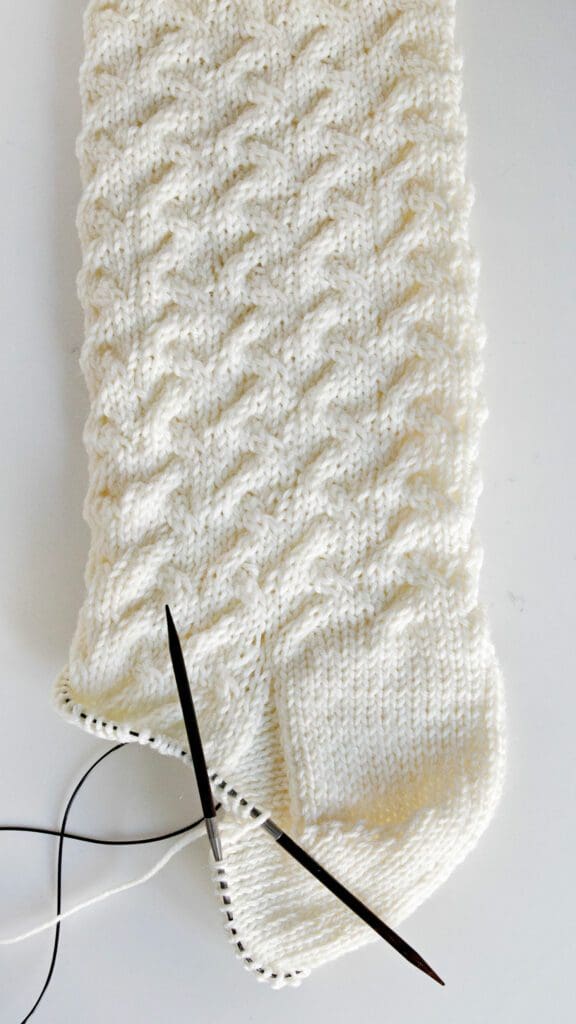
Foot:
Work in the round, knitting the sole sts and working instep sts in Ripple Stitch for 3 more inches and then continue to Toe.
Toe:
Repeat rounds 1 and 2 below until 46 stitches remain, and then repeat just round 1 four more times (30 sts remain). At the end of the last repeat, knit past the center sole marker to the end of the sole sts and then continue to Finishing.
Round 1: Knit to last 3 sole sts, k2tog, k1. On top of foot, k1, ssk, knit to last 3 sts, k2tog, k1. On second half of sole, k1, ssk, knit to end of round (this will decrease a total of 4 sts).
Round 2: Knit all sts.
Finishing:
With one needle holding top of foot sts, and second needle holding sole sts, close toe with Kitchener stitch. Finally, fasten off and weave in loose ends.
Wet block the stocking by immersing it in cold water until it is completely soaked. Then gently squeeze out the excess water and lay the stocking flat to dry.
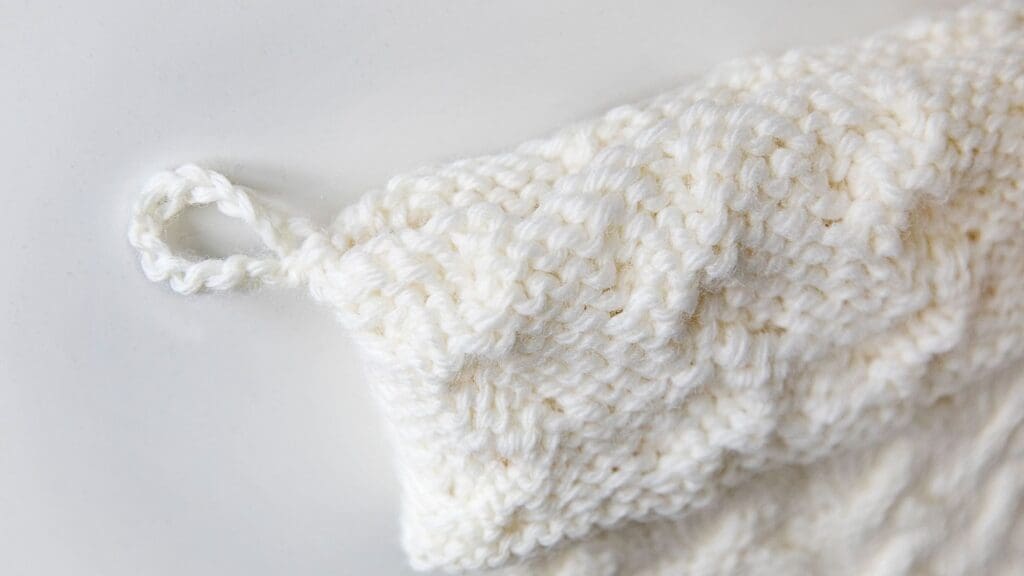
Once the stocking is completely dry, fold over the cuff 3-4 inches. Cut a piece of yarn to about 16 inches and make a slip knot on one end. Then insert a crochet hook through the slip knot and the inside of the stocking cuff, pull through a loop, and chain 12. Insert the hook back into the first chain and pull the remaining yarn through to secure. Weave in the tails.
Pattern PDF File
I hope you enjoyed this free Christmas Stocking knitting pattern.
If you’d like your own copy, the Ad-Free PDF file (which will be emailed to you automatically) can be purchased through Ravelry, or by clicking the “Purchase PDF File” button to the right.
Thank you so much for your support! It means the world to me, and I’m beyond grateful to be able to share my passion with you all.



These are beautiful! Thank you for all your amazing patterns!
You’re welcome Tammy! Happy Holidays ❤️
Question: On here it says the yarn is bulky, but the link takes you to yarn that is a different weight (worsted). Which one does this pattern actually use?
Hi Allison, I just clicked on the link and it goes to the Brava Wool of the Andes Superwash Bulky yarn.
Can you make these stockings on straight needles?
Hi Jan, Thank you for your question! This pattern is designed to be knit in the round, which is essential for achieving the seamless construction of the stockings. Unfortunately, it wouldn’t work as written with straight needles.