
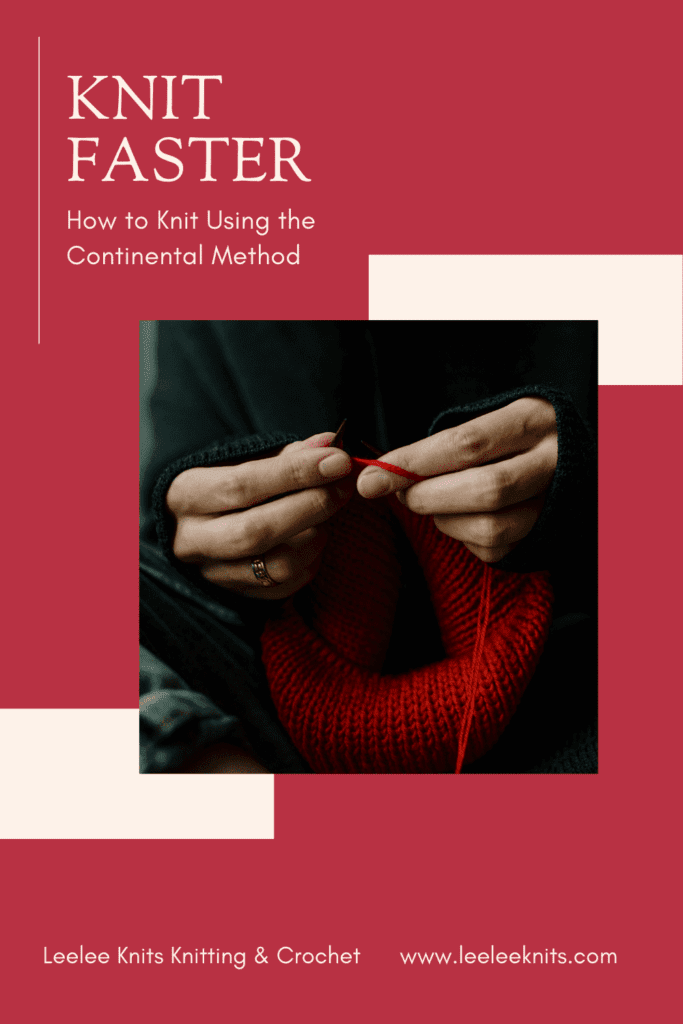
Continental Knitting Method Tutorial
Why Learn Continental Knitting?
Knitting is a great way to relax and be creative at the same time. It can also be frustrating at times. If you knit by throwing your yarn (also known as the English method of knitting), then you’ve probably felt annoyed with the amount of time it takes to complete a large project. In fact, the most frequently asked question that I get is “how can I knit faster?!”. My answer to this question is to switch to knitting using the continental knitting method.
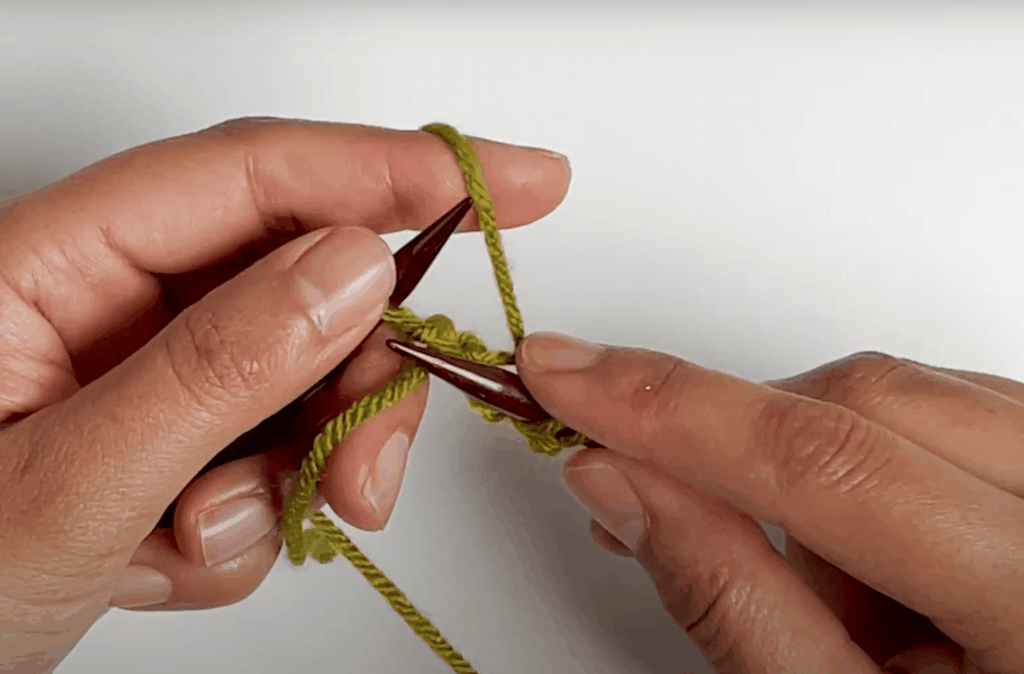
The continental method of knitting involves holding the yarn in your left hand. Instead of throwing it around the needle (like in the English method), you pick it up with your right-hand needle. The benefit is that there is less hand movement to get the yarn around the needle. In other words, less action is required per stitch. This not only speeds up your knitting, but it also prevents issues like repetitive strain injury.
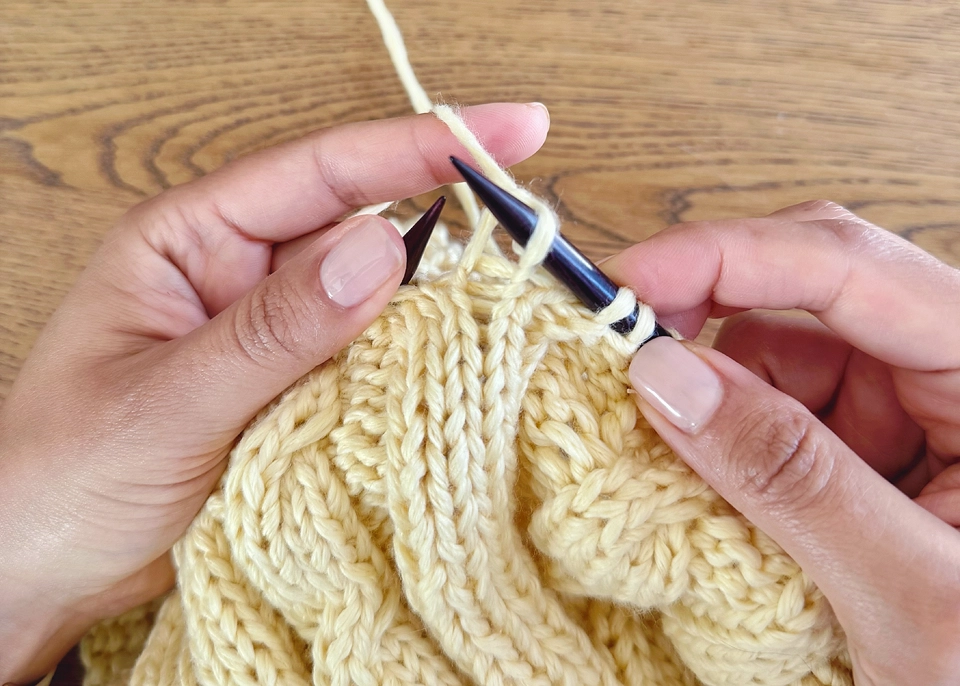
I also find that I’m better able to control tension with the continental method. This because there is less movement of the hand holding the yarn! The image below shows the yarn being held in the left hand with the continental style of knitting. The right hand picks up the yarn, and the left hand can focus on maintaining a consistent tension.
To sum it up in a list, here are the reasons why I prefer the continental method for knitting:
- Faster knitting – Less hand movement means more efficient stitches, so you can finish projects quicker.
- Reduces hand strain – Fewer repetitive motions help prevent injuries like repetitive strain injury (RSI).
- Improved tension control – Holding the yarn in your left hand gives you better control over yarn tension.
- Less overall movement – Continental knitting requires fewer motions per stitch compared to the English method.
- Ideal for large projects – The speed and efficiency make it especially helpful for tackling bigger knits.
How it’s Done:
How to Knit Using the Continental Method (Step-by-Step)
Step 1: Hold your yarn in your left hand


Most people wrap it around their fingers to control the tension. Do whatever feels comfortable and lets the yarn flow smoothly.
Step 2: Insert your right needle into the first stitch (front to back)
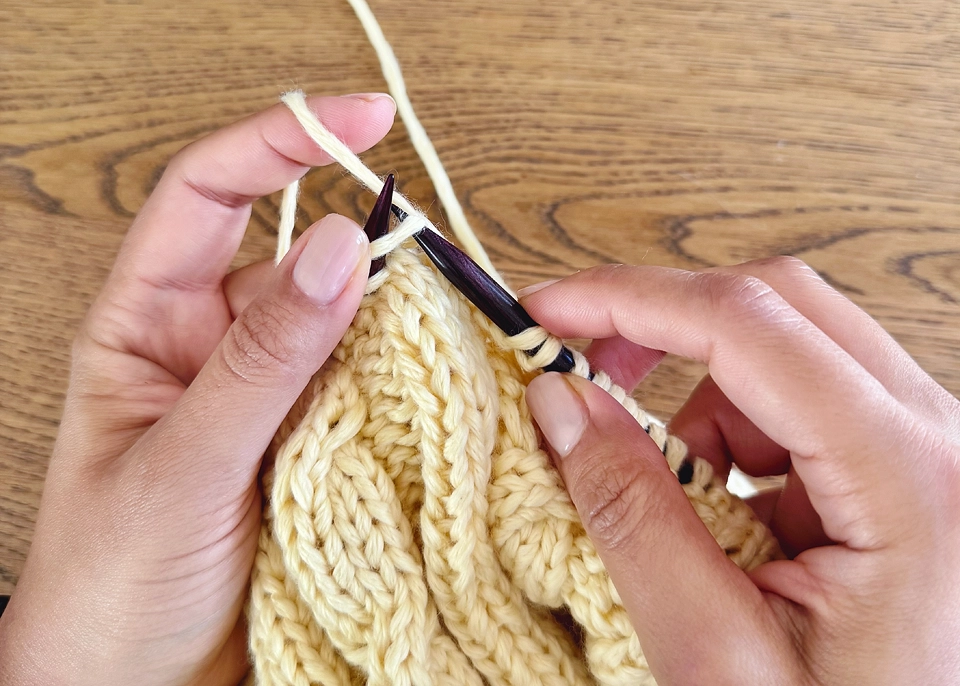
With your yarn in place, insert the right-hand needle into the stitch on the left needle as if to knit. You’ll go through the front loop from bottom to top.
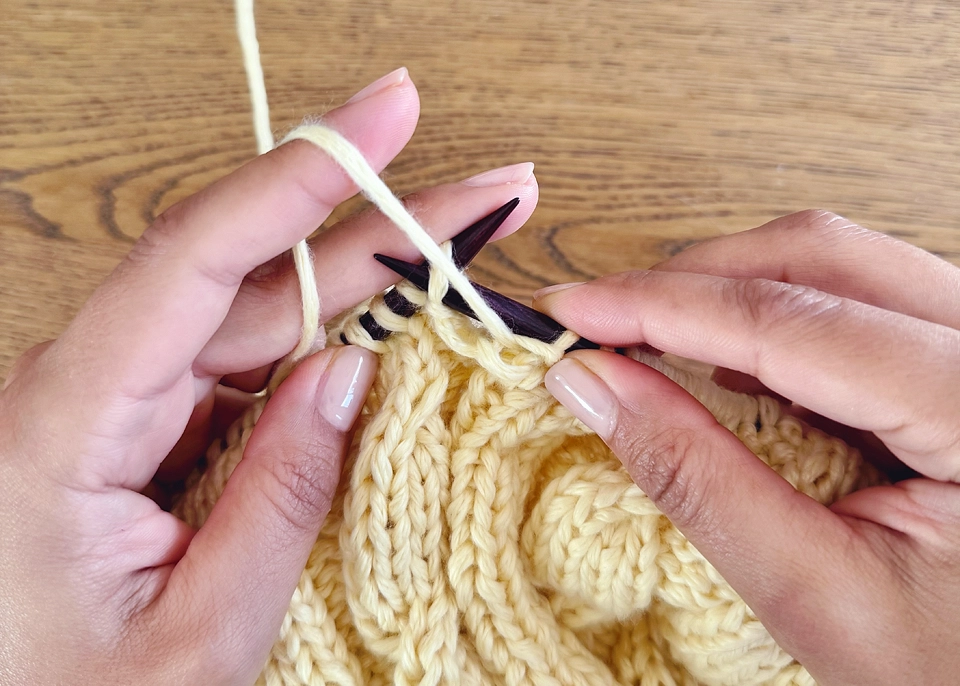
Step 3: Scoop the yarn with your right needle
Instead of throwing the yarn, you’ll use the right needle to “scoop” or “pick” the working yarn from your left hand by moving the tip over it.
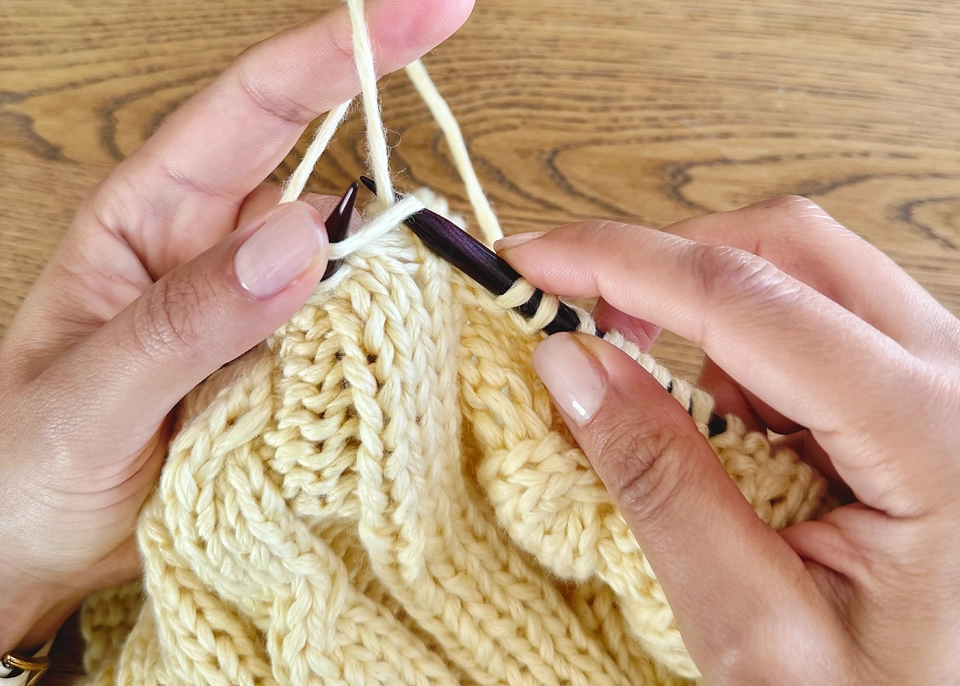
Step 4: Pull the loop through

Pull the loop of yarn through the stitch, forming your new stitch on the right-hand needle.
Step 5: Slide the old stitch off the left needle
Once the new stitch is on your right needle, slide the old one off the left needle. That’s it—you’ve just knit one stitch with the continental method!
Repeat steps 2–5 for each knit stitch across the row.
How to Purl Using the Continental Method (Step-by-Step)
Step 1: Hold the yarn in your left hand (in front of your work)

Just like with continental knitting, your working yarn stays in your left hand, but this time, make sure it’s positioned in front of your needles instead of the back.
Step 2: Insert your right needle into the front of the stitch
Slide the tip of your right-hand needle from right to left into the first stitch on your left needle. You’re going into the stitch from the front, as if to purl.
Step 3: Scoop the yarn with your right needle

With your yarn in front, use your right needle to scoop the yarn from top to bottom, catching it with the tip.
Step 4: Pull the loop through

Gently pull that loop of yarn through to the back of the stitch—you’ve just made a purl!
Step 5: Slide the old stitch off the left needle

Now that your new stitch is on the right needle, push the old stitch off the left one.
Repeat steps 2–5 for each purl stitch across the row.
Video Tutorial:
To help you understand the difference between the two styles of knitting (English vs. continental), as well as demonstrate how I knit and purl using the continental method, I created a video tutorial that you can watch below. You can also find this video on the Leelee Knits YouTube Channel.

I hope you enjoy this video and try out the continental method for knitting this year to speed up your knitting! It will be slow to begin, so don’t feel discouraged if it takes some time for you to find your rythm. The key is to practice as much as you can. With practice, I promise you’ll notice that your knitting is indeed faster. This is because the continental method requires less hand movement. There are fewer steps per stitch and a more fluid, efficient motion overall.
More Knitting Video Tutorials
If you enjoyed this tutorial on the continental knitting method, here are a few more knitting tutorials that all have videos to guide you along as well.

Wow! I’m convinced! I’m a beginner and since I just watched your continental knitting demonstration I have renounced my knitting citizenship and am now a continental alien practicing my newfound style. Thanks ever so much!
You’re welcome Vicki!