
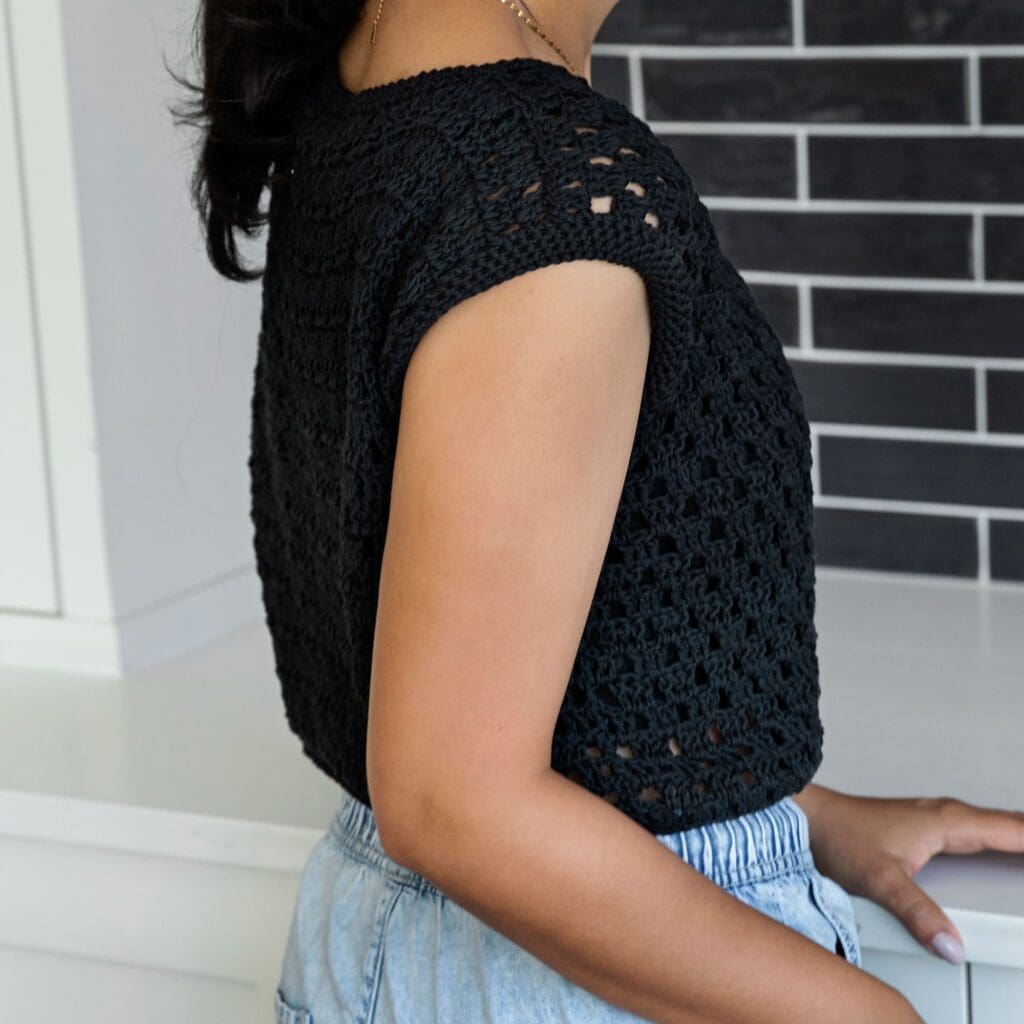
Crochet Mesh Top Pattern
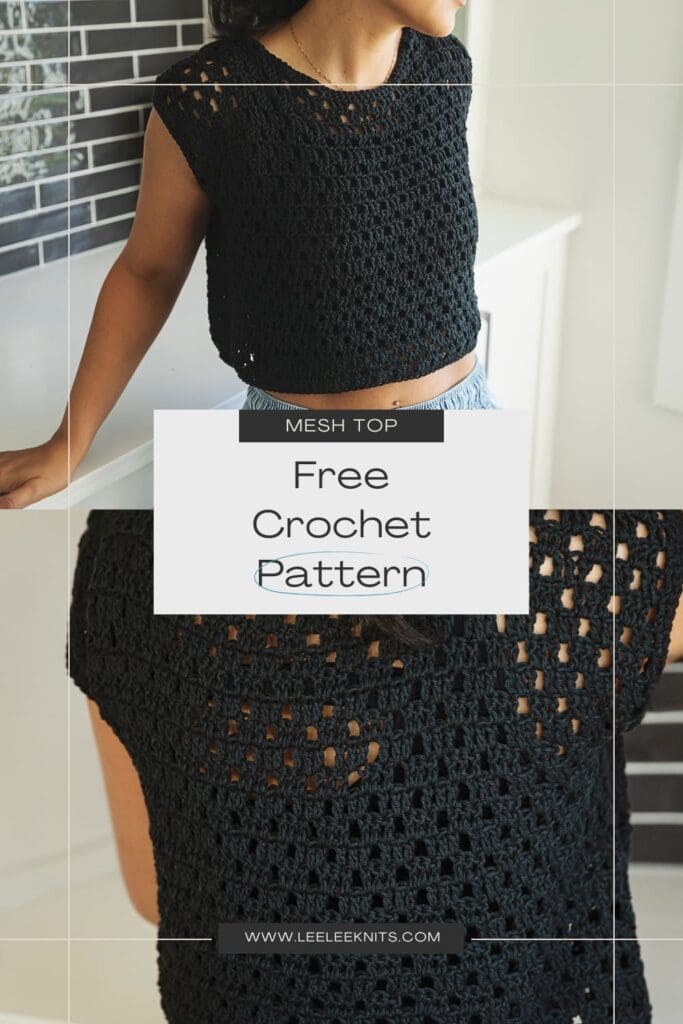
Mesh Top Crochet Pattern Plus Tutorial
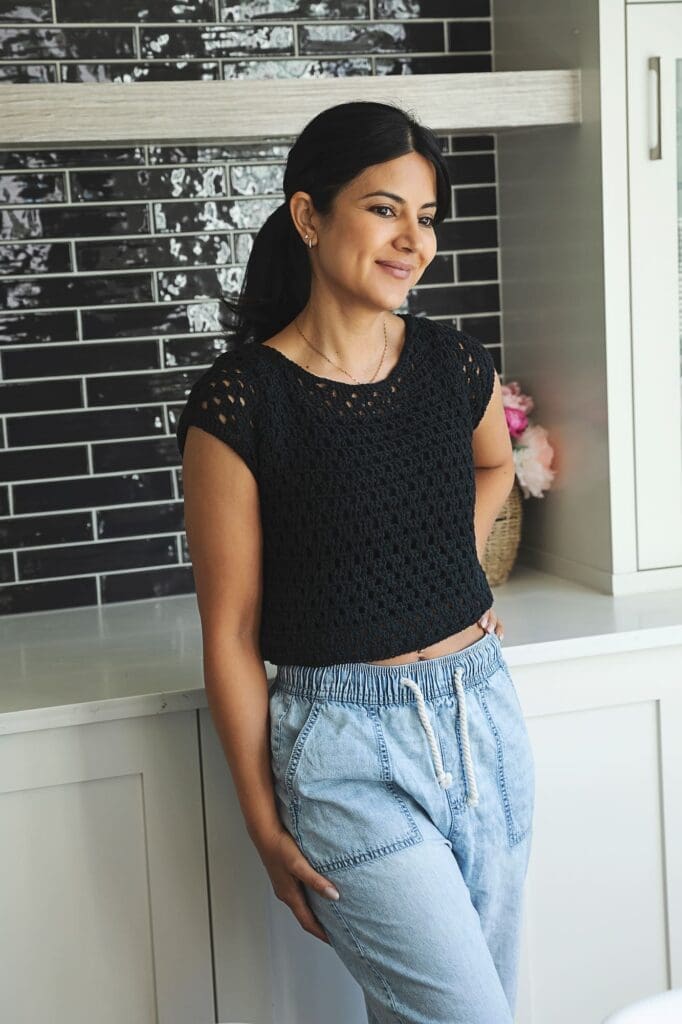
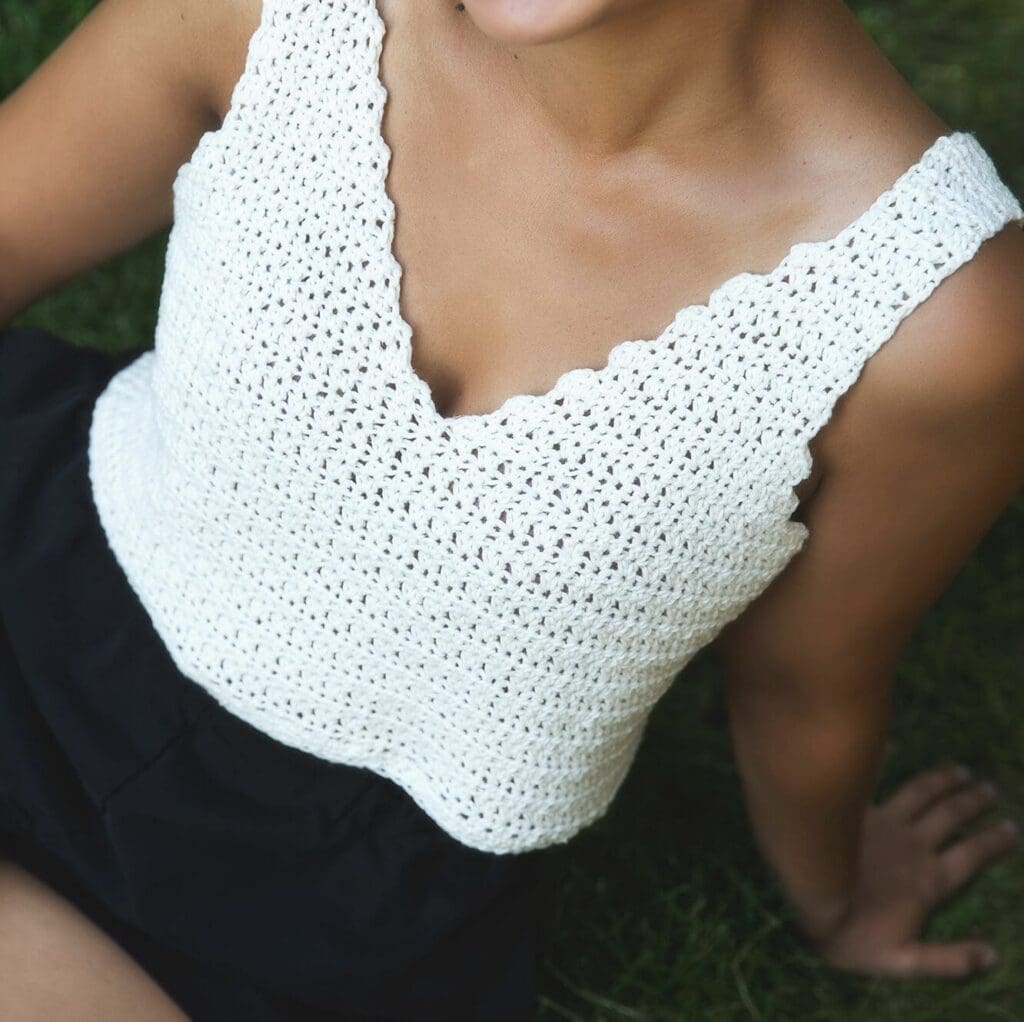
I’ve got something really exciting to share with you today guys! This crochet mesh top pattern has been in the works for months because I wanted to make sure it was absolutely perfect. I remember when I was new to crochet, I was always on the lookout for patterns that were easy to follow but still stylish enough to actually wear. That’s exactly what I had in mind when designing this top. It’s super versatile—you can layer it over a tank for the office or pair it with a cute bralette for a fun night out with the girls!
Easy to Follow Design
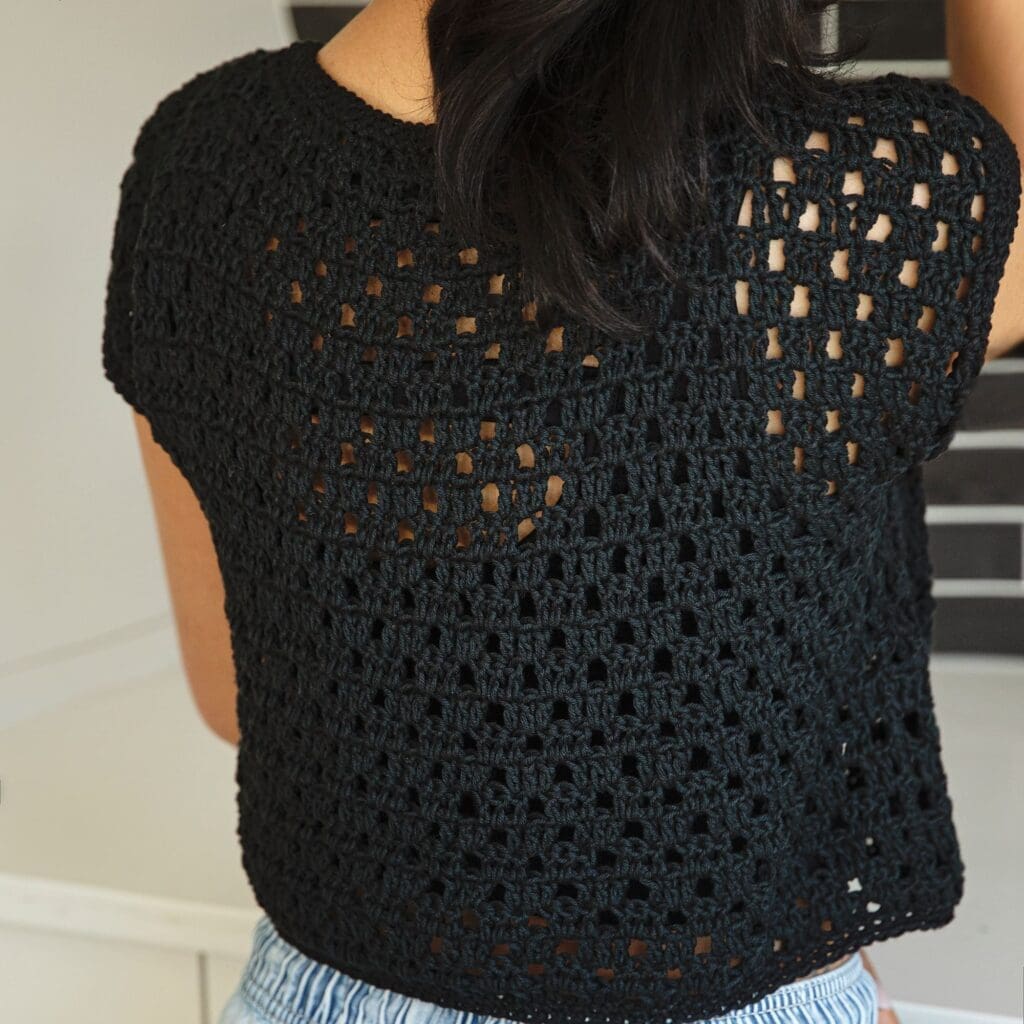
I designed this mesh top pattern to be as simple as possible! It’s a breeze to make with just two panels—a front and back—using the clover stitch, a popular and straightforward mesh crochet stitch. After completing the panels, you’ll seam them together with a whip stitch. Then, the finishing touches, like the hem, sleeves, and neckline, are added by single crocheting around the edges.
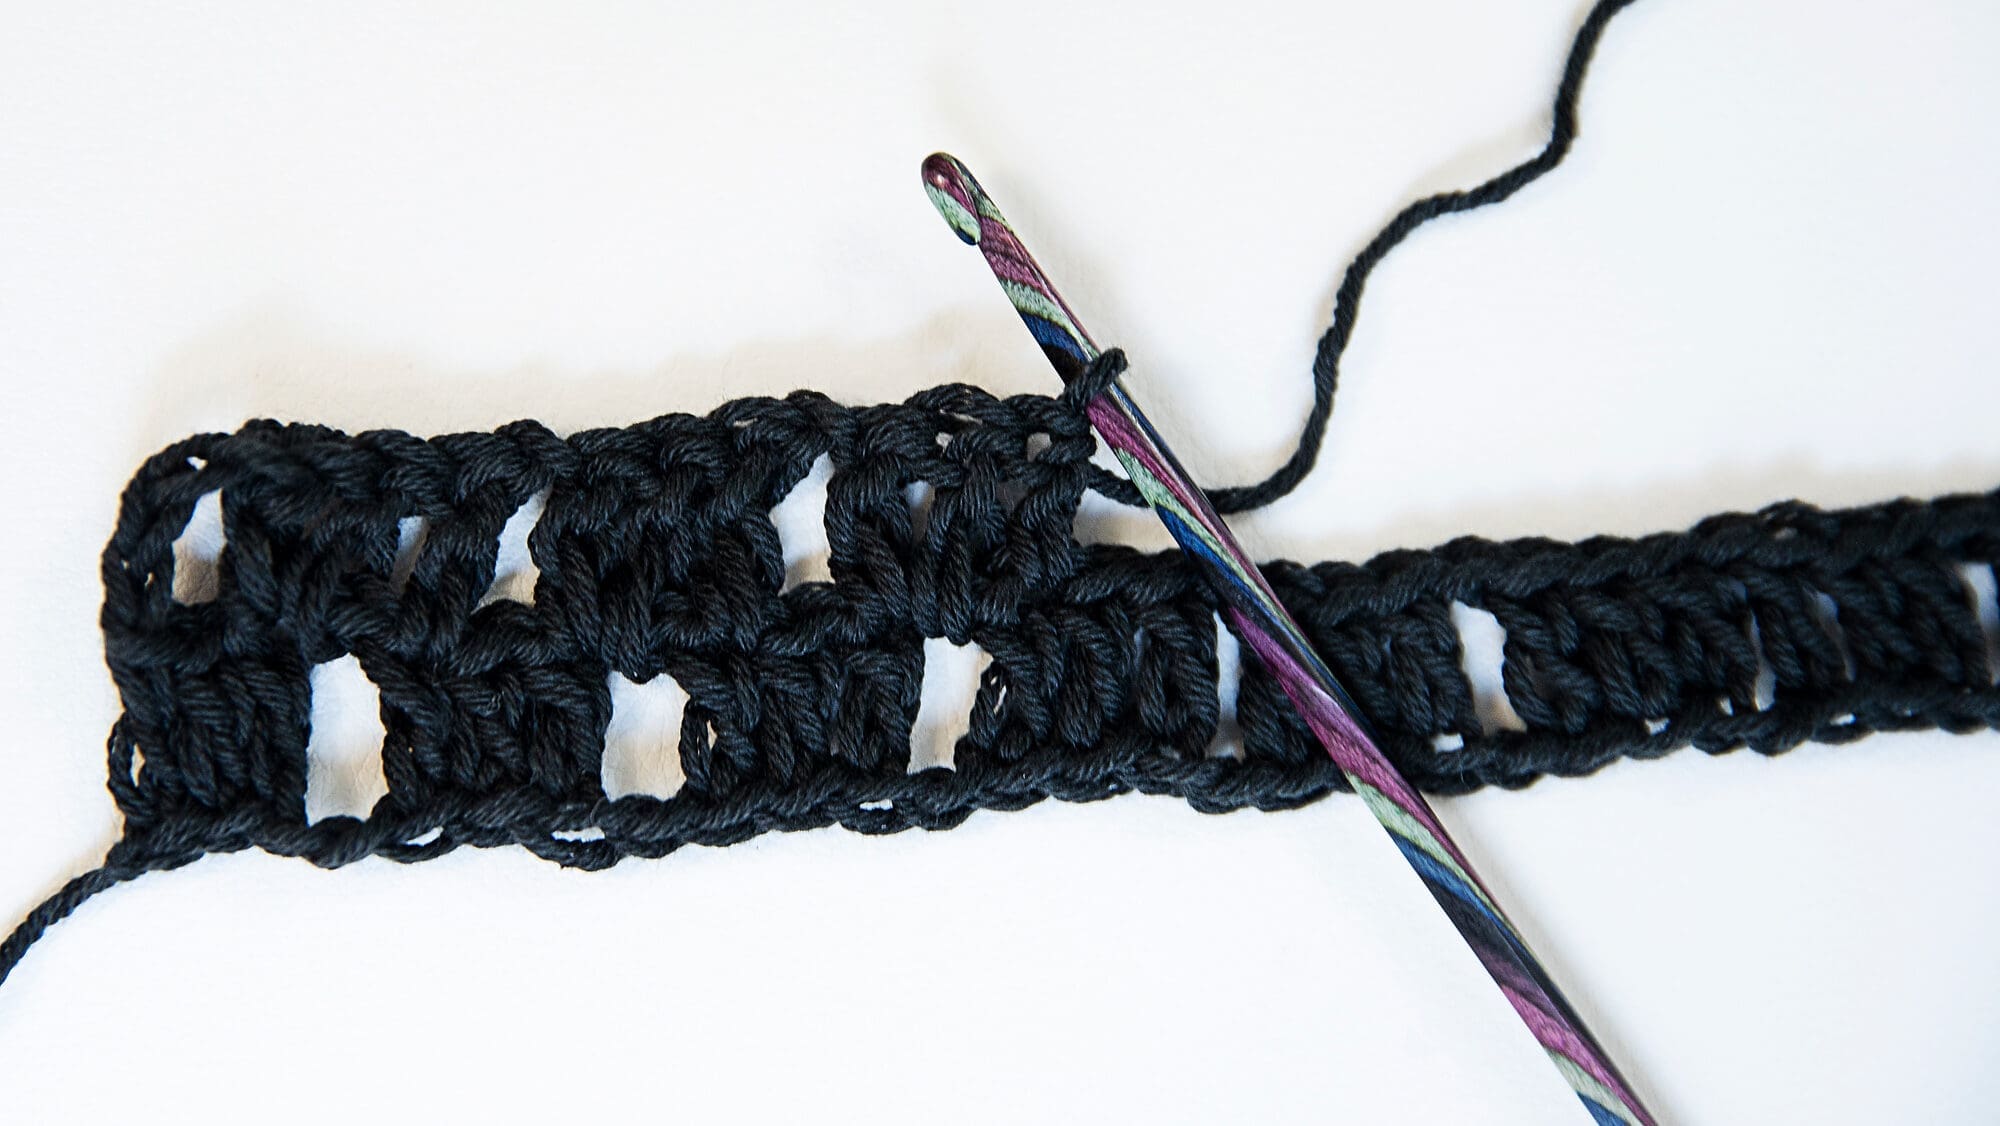
If you haven’t tried the clover stitch yet, you’ll be glad to know it’s one of the easiest mesh crochet stitches. It’s worked by alternating groups of three double crochets with a chain stitch, forming clusters that look like small clovers. The pattern requires repeating two rows, with the clusters offset in each row. It’s beginner-friendly, and gives a stunning, lacy look to the fabric!
Pin It For Later!
I hope you enjoy this pattern! If so, please feel free to share the link to this page on your social media or Pinterest account.
I truly appreciate all of you who get the word out about this site and my patterns!
❤️
Alnaar
Helpful Video to Follow Along
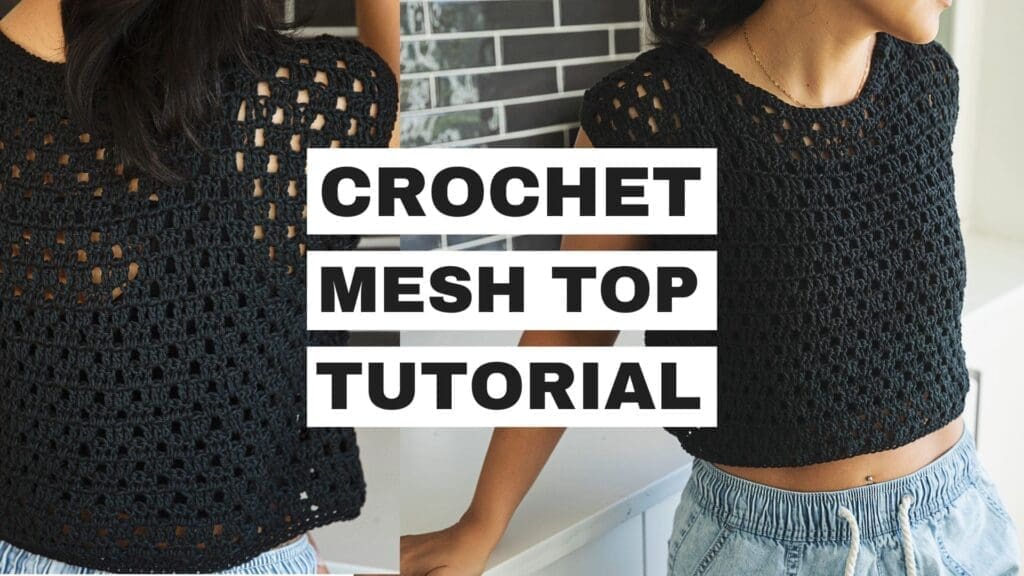
And if you’re a visual learner, don’t worry! I’ve got you covered with a full video tutorial over on my YouTube Channel. In the video I walk you through the whole thing step by step. You can check out the following link and follow along to make your own: Crochet Mesh Top Pattern Video Tutorial. It’s a quick project and so satisfying to see come together!
Yarn Options
I used Paintbox Yarns Cotton Mix DK for this top, and let me tell you—I am so happy with the end result. The cotton blend creates a light, flowy, breathable fabric that feels so comfortable against your skin. It’s also got just the right amount of drape, so the top hangs perfectly without being too stiff or heavy. Whether you’re wearing it to the beach, out for coffee, work, or even just lounging at home, this top is the perfect go-to for easy, effortless style thanks to the this yarn!
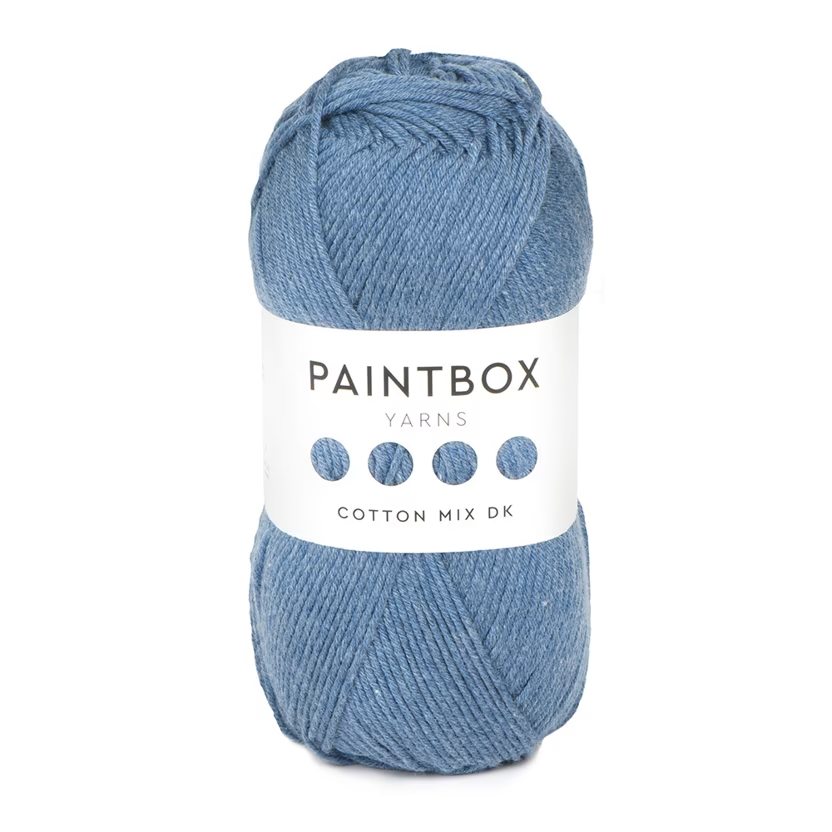
I know not everyone has access to Cotton Mix DK, but don’t worry! Just choose a DK weight cotton yarn with a bit of slip. This will allow the fabric to have a nice flow and not hang stiffly.
Please note that some of the links on this page are affiliate links, which means that I will earn a commission if you purchase through these links. I use all of the products listed on this page and recommend them because they are companies that I have found helpful and trustworthy. Please let me know if you have any questions about anything I have recommended!
Free Pattern – Crochet Mesh Top
Materials – What You’ll Need to Crochet Your Top
You will need the following materials to make one top:
- Paintbox Yarns Cotton Mix DK weight yarn in Pure Black (or colour of your choice):
- 500(540, 590, 650, 720, 800) yards.
- Size F5 (3.75 mm) crochet hook.
- Scissors.
- Measuring Tape.
- Tapestry/yarn needle.
Ad Free PDF File
The free pattern for this crochet mesh top is available right here on this page, as this site is sustained through ad support.
If you like things a little more streamlined, I’ve put together an ad-free, downloadable PDF version of the pattern. It’s perfect for easy printing and can be can be purchased through My Ravelry Store or by clicking the “Purchase PDF File” button to the right.
Thank you so much for your support! It means the world to me, and I’m beyond grateful to be able to share my passion with you all.
Abbreviations
Ch : Chain.
Sc : Single Crochet.
Dc : Double Crochet.
Sts : Stitches.
“ : Inches.
Sizes
This loose fitting top is meant to have plenty of ease around the bust.
The pattern has been written for the following sizes: XS(S, M, L, XL, 2XL).
Bust circumference measurements: 38(42,46,50,54,58) “.
Gauge
16 sts X 7 rows = 4″ in Double Crochet.
Construction/Notes
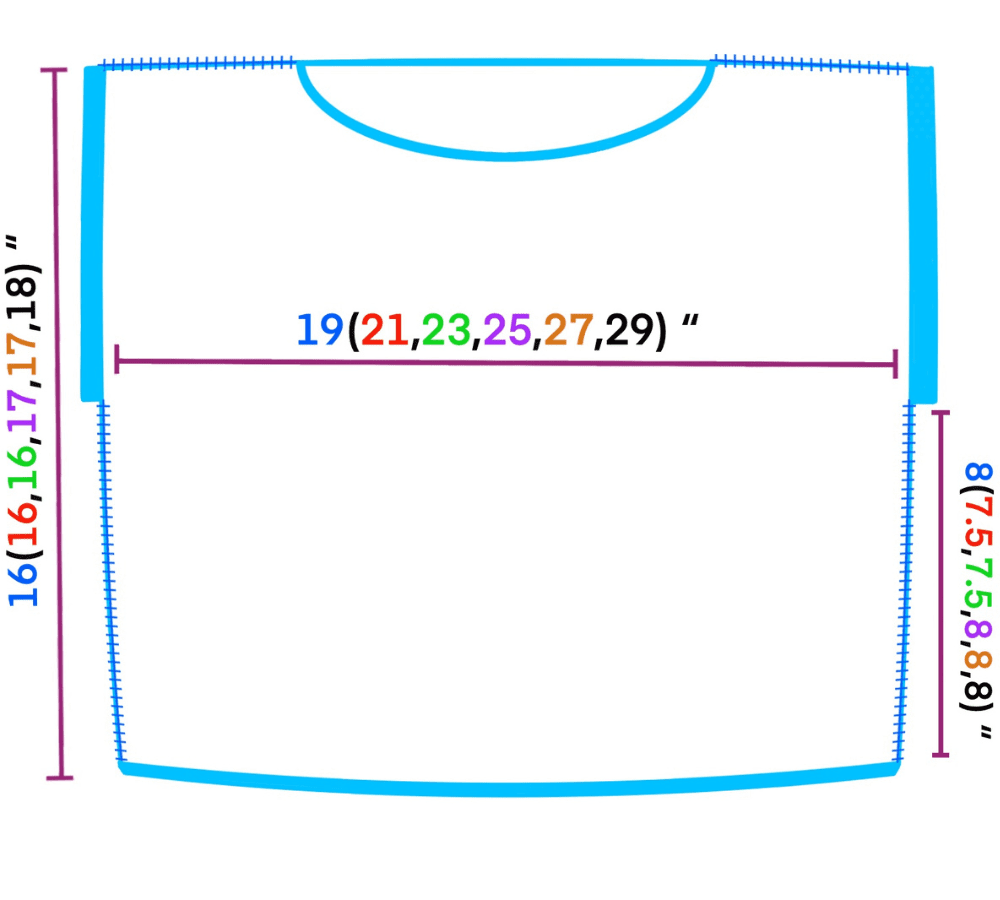
- Top is worked flat, with one back panel and one front panel.
- The panels are seamed together at the sides and shoulders with a whip stitch as depicted in the diagram below.
- The bottom and neckline trim, as well as the sleeve cuffs are worked by single crocheting in the round around the bottom edge, neckline, and armholes once the panels have been seamed together.
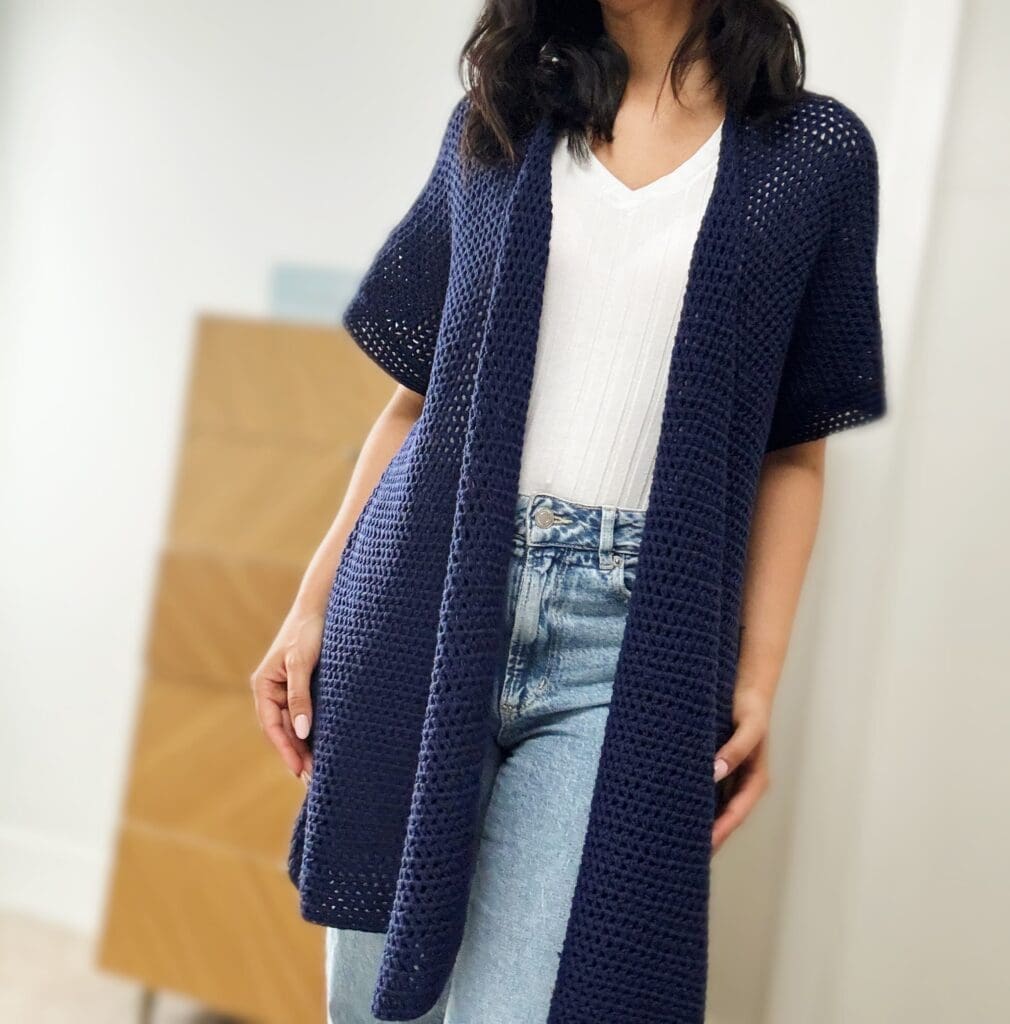
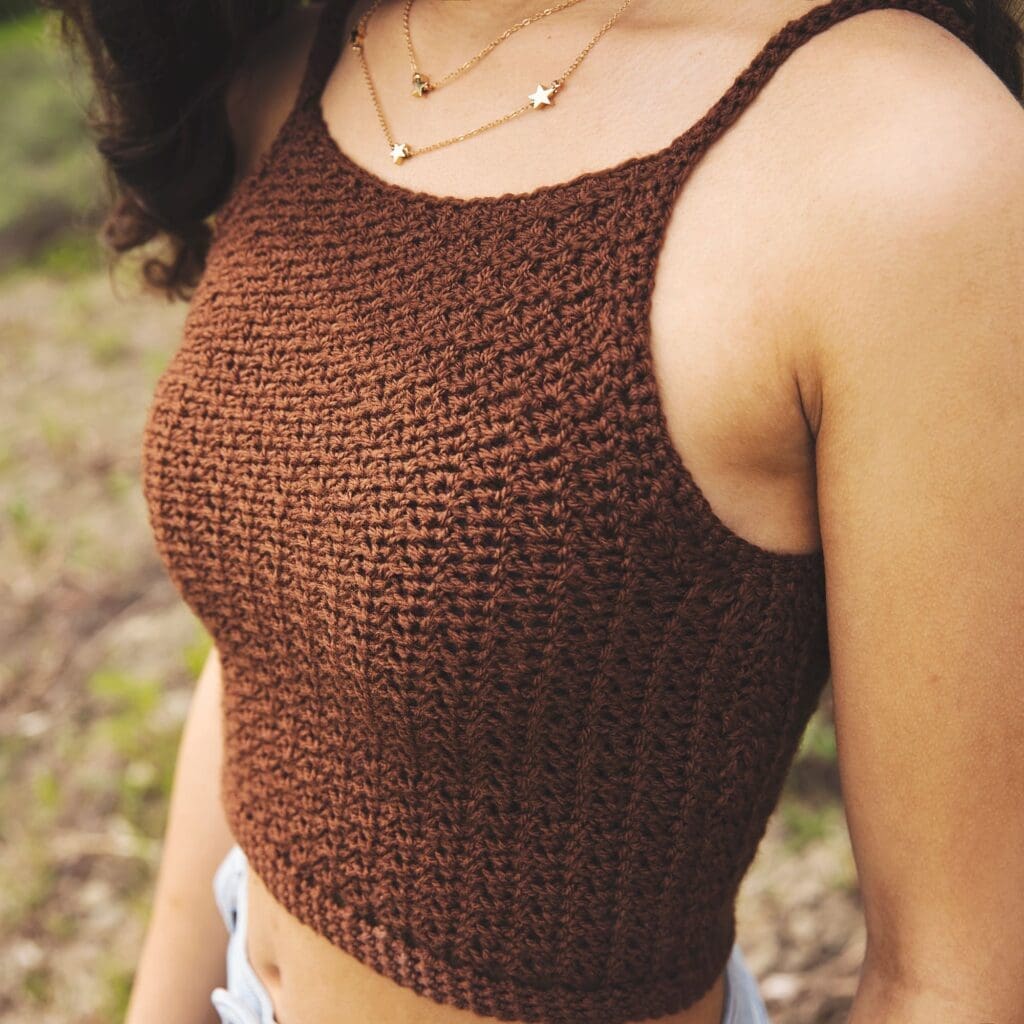
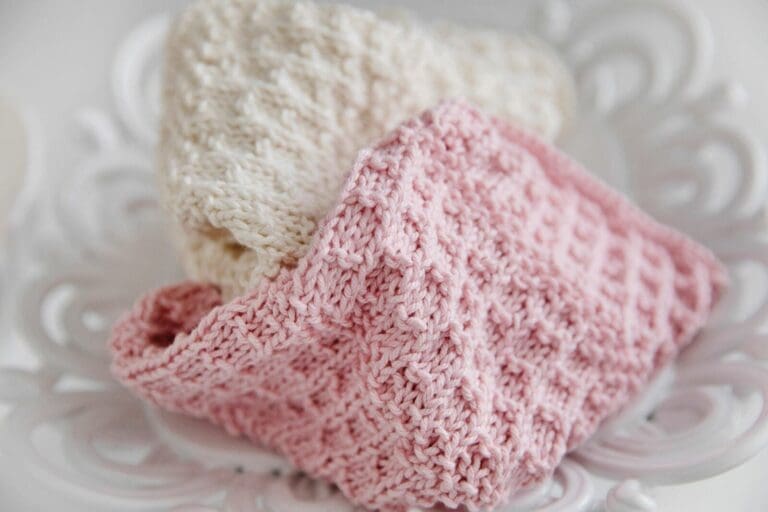
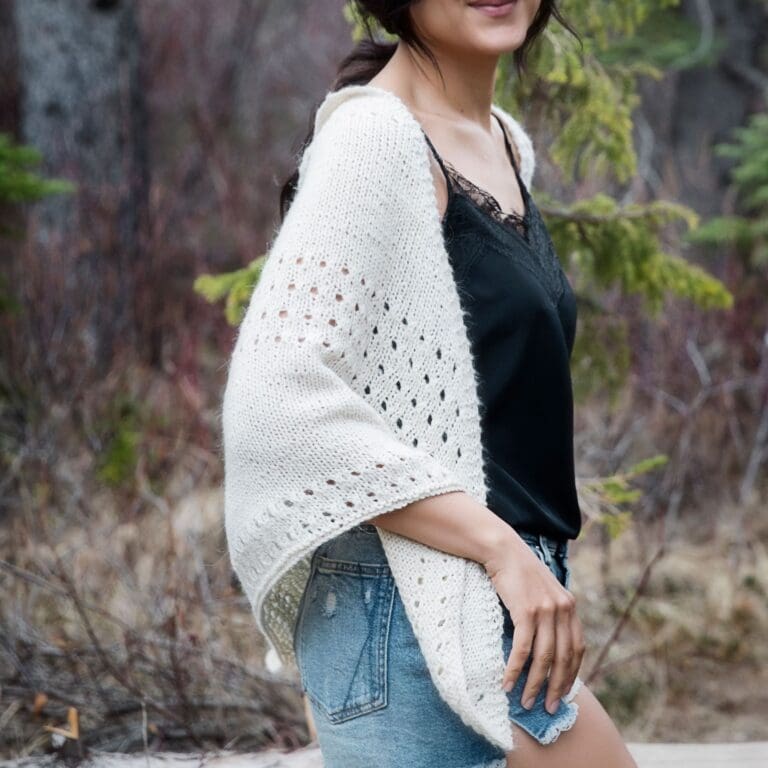
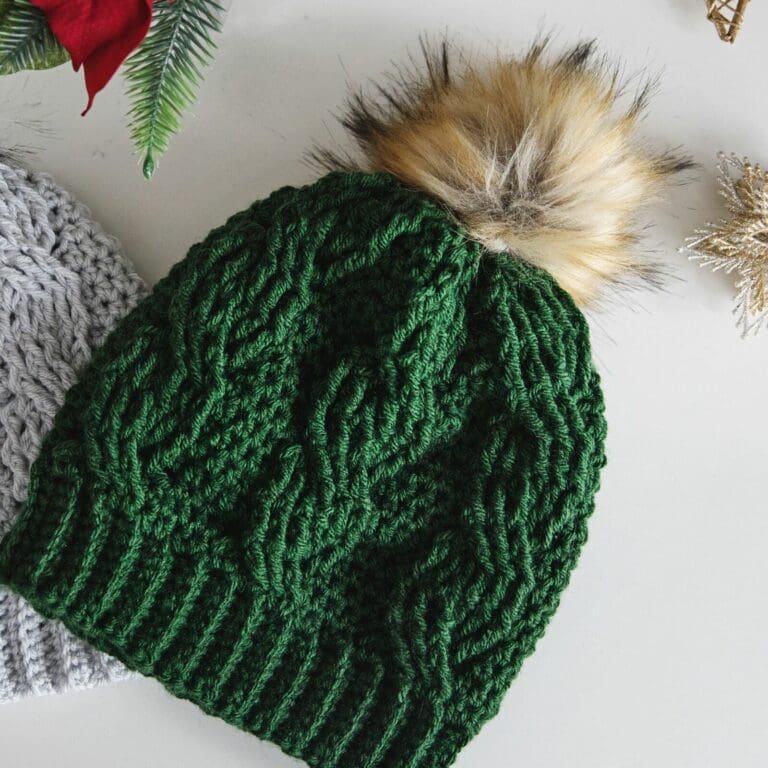
More Crochet Top Patterns from Leelee Knits!
Mesh Crochet Top Video

Free Crochet Mesh Top Written Pattern
Back Panel
Chain 77(85,93,101,109,117).
Row 1: DC in 4th ch from hook (skipped chs count as first DC) and in next ch; *CH1, skip next ch, DC in next 3 chs; repeat from * to end of row; CH4 (counts as first DC and CH1SP of next row) and turn.
Row 2: Skip first 2 dcs, DC in next dc; *DC in next ch1sp, DC in next dc, CH1 and skip next dc, DC in next dc; repeat from * to end of row; CH3 and turn.
Row 3: DC in next ch1sp, DC in next dc; *CH1, skip next dc, DC in next dc, DC in next ch1sp, DC in next dc; repeat from * to end of row (last 2 DC of row are in first 2 chs of turning ch), CH4 and turn.
Repeat rows 2 and 3 until work measures 15.5(15.5,15.5,16.5,16.5,17.5) “ in length. Fasten off and continue to Front Panel.
Front Panel
Work the front panel exactly like the back panel until 4 rows remain (do not fasthen off). Shape the neckline as follows for the remaining 4 rows:
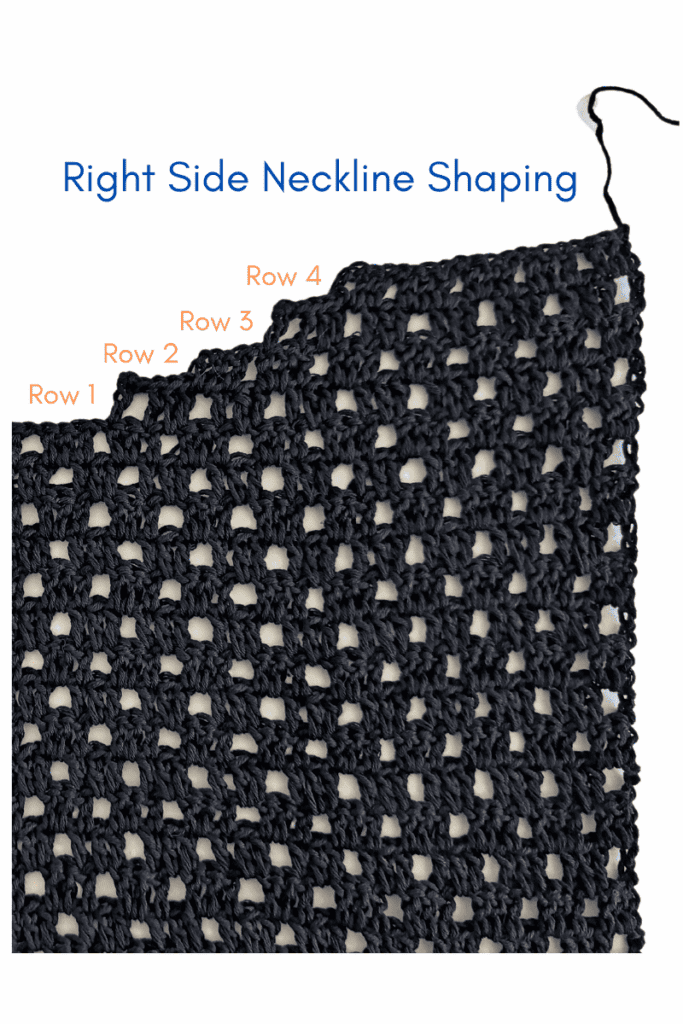
Neckline Shaping Right Side
Row 1: Skip first two dcs, DC in next dc; *DC in next ch1sp, DC in next dc, CH1 and skip next dc, DC in next dc; repeat from * 6(7,8,9,10,11) more times, CH1 and turn.
Row 2: SS in same st and next 4 sts, CH3, DC in next ch1sp, DC in next dc; *CH1, skip next dc, DC in next dc, DC in next ch1sp, DC in next dc; repeat from * to end of row, CH4 and turn.
Row 3: Skip first two dcs, DC in next dc; *DC in next ch1sp, DC in next dc, CH1 and skip next dc, DC in next dc; repeat from * 4(5,6,7,8,9) more times, CH1 and turn.
Row 4: SS in same st and next 4 sts, CH3, DC in next ch1sp, DC in next dc; *CH1, skip next dc, DC in next dc, DC in next ch1sp, DC in next dc; repeat from * to end of row. Fasten off and continue to Neckline Shaping Left Side.
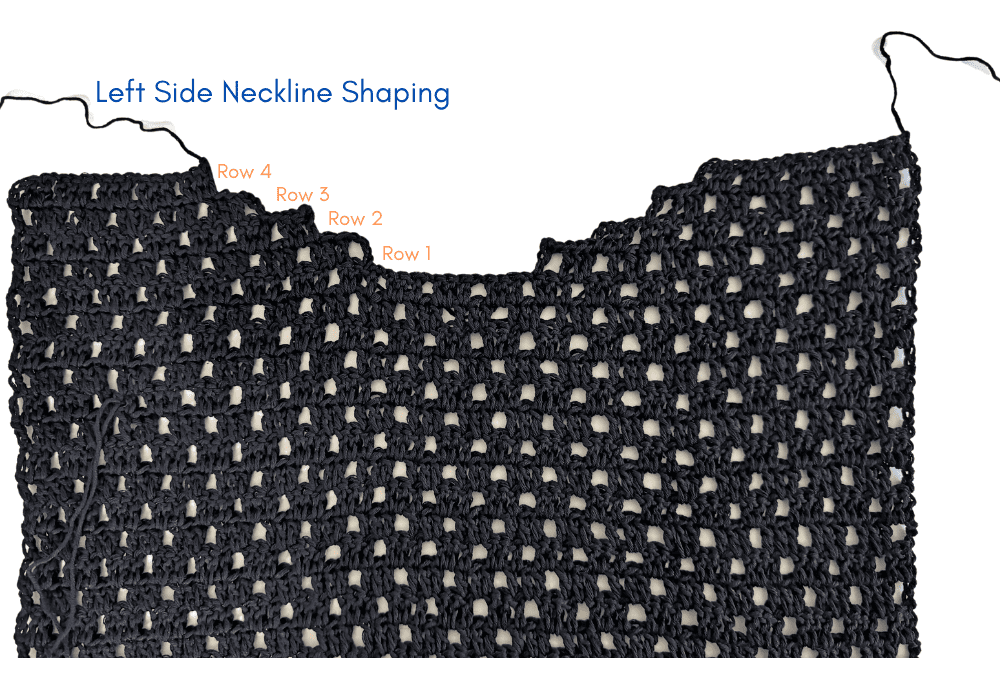
Neckline Shaping Left Side
Count 13 sts down from the last stitch of the right side, and then attach yarn in the next st and CH4.
Row 1: Skip next dc, DC in next dc; *DC in next ch1sp, DC in next dc, CH1 and skip next dc, DC in next dc; repeat from * to end of row, CH3 and turn.
Row 2: DC in next ch1sp, DC in next dc; *CH1, skip next dc, DC in next dc, DC in next ch1sp, DC in next dc; repeat from * 5(6,7,8,9,10) more times, CH1 and turn.
Row 3: SS in same st and next 4 sts, CH4, skip next dc, DC in next dc; *DC in next ch1sp, DC in next dc, CH1 and skip next dc, DC in next dc; repeat from * to end of row, CH3 and turn.
Row 4: DC in next ch1sp, DC in next dc; *CH1, skip next dc, DC in next dc, DC in next ch1sp, DC in next dc; repeat from * 3(4,5,6,7,8) more times.
Fasten off and continue to Seaming.
Seaming
Use a whip stitch to seam panels together together at shoulders and sides, leaving room for arm holes. See diagram in Notes/Construction section for side seam measurements. Continue to Bottom Trim.
Bottom Trim
Join yarn in a ch near one of the side seams. Begin crocheting in the round as follows:
Round 1: CH1, SC in same st; SC in each ch that has a dc worked into it, skipping the ch1sps (i.e. SC in 3 out of every 4 chs); join to first sc of round with SS.
Rounds 2 and 3: CH1, SC in same st; SC in each sc around and join to first sc with SS.
Fasten off and continue to Sleeve Cuffs.
Sleeve Cuffs
Join yarn in a turning ch sp near side seam and begin crocheting in the round as follows:
Round 1: CH1, SC in same st and in same turning ch sp; 2SC in each turning ch sp around ; join to first sc of round with SS.
Neckline Trim:
Join yarn in a st near centre of back of neckline. Begin crocheting in the round as follows:
Round 1: CH1, SC in same st; SC in each st around neckline (when you reach a turning ch sp at neckline shaping, work 2SC in each turning ch sp); join to first sc of round with SS.
Round 2: CH1, SC in same st; SC in each sc around and join to first sc with SS.
Fasten off, weave in all loose ends and enjoy your new crochet mesh top!
Pattern PDF File
I hope you enjoyed this free mesh top crochet pattern.
If you’d like your own copy, the Ad-Free PDF file (which will be emailed to you automatically) can be purchased through Ravelry, or by clicking the “Purchase PDF File” button to the right.
Thank you so much for your support! It means the world to me, and I’m beyond grateful to be able to share my passion with you all.


I’m having a really hard time crocheting into the back bump on the Crochet Mesh Top. I’m using black and can’t see the stitch well. Can I crochet into to the front of the stitch instead?
Hi Usha, Yes that is totally fine. I just suggest the back bump as it makes a cleaner edge.
Thank you for color coding the sizes and for the youtube video! I am such a visual learner. I cannot wait to make this. ❤️
You’re most welcome! – and so am I 😊