Bobble Stitch Knit Blanket
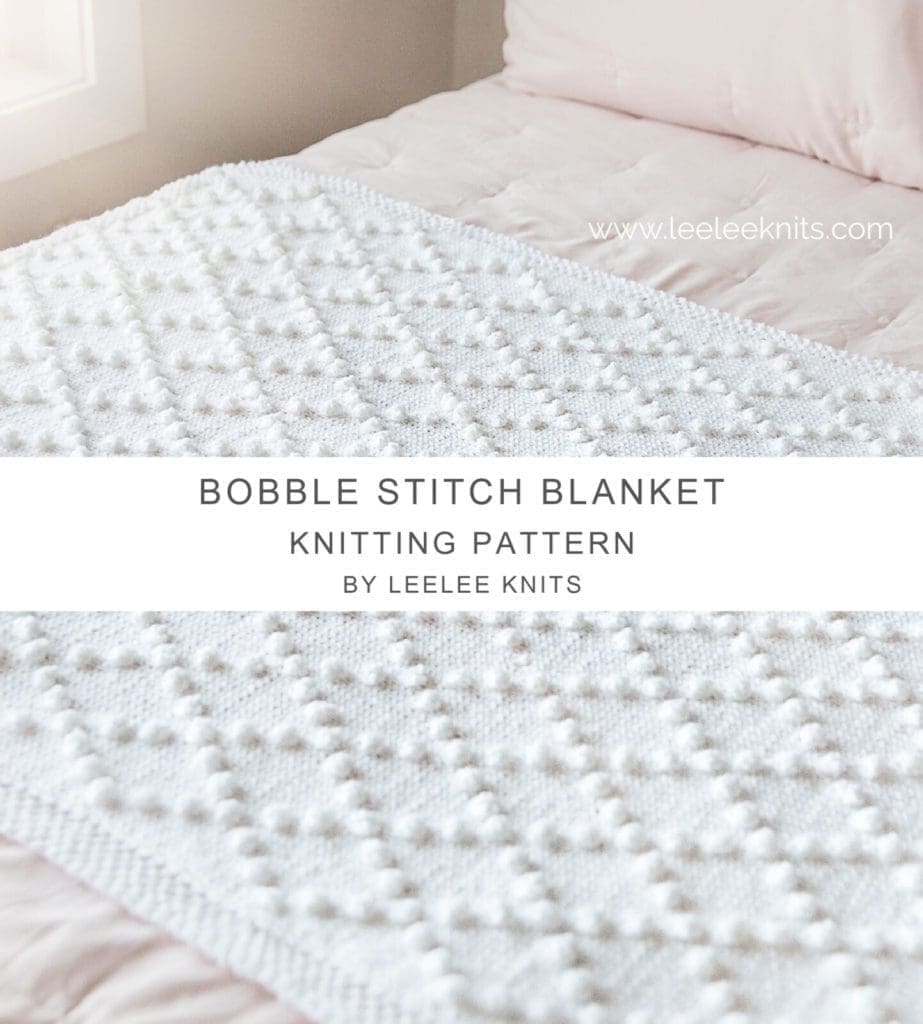
Learn the Bobble Stitch and Knit a Blanket!
Last month I posted a bobble stitch crochet blanket pattern, which I called the Rhombus Throw. Because this pattern received so much love from my crochet followers, I decided to make a knit version for those of you who prefer to knit! The bobble stitch in knitting looks like a fancy technique that only expert knitters can pull off, but trust me, bobbles are way easier to knit than they look.
To knit a bobble, you just increase a bunch of stitches in one spot, then decrease them back down. It’s like creating a little popcorn of yarn that sits on top of the fabric. And the best part is that you can whip up bobbles super quickly one you’ve got the hang of it, adding instant texture to your knitting.
Video Tutorial – Bobble Stitch Blanket Pattern
I created a video tutorial to walk you through how to knit the bobble stitch as well as explain how the bobble stitch is used in knitting the blanket pattern on the page. You can find the video, titled “How to Knit a Bobble Stitch Blanket“, on the Leelee Knits YouTube Channel where it is posted along with more knitting tutorials that I think you will enjoy.
Video Tutorial – Knitting A Bobble Stitch
If you’re short on time, this video is a quick demo of how to knit th bobble stitch.
Spread the word!
I hope you enjoy this pattern! If so, please feel free to share the link to this page on your social media or Pinterest account.
I truly appreciate all of you who get the word out about this site and my patterns!
❤️
Alnaar
Please note that some of the links on this page are affiliate links and I will earn a commission if you purchase through these links. I use all of the products listed on this page and recommend them because they are companies that I have found helpful and trustworthy. Please let me know if you have any questions about anything I have recommended!
Bobble Stitch Knit Blanket Pattern:
Materials:
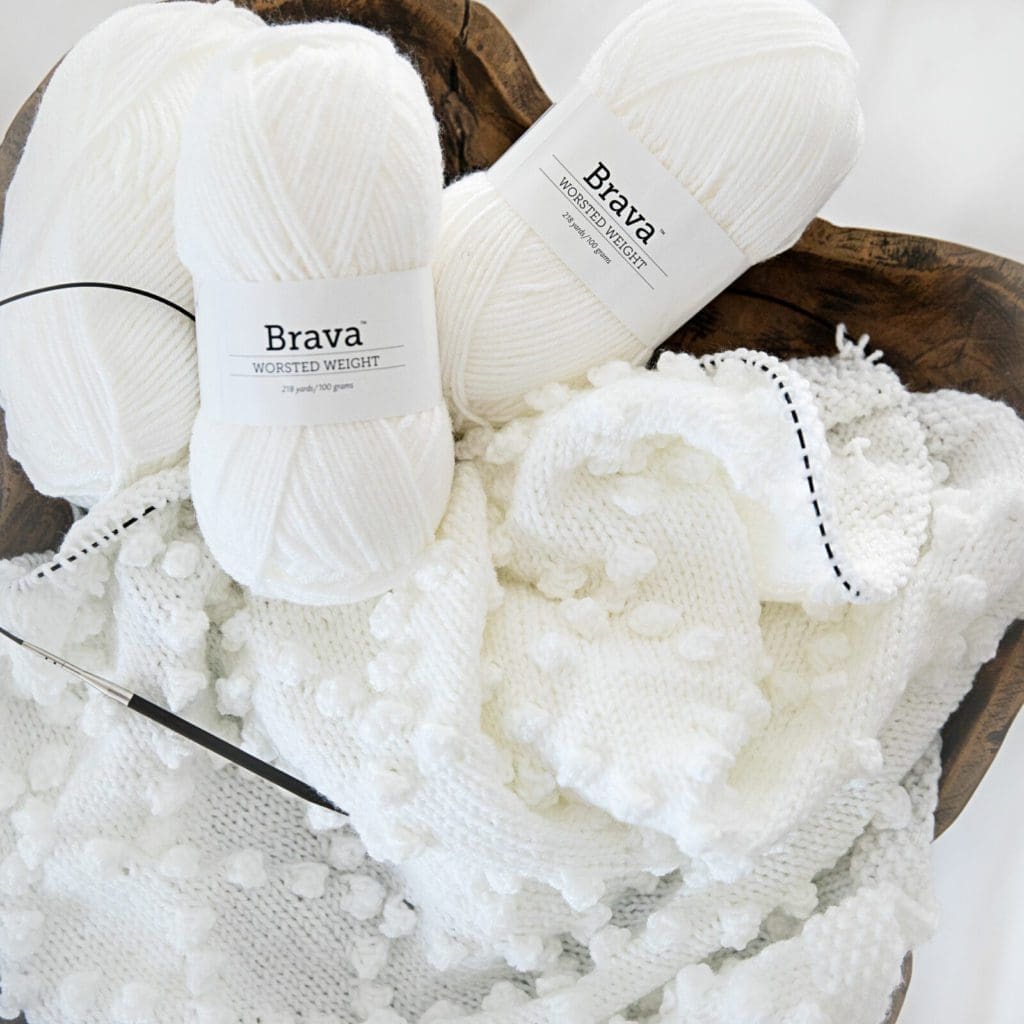
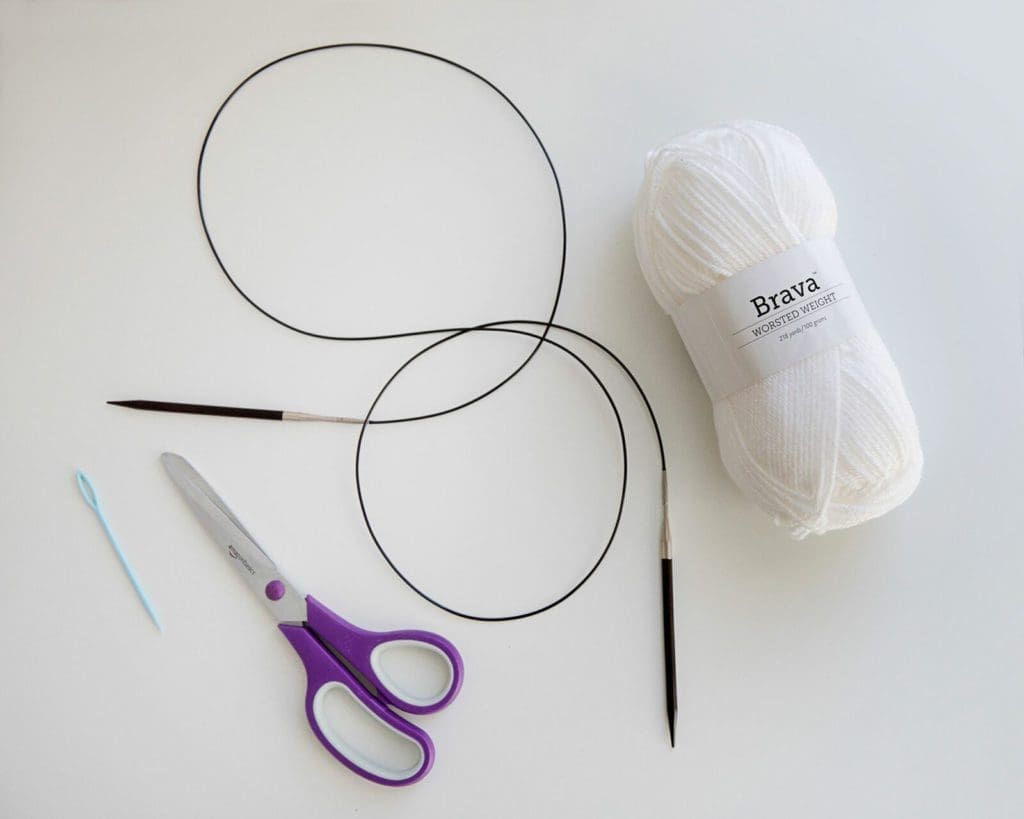
To knit this bobble stitch blanket, you will need the following supplies:
- US Size 9 (5.5 mm) circular knitting needles (min 32” cord).
- 7 Skeins Knit Picks Brava Worsted Weight Yarn in White.
- Scissors.
- Large Tapestry/Yarn needle to weave in ends.
Choosing your Yarn
This pattern was designed to use Knit Picks Brava worsted weight yarn. I went a little nuts with my last yarn order and only noticed after it arrived that a huge chunk of the yarn was white! I guess I just love how clean white looks, and how it can not only brighten up any room, but also any outfit. If white’s not your thing, then you’ll be happy to know that Brava has a huge range of colours to choose from.
Ad Free PDF File
The free pattern for this bobble stitch knit blanket is available right here on this page, as this site is sustained through ad support.
If you like things a little more streamlined, I’ve put together an ad-free, downloadable PDF version of the pattern. It’s perfect for easy printing and can be can be purchased through My Ravelry Store or by clicking the “Purchase PDF File” button to the right.
Thank you so much for your support! It means the world to me, and I’m beyond grateful to be able to share my passion with you all.
Finished Size:
Finished blanket measures: 34” X 55”.
Gauge:
16 stitches X 20 rows = 4” in stockinette stitch.
Abbreviations & Special Stitches:
K: Knit.
P: Purl.
BS: Bobble Stitch – Knit into the front and back of stitch twice to increase one stitch to four stitches. Turn and knit the four stitches that were just made. Turn and knit the four stitches again. Decrease back to one stitch by slipping each stitch over the stitch in front of it until only one stitch remains.
More Free Blanket Knitting Patterns from Leelee Knits!
Free Bobble Stitch Knit Blanket Pattern:
This blanket is knit flat in rows from the bottom up, using circular knitting needles to hold the large number of stitches. The knit bobble stitches are added every 4 rows, beginning on row 3.
If you’d like to change the width of the blanket, cast on a multiple of 24 + 17, plus 12 border stitches (6 on each side).
Bottom Border:
Cast on 125 stitches.
The bottom border is worked over eight rows in seed stitch as follows:
Rows 1-8: *K1, P1; repeat from * to last stitch; knit the last stitch.
Continue to Body of Blanket.
Body of Blanket:
Row 1: K1, P1, K1, P1, K1, P1; Knit until the last six stitches; P1, K1, P1, K1, P1, K1.
Row 2: K1, P1, K1, P1, K1, P1; Purl until the last six stitches; P1, K1, P1, K1, P1, K1.
Row 3: K1, P1, K1, P1, K1, P1, K2; *BS, K11; repeat from * to last nine stitches; BS, K2, P1, K1, P1, K1, P1, K1.
Row 4: K1, P1, K1, P1, K1, P1; Purl until the last six stitches; P1, K1, P1, K1, P1, K1.
Row 5: K1, P1, K1, P1, K1, P1; Knit until the last six stitches; P1, K1, P1, K1, P1, K1.
Row 6: K1, P1, K1, P1, K1, P1; Purl until the last six stitches; P1, K1, P1, K1, P1, K1.
Row 7: K1, P1, K1, P1, K1, P1, K4; *BS, K7, BS, K3; repeat from * to last seven stitches; K1, P1, K1, P1, K1, P1, K1.
Row 8: K1, P1, K1, P1, K1, P1; Purl until the last six stitches; P1, K1, P1, K1, P1, K1.
Row 9: K1, P1, K1, P1, K1, P1; Knit until the last six stitches; P1, K1, P1, K1, P1, K1.
Row 10: K1, P1, K1, P1, K1, P1; Purl until the last six stitches; P1, K1, P1, K1, P1, K1.
Row 11: K1, P1, K1, P1, K1, P1, K6; *BS, K3, BS, K7; repeat from * to last seventeen stitches; BS, K3, BS, K6, P1, K1, P1, K1, P1, K1.
Row 12: K1, P1, K1, P1, K1, P1; Purl until the last six stitches; P1, K1, P1, K1, P1, K1.
Row 13: K1, P1, K1, P1, K1, P1; Knit until the last six stitches; P1, K1, P1, K1, P1, K1.
Row 14: K1, P1, K1, P1, K1, P1; Purl until the last six stitches; P1, K1, P1, K1, P1, K1.
Row 15: K1, P1, K1, P1, K1, P1, K8; *BS, K11; repeat from * to last fifteen stitches; BS, K8, P1, K1, P1, K1, P1, K1.
Row 16: K1, P1, K1, P1, K1, P1; Purl until the last six stitches; P1, K1, P1, K1, P1, K1.
Row 17: K1, P1, K1, P1, K1, P1; Knit until the last six stitches; P1, K1, P1, K1, P1, K1.
Row 18: K1, P1, K1, P1, K1, P1; Purl until the last six stitches; P1, K1, P1, K1, P1, K1.
Row 19: K1, P1, K1, P1, K1, P1, K6; *BS, K3, BS, K7; repeat from * to last seventeen stitches; BS, K3, BS, K6, P1, K1, P1, K1, P1, K1.
Row 20: K1, P1, K1, P1, K1, P1; Purl until the last six stitches; P1, K1, P1, K1, P1, K1.
Row 21: K1, P1, K1, P1, K1, P1; Knit until the last six stitches; P1, K1, P1, K1, P1, K1.
Row 22: K1, P1, K1, P1, K1, P1; Purl until the last six stitches; P1, K1, P1, K1, P1, K1.
Row 23: K1, P1, K1, P1, K1, P1, K4; *BS, K7, BS, K3; repeat from * to last seven stitches; K1, P1, K1, P1, K1, P1, K1.
Row 24: K1, P1, K1, P1, K1, P1; Purl until the last six stitches; P1, K1, P1, K1, P1, K1.
Row 25: K1, P1, K1, P1, K1, P1; Knit until the last six stitches; P1, K1, P1, K1, P1, K1.
Row 26: K1, P1, K1, P1, K1, P1; Purl until the last six stitches; P1, K1, P1, K1, P1, K1.
Repeat rows 3-26 until your work measures 53 inches. For symmetry of the knit bobble stitch pattern (so tha the top matches the bottom before the borders), complete one more repeat of rows 3, 4, and 5. Continue to Top Border.
Top Border:
The top border is worked over eight rows in seed stitch as follows:
Rows 1-8: *K1, P1; repeat from * to last stitch; knit the last stitch.
Cast off in pattern and weave in all loose ends. You now have a gorgeous bobble stitch knit blanket that you made all by yourself!
Pattern PDF File
I hope you enjoyed this Knit Blanket pattern.
If you’d like your own copy, the Ad-Free PDF file (which will be emailed to you automatically) can be purchased through Ravelry, or by clicking the “Purchase PDF File” button to the right.
Thank you so much for your support! It means the world to me, and I’m beyond grateful to be able to share my passion with you all.





Love white yarn as well. AlI different shades of white, but can’t go wrong with a pure white. Have to try this pattern. Love the tiny bobbles. Reminds of Martha Washington cotton bed spreads.
I just love this pattern. I will definitely make it. Your instructions were very clear. I love the whit for this pattern. Thank you so much for sharing this.
Blessings!
You’re very welcome!
I did it! Thank you so much! Your video coupled with the pattern was clear. I consider myself more of a beginner and I was able to do it! Thank you!
Yay! Thanks for the comment Kristina, I’m happy to hear that you enjoyed the pattern ❤️
Hi I am definately going to try this beautiful blanket, how would I make smaller for a baby?
Thank you
Hi Chris,
Thank you for the kind words!
This pattern requires a multiple of 12 plus 5. I recommend subtracting 12 or 24 from the total stitch count to make it smaller.
Thank you for your reply, cant wait to start it x