Baby Chick Crochet Pattern
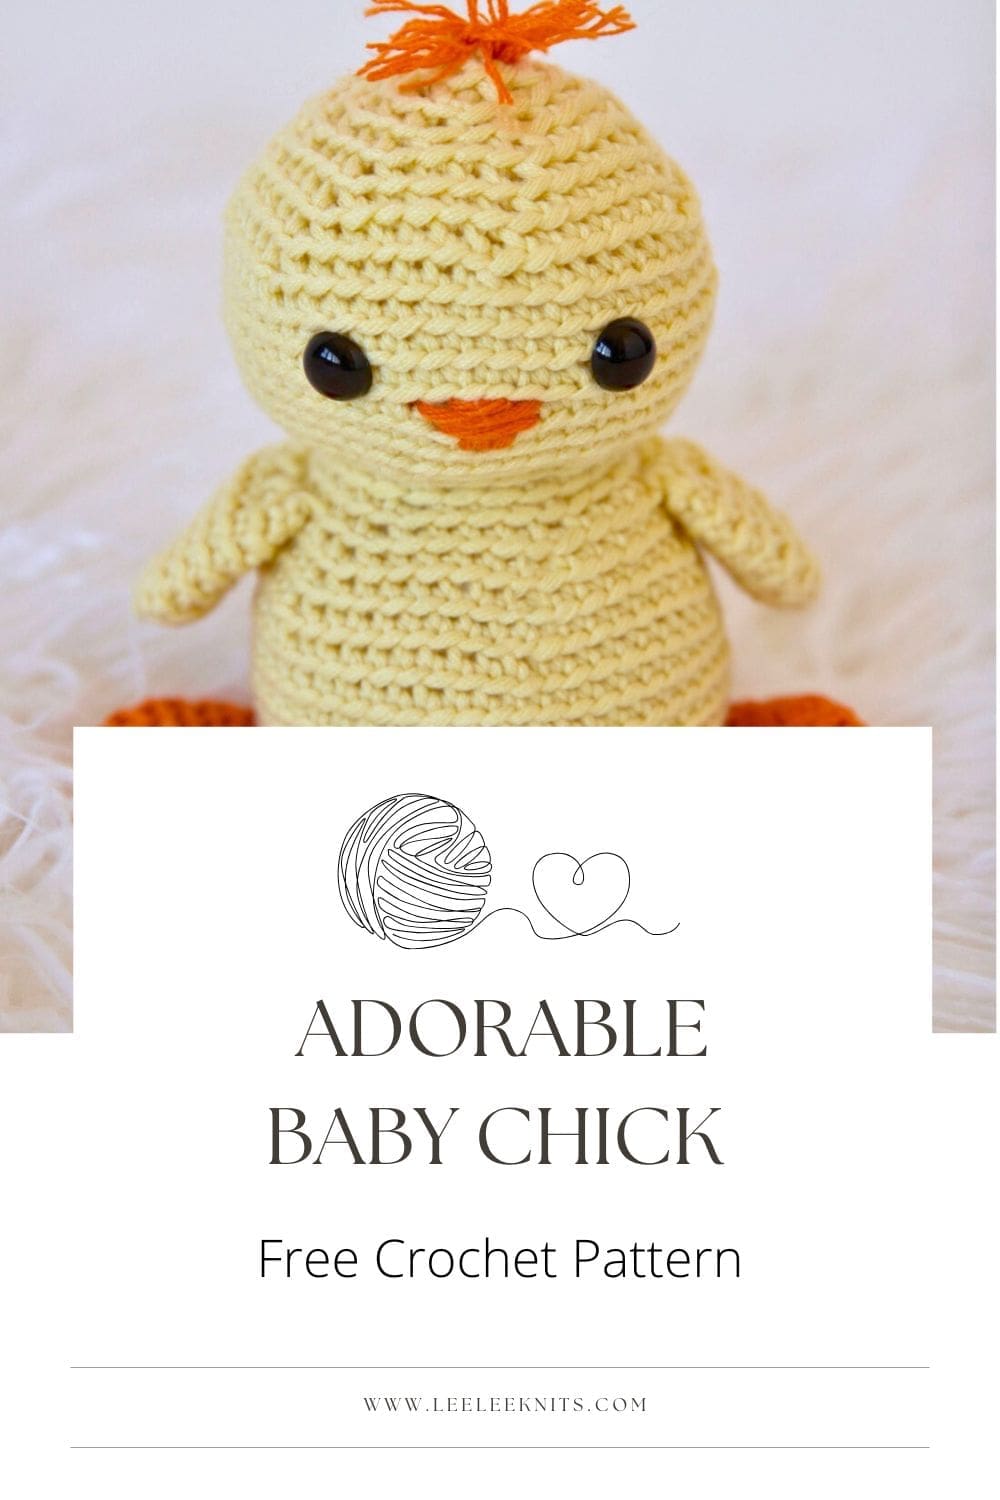
An Amigurumi Crochet Chick Pattern
If you’ve been wanting to try out amigurumi, this little baby chick crochet pattern is the perfect place to start! And if you don’t yet know what amigurumi means, it is the Japanese art of crocheting small, stuffed toys. In my opinion, amigurumi is one of the most fun and satisfying ways to bring your yarn to life. Since crochet toys tend to be tiny, it is crazy satisfying how quickly you can create a squishy, adorable little creature with your own two hands!
This cute chick pattern is beginner-friendly. It also works up quickly, and doesn’t require a ton of yarn, which makes it a great way to use up leftover bits from other projects. I just love a good stashbuster! Plus, this little cutie makes an awesome springtime gift. Or you could just keep it for yourself! Either way, I have a feeling that once you crochet one little chick, you’ll want to make a whole flock.
Save this Pattern!
I hope you enjoy this pattern! If so, please feel free to share the link to this page on your social media or Pinterest account.
I truly appreciate all of you who get the word out about this site and my patterns!
❤️ Alnaar
Please note that some of the links on this page are affiliate links, which means that I will earn a commission if you purchase through these links. I use all of the products listed on this page and recommend them because they are companies that I have found helpful and trustworthy. Please let me know if you have any questions about anything I have recommended!
Crochet Baby Chick – Free Pattern
What you will need:
Here is what you will need to crochet one chick:
- Berroco Comfort Worsted Weight Yarn in two colours. I used:
- Color A: Buttercup (approx. 150 yards)
- Color B: Kidz Orange (approx. 50 yards)
- Size G (4.0 mm) Crochet Hook
- Safety Eyes or buttons (if you are making this for a very small child it is safest to embroider on the eyes).
- Scissors
- Stitch Marker or scrap piece of yarn
- Poly-Fil for stuffing the chick
- Yarn or tapestry needle to sew the pieces together
Ad Free PDF File
The free crochet pattern for this baby chick is available right here on this page, as this site is sustained through ad support.
If you like things a little more streamlined, I’ve put together an ad-free, downloadable PDF version of the pattern. It’s perfect for easy printing and can be can be purchased by clicking the “Purchase PDF File” button to the right.
Thank you so much for your support! It means the world to me, and I’m beyond grateful to be able to share my passion with you all.
Finished Size:
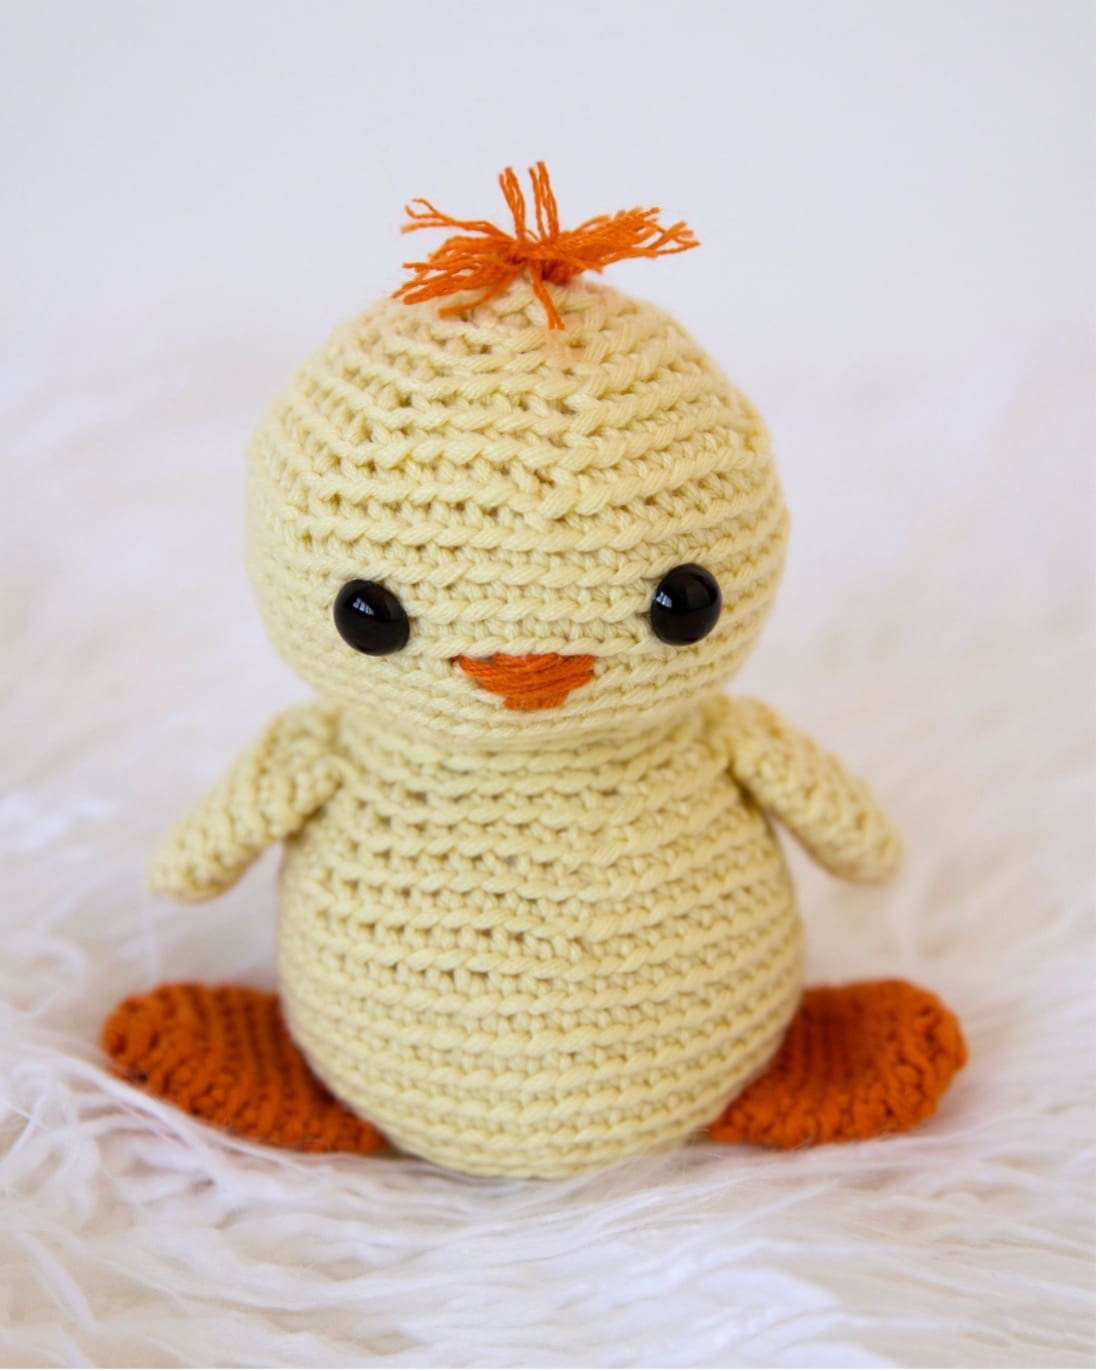
The finished crochet chick will measure approximately 6 inches from top to bottom.
Abbreviations:
SC: Single Crochet
ST: Stitch
SC2Tog: Single Crochet Two Together
Notes:
Before you jump into this crochet chick pattern, be sure to read the notes below—they’ll help everything go a lot more smoothly!
- I worked my single crochets in the back loop to make it easier to count my rows, and I like the way it looks.
- Work your rounds in spirals, do not join at the beginning of each round. You will need to use a stitch marker to mark your rounds.
- Each round has the total number of stitches for the round in brackets. If you are unsure its always a good idea to count your stitches.
More Free Crochet Amigurumi Patterns from Leelee Knits!
Free Pattern – Crochet Chick
Begin by Crocheting the Chick’s Head and Body:
Head
With color A, make a magic circle or adjustable ring.
Round 1: Make 6 SC in magic circle (6 St).
Round 2: SC twice in each stitch (12 St).
Round 3: *SC twice in next stitch, SC in next stitch. Repeat from * until end of round (18 St).
Round 4: *SC twice in next stitch, SC in next 2 stitches. Repeat from * until end of round (24 St).
Round 5: *SC twice in next stitch, SC in next 3 stitches. Repeat from * until end of round (30 St).
Round 6: *SC twice in next stitch, SC in next 4 stitches. Repeat from * until end of round (36 St).
Round 7: *SC twice in next stitch, SC in next 5 stitches. Repeat from * until end of round (42 St).
Round 8: *SC twice in next stitch, SC in next 6 stitches. Repeat from * until end of round (48 St).
Round 9-15: SC in each stitch (48 St).
Round 16: *SC2Tog, SC in next 6 stitches. Repeat from * to end of round (42 St).
Round 17: *SC2Tog, SC in next 5 stitches. Repeat from * to end of round (36 St).
Round 18: *SC2Tog, SC in next 4 stitches. Repeat from * to end of round (30 St).
Round 19: *SC2Tog, SC in next 3 stitches. Repeat from * to end of round (24 St).
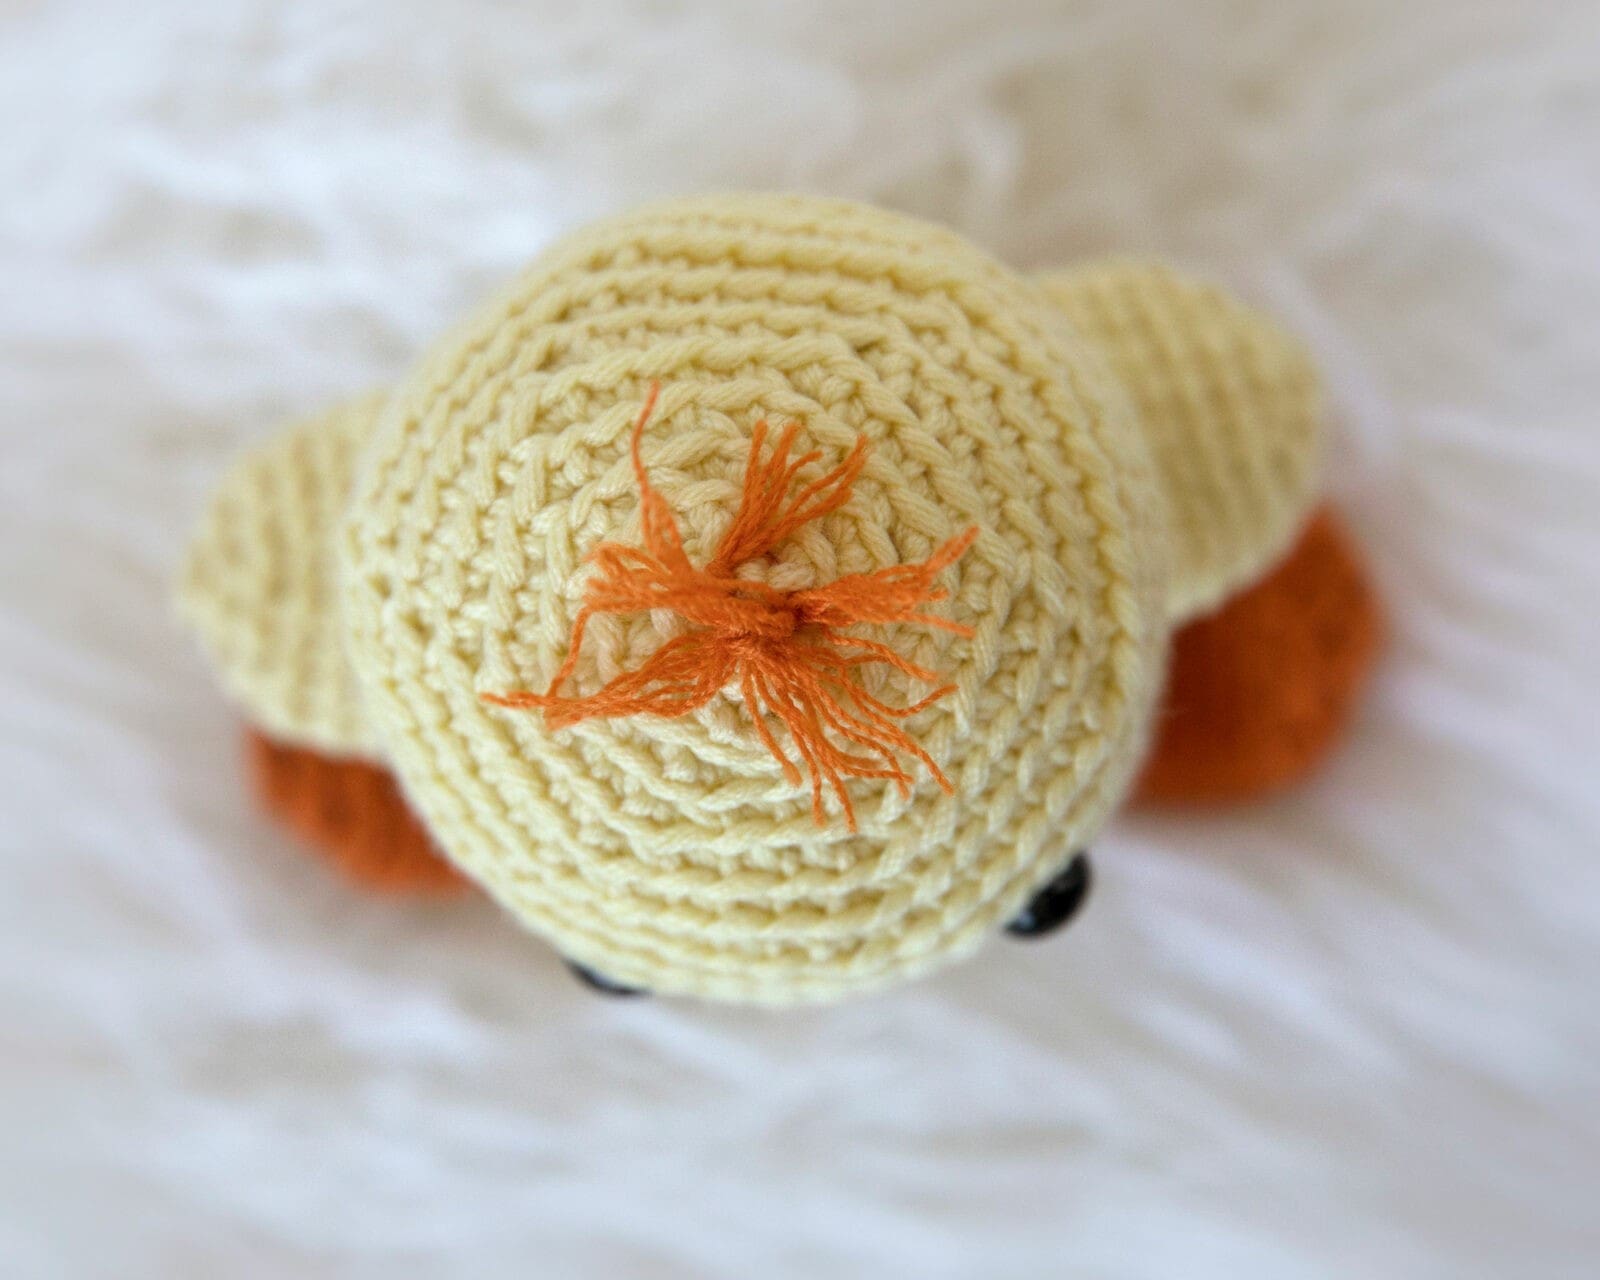
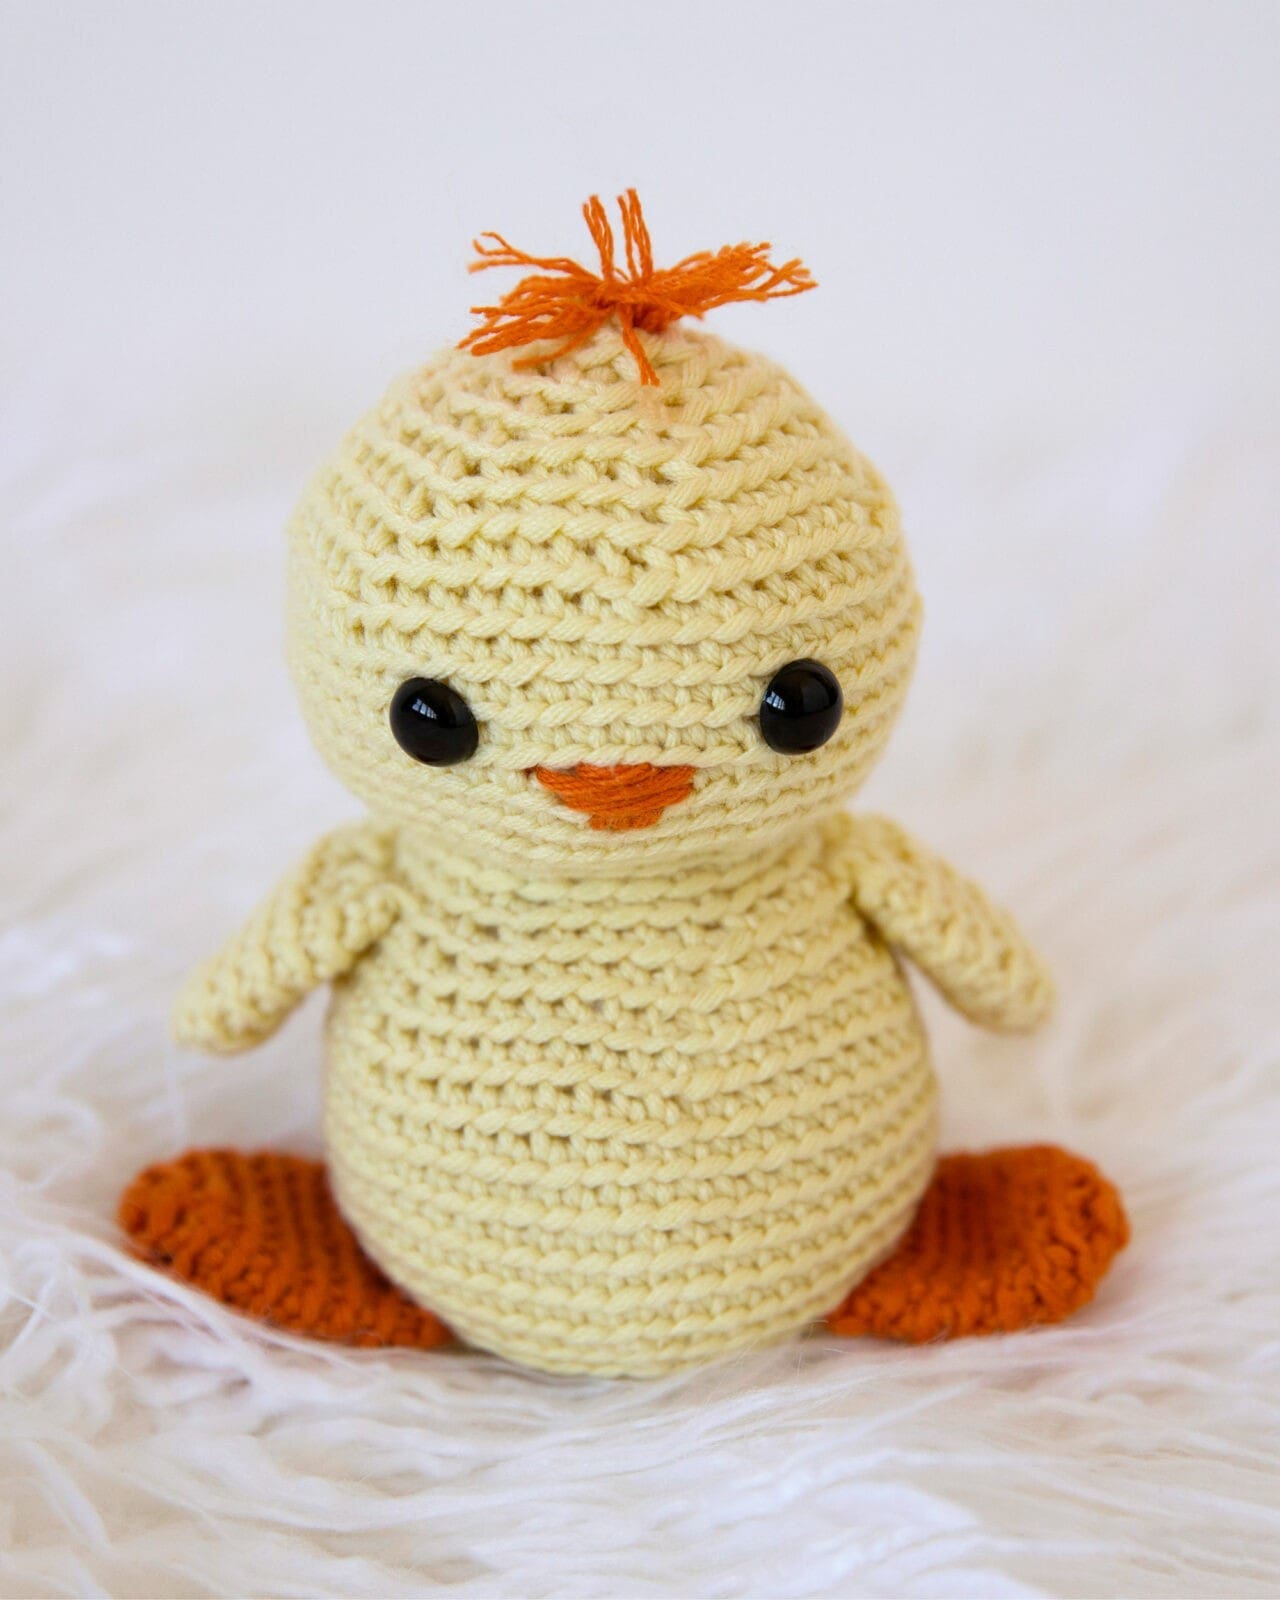
Weave a few strands of yarn in color B through the top of the head and fray the yarn to add some wisps of hair (see image below).
Eyes and Beak
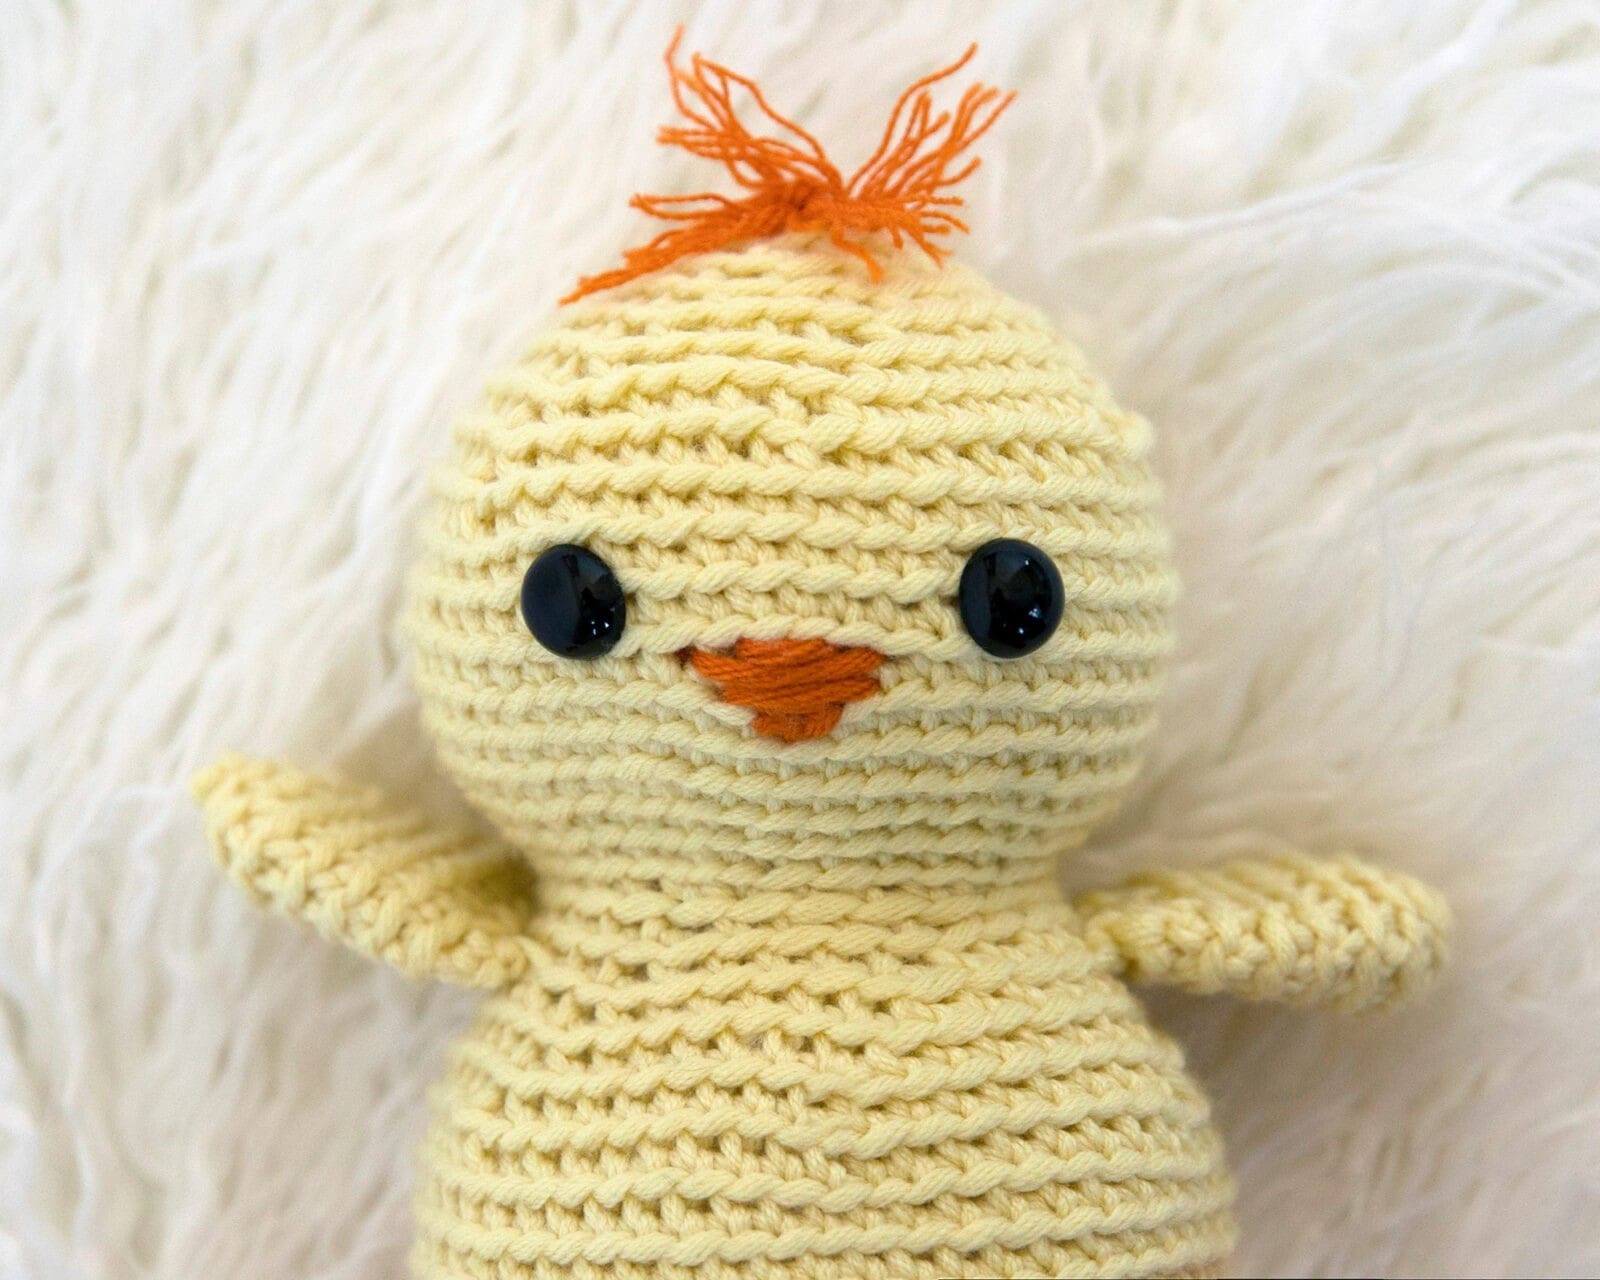
Attach the eyes on the chick’s face between rounds 11 and 12 and space them 11 stitches apart (see photo below for guide). Then, embroider on the beak at the midpoint between the eyes with the centre of the beak going over round 13. Finally, stuff the head with the poly-fil and continue on to the next round where we start to work the body.
Body
Round 20: *SC twice in next stitch, SC in next 3 stitches. Repeat from * until end of round (30 St).
Round 21: *SC twice in next stitch, SC in next 4 stitches. Repeat from * until end of round (36 St).
Round 22: *SC twice in next stitch, SC in next 5 stitches. Repeat from * until end of round (42 St).
Round 23: *SC twice in next stitch, SC in next 6 stitches. Repeat from * until end of round (48 St).
Round 24: *SC twice in next stitch, SC in next 7 stitches. Repeat from * until end of round (54 St).
Round 25-30: SC in each stitch (54 St).
Round 31: *SC2Tog, SC in next 7 stitches. Repeat from * to end of round (48 St).
Round 32: *SC2Tog, SC in next 6 stitches. Repeat from * to end of round (42 St).
Round 33: *SC2Tog, SC in next 5 stitches. Repeat from * to end of round (36 St).
Round 34: *SC2Tog, SC in next 4 stitches. Repeat from * to end of round (30 St).
Round 35: *SC2Tog, SC in next 3 stitches. Repeat from * to end of round (24 St).
Round 36: *SC2Tog, SC in next 2 stitches. Repeat from * to end of round (18 St).
Round 37: *SC2Tog, SC in next stitch. Repeat from * to end of round (12 St).
Stuff the body with poly-fil.
Round 38: *SC2Tog. Repeat from * to end of round (6 St).
Round 39: SC next stitch and 4th stitch together, leaving remaining stitches unworked (1 St). Then fasten off and pull yarn into the body of the chick using crochet hook (to hide it).
Add the Arms / Wings:
With the head and body complete, the next step in this pattern is to crochet the chick’s arms/wings.
With color A, make a magic circle or adjustable ring.
Round 1: Make 6 SC in magic circle (6 St).
Round 2: SC twice in each stitch (12 St).
Round 3: *SC twice in next stitch, SC in next stitch. Repeat from * until end of round (18 St).
Rounds 4-8: SC in each stitch (18 St).
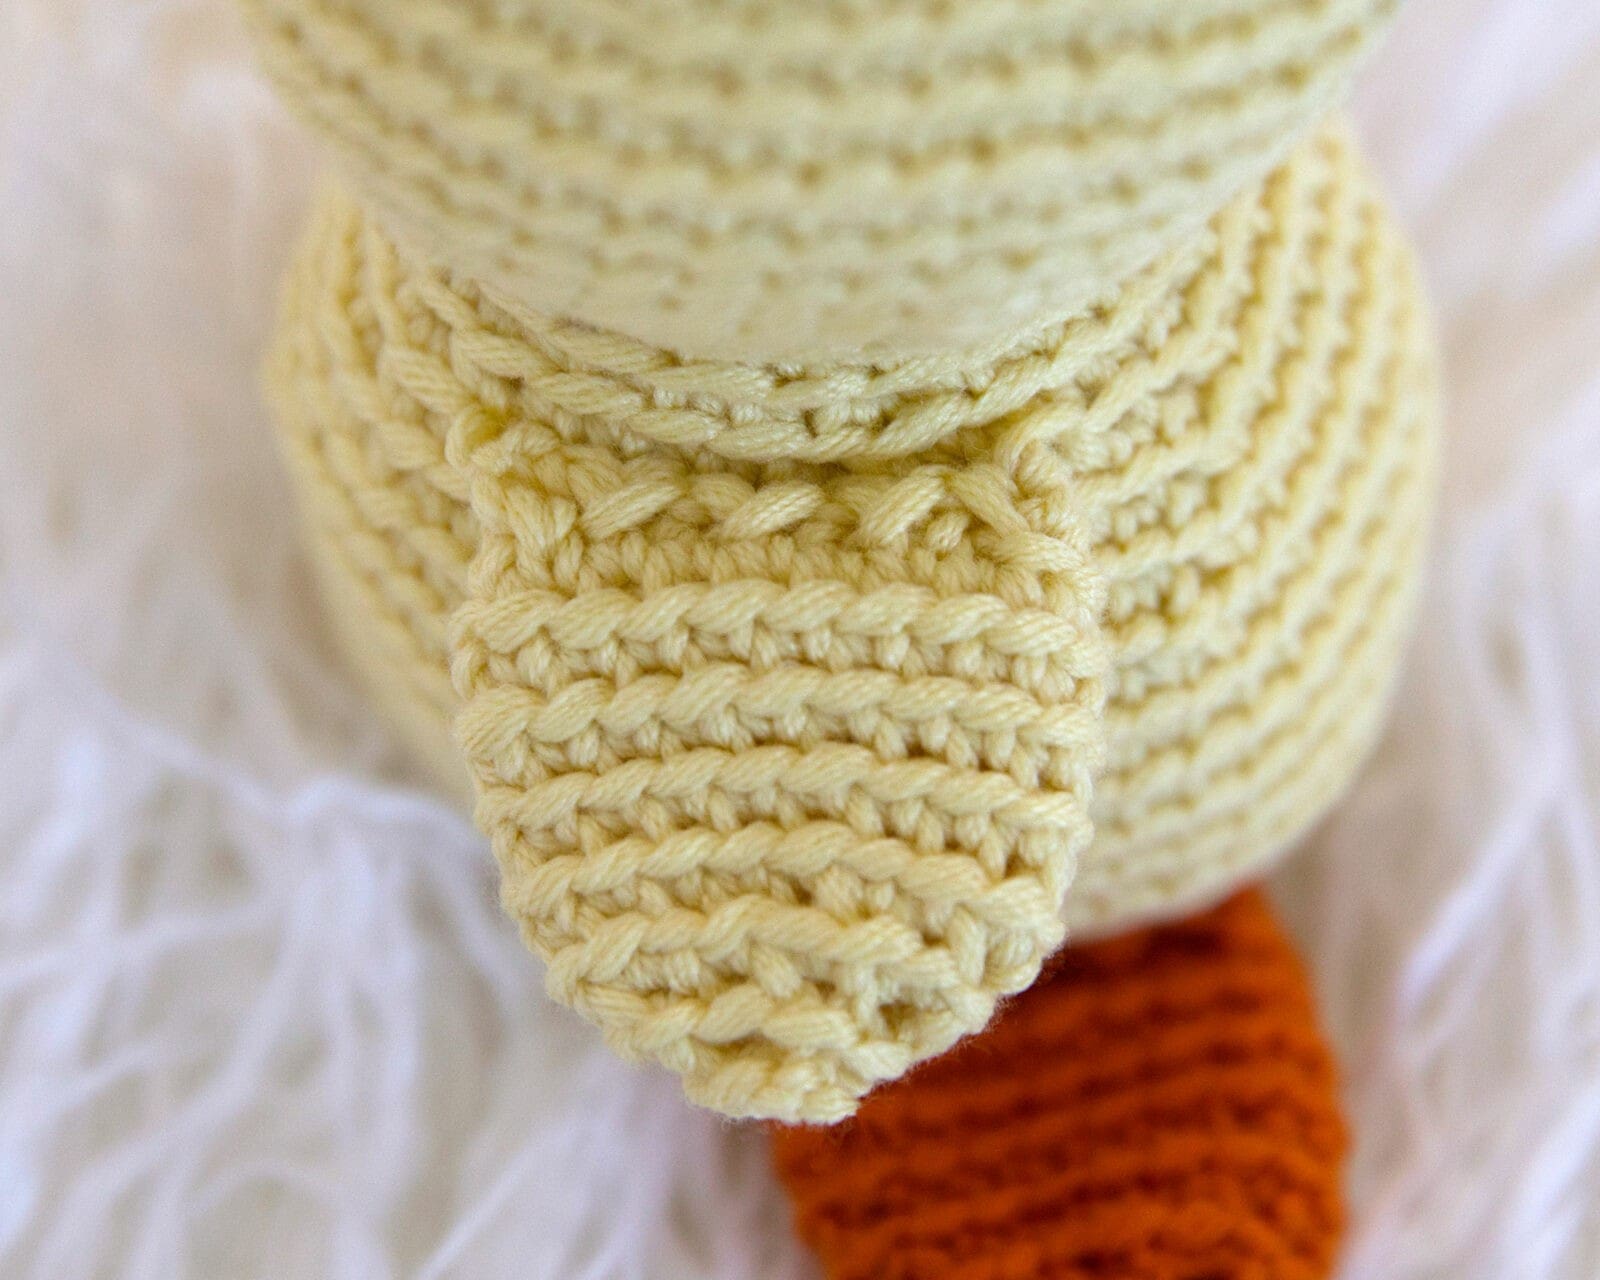
Fasten off and then attach to the sides of the body (do not stuff the arms) at row 21.
Add the Chick’s Feet:
Now you’re ready for the final step in this crochet chick pattern, which is to add the feet!
With color B, make a magic circle or adjustable ring.
Round 1: Make 6 SC in magic circle (6 St).
Round 2: SC twice in each stitch (12 St).
Round 3: *SC twice in next stitch, SC in next stitch. Repeat from * until end of round (18 St).
Rounds 4-8: SC in each stitch (18 St).
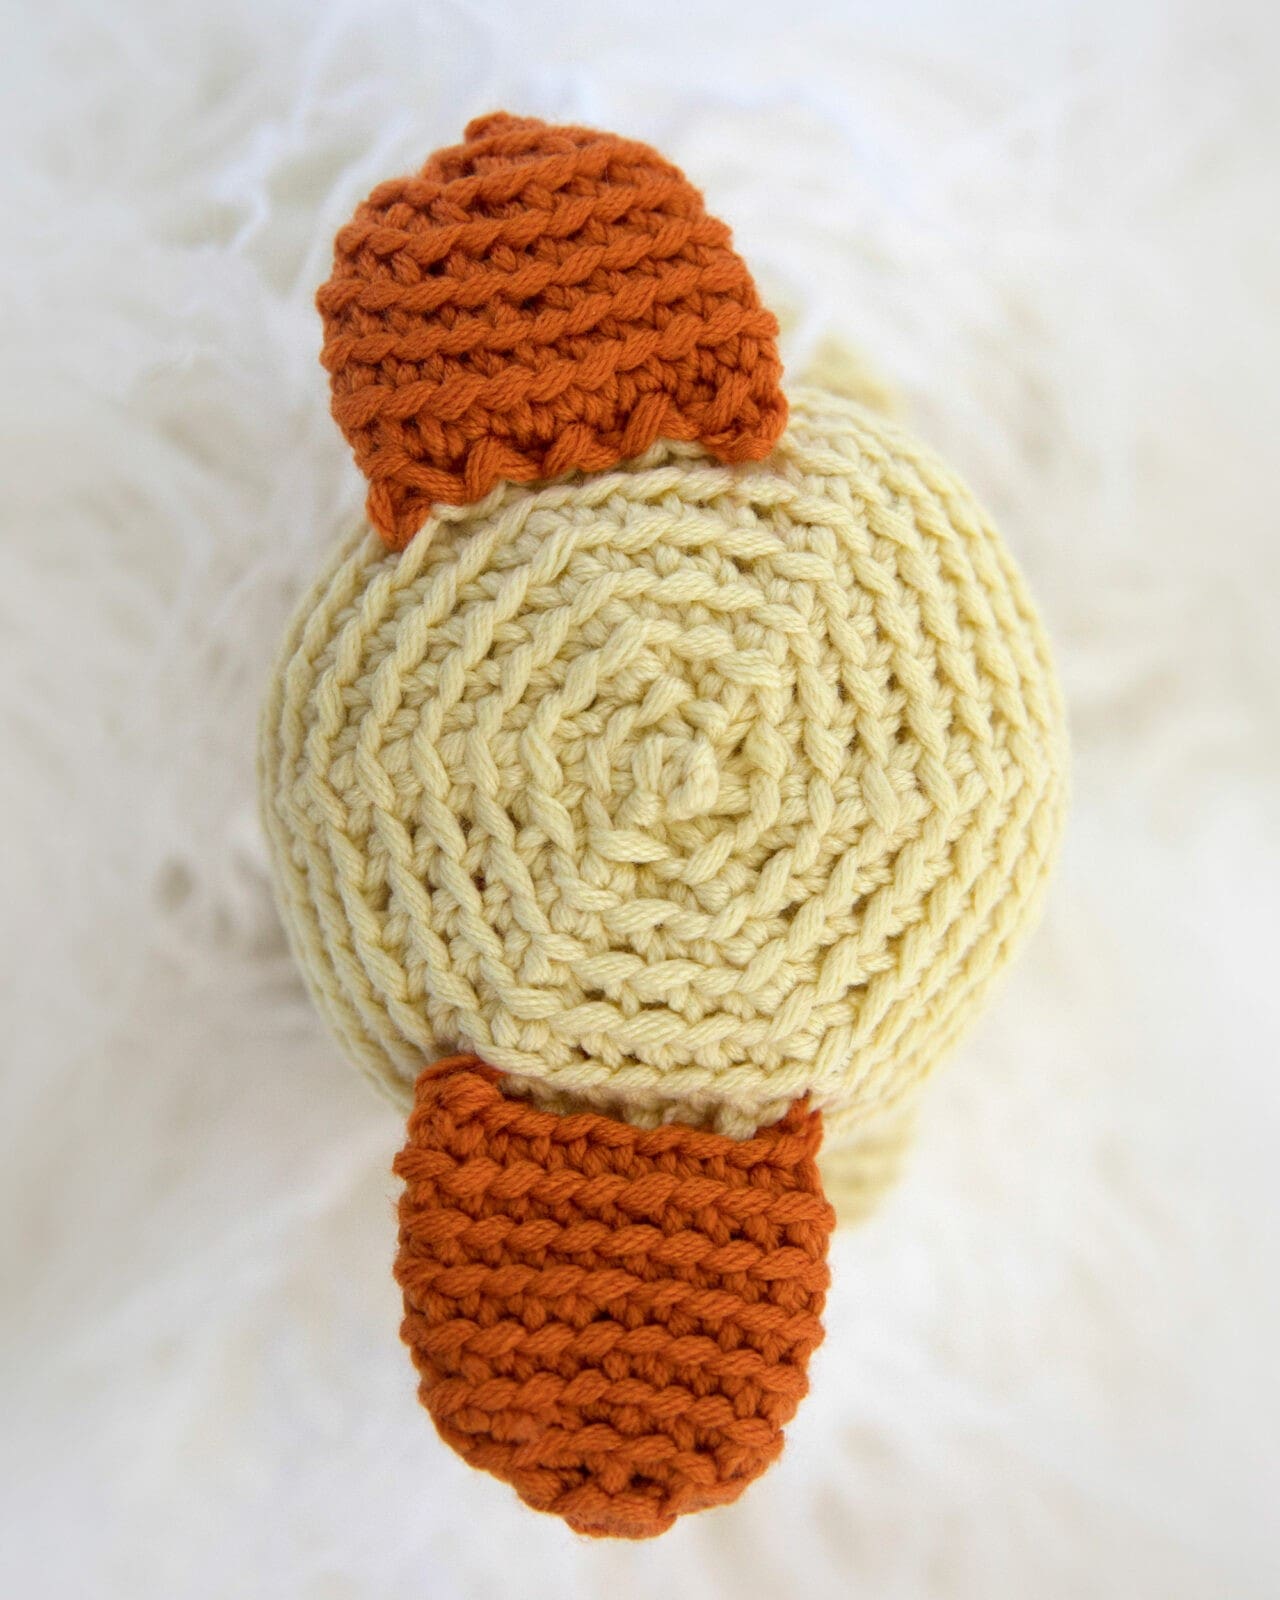
Fasten off and then attach feet evenly spaced 7 rows up from bottom of body. The photo below shows what the chick should look like from underneath.
And that’s it! Your adorable crochet chick is now ready to gift to a little cutie in your life… or keep for yourself!
Pattern PDF File
I hope you enjoyed this baby chick crochet pattern.
If you’d like your own copy, the Ad-Free PDF file (which will be emailed to you automatically) can be purchased through Ravelry, or by clicking the “Purchase PDF File” button to the right.
Thank you so much for your support! It means the world to me, and I’m beyond grateful to be able to share my passion with you all.





Hi, I did couple of the Baby Chick’s and loved the pattern. Thank you very much!
You’re welcome Brenda! So happy to hear that you enjoyed the pattern.