Mosaic Knitting With the Knitted Slip Stitch – Free Pattern
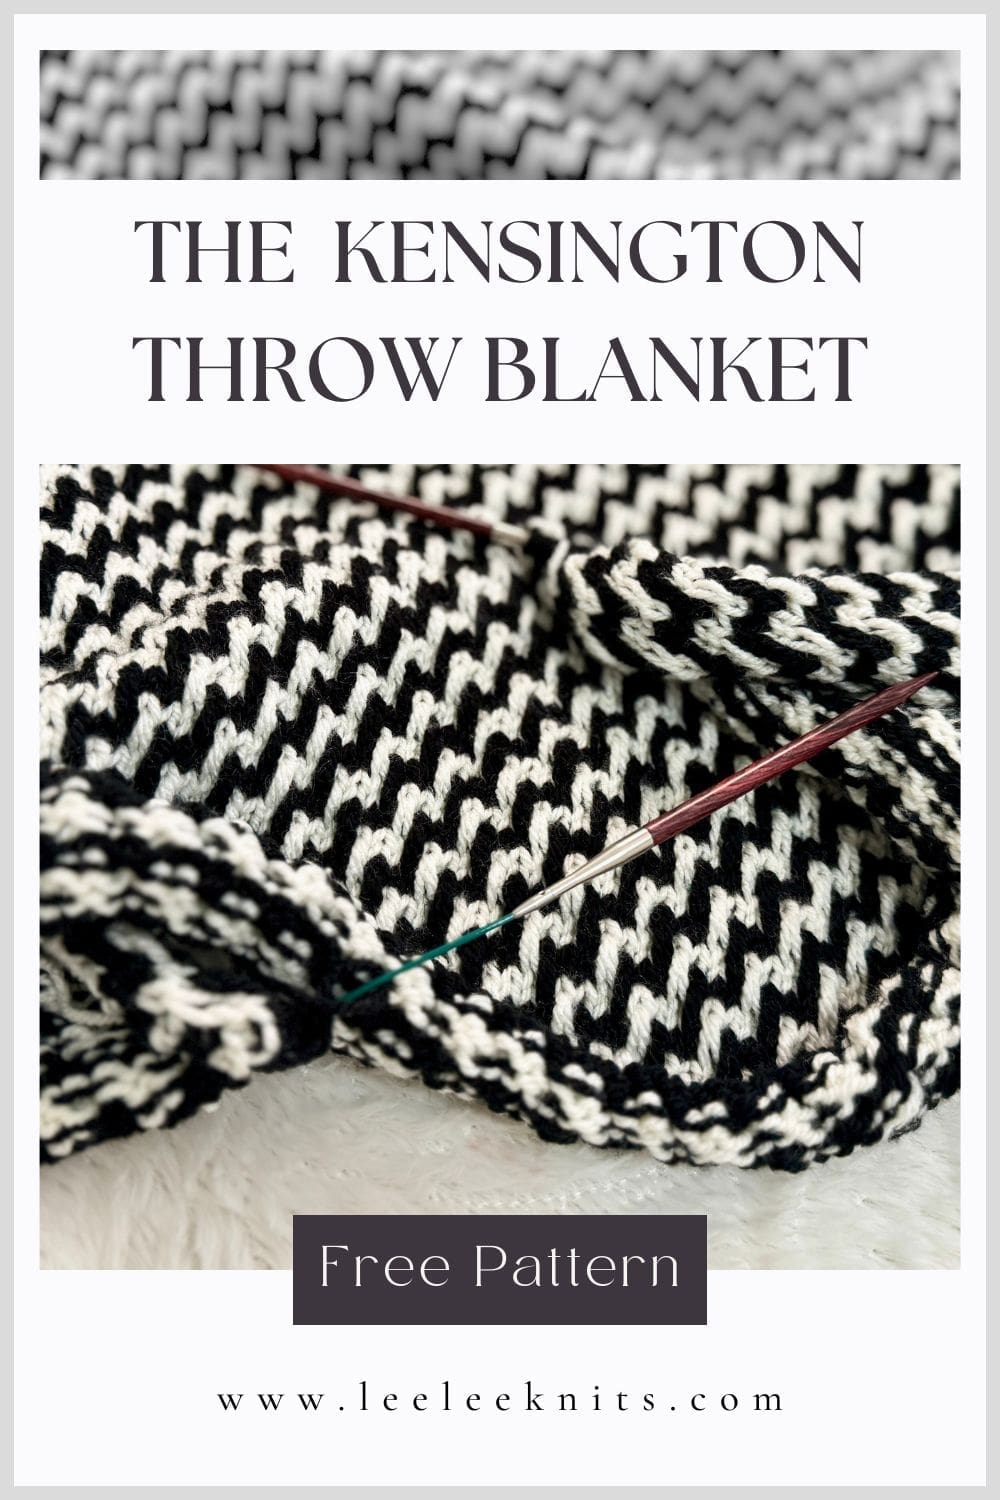
The Kensington Throw & Knitted Slip Stitch Color Work
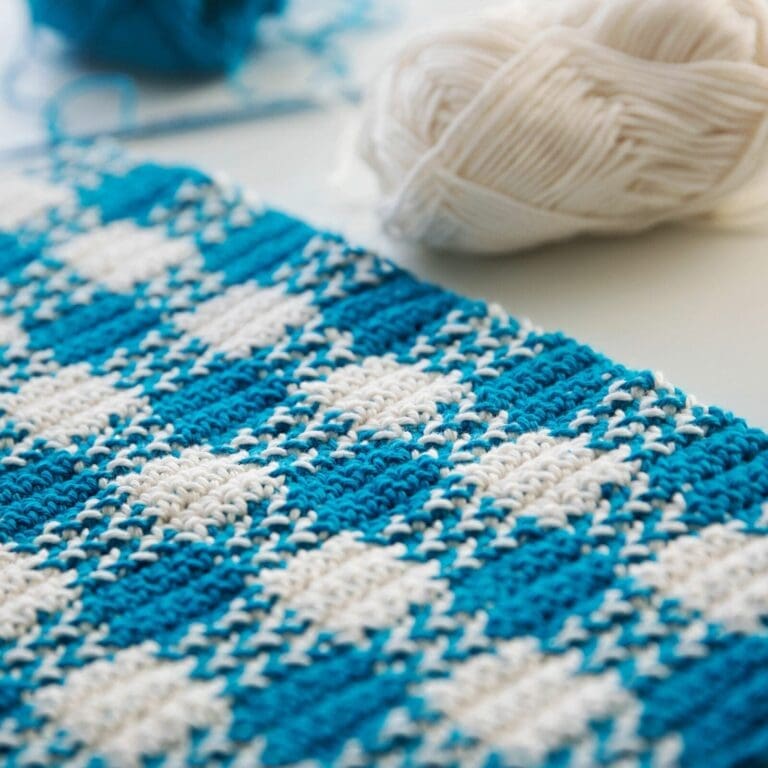
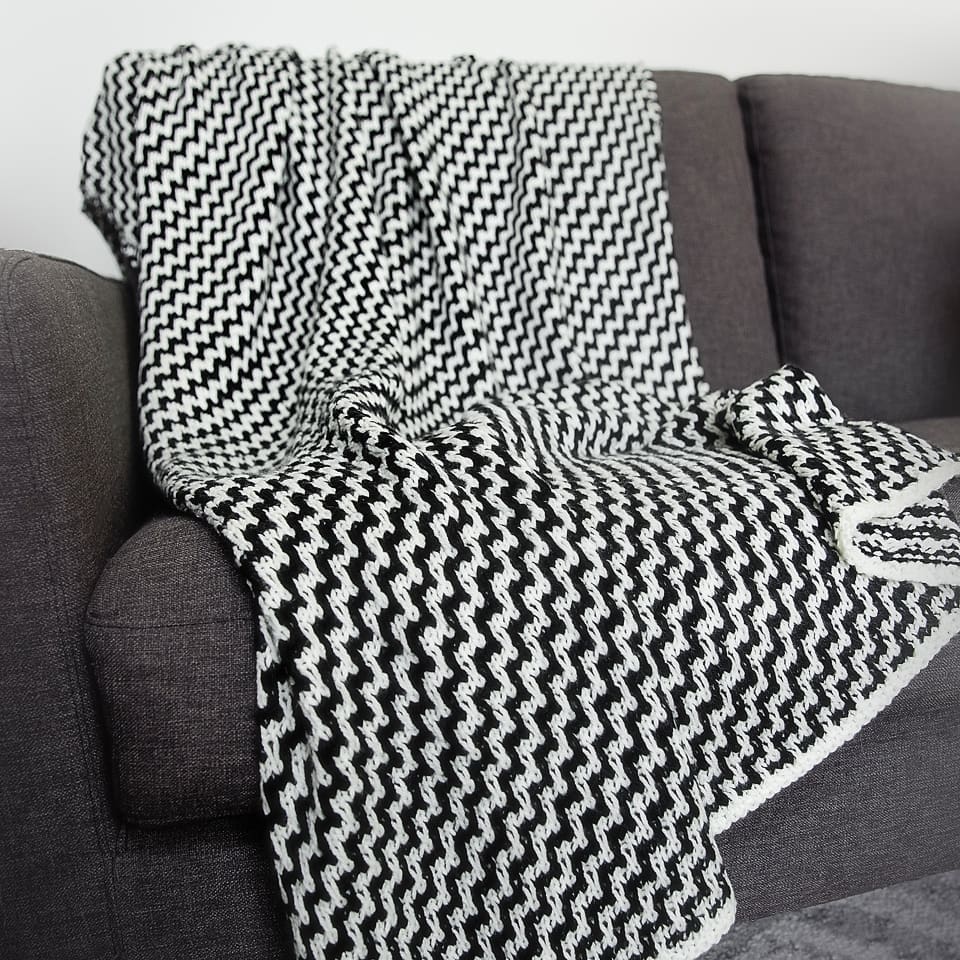
If you’ve been following my content for a while, you know I love to add texture to my knitting patterns – especially when it looks complicated but is actually really easy to knit. That’s exactly what I had in mind when designing the Kensington Throw Blanket! This modern blanket is knit using slip stitch color work (aka mosaic knitting), which sounds like an advanced technique but is basically just slipping stitches and working with one color at a time.

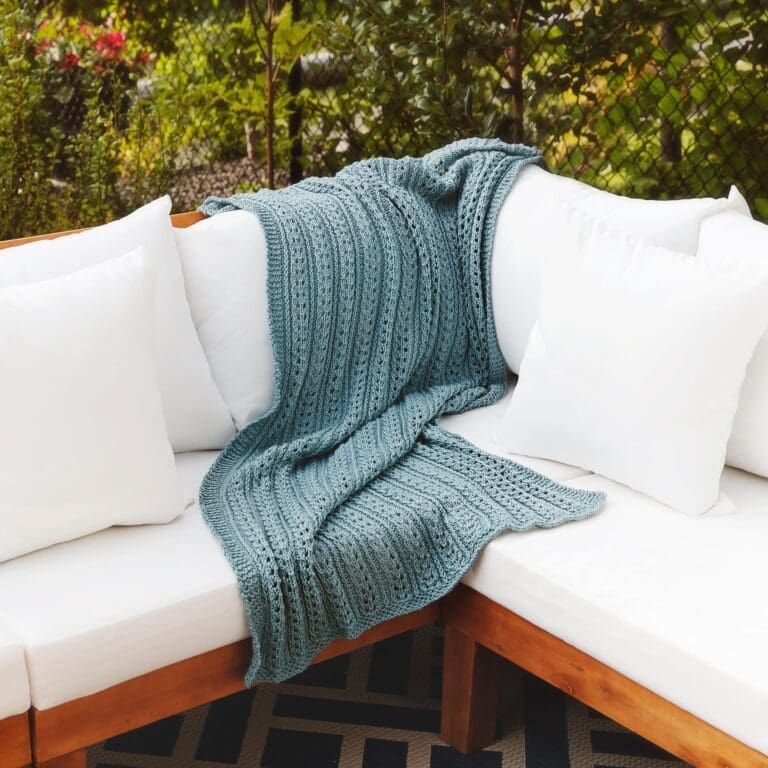
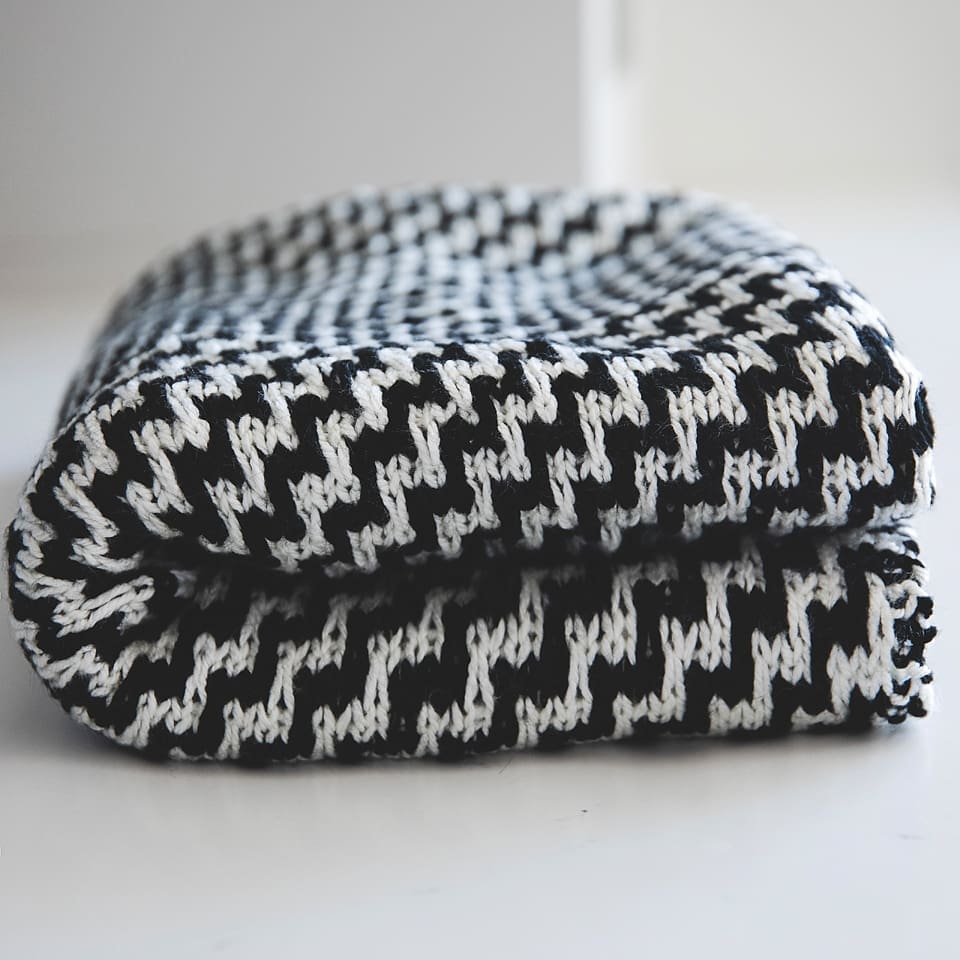
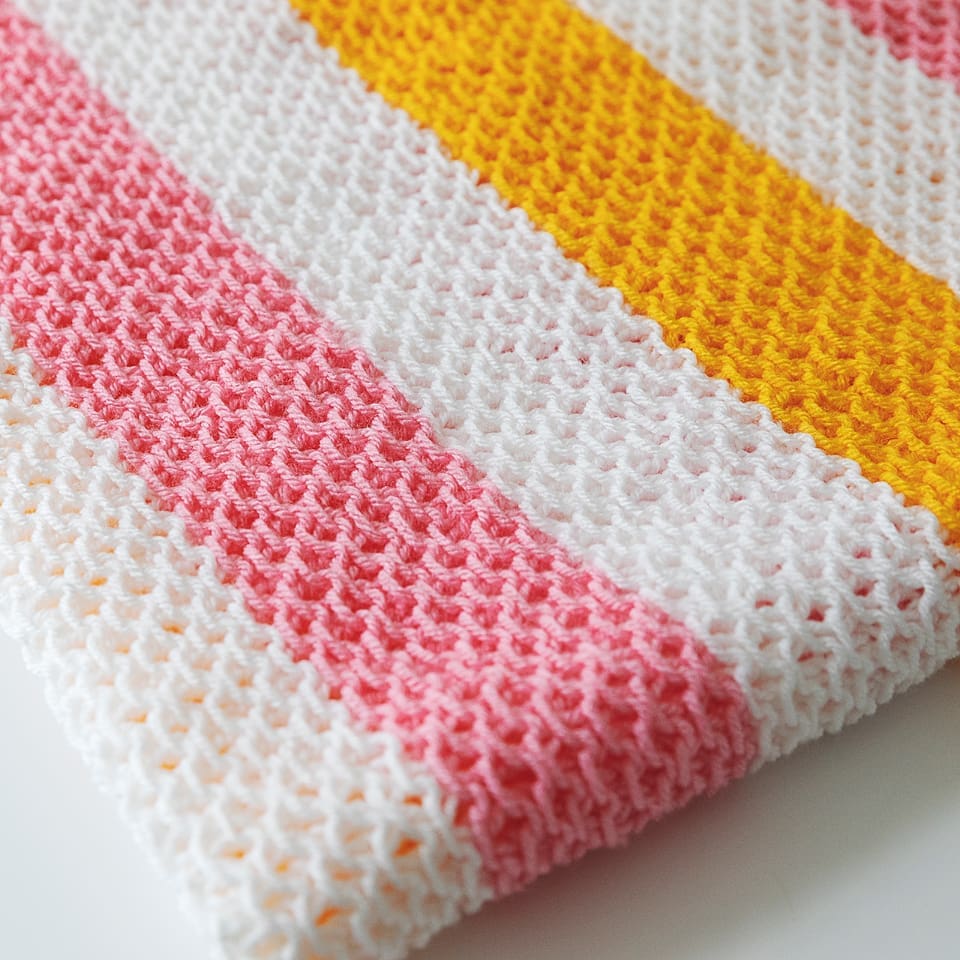
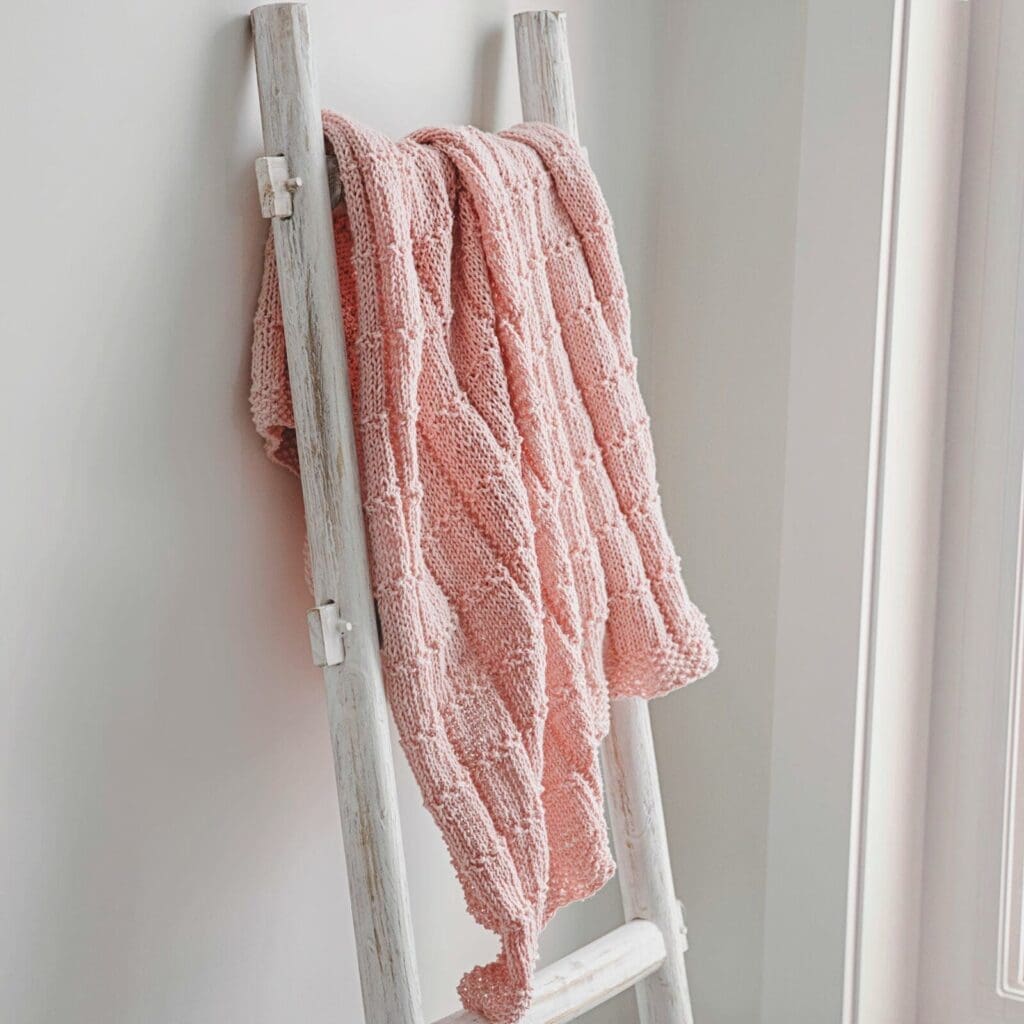
For this blanket pattern, I decided to go with a high-contrast black and white combination. It gives the blanket a striking look that fits right into any contemporary space — especially if you’re into the minimalist aesthetic (or just have pets who shed like mine and need a forgiving color palette). That said, feel free to play around with the colors! You could go with soft neutrals like oatmeal and cream for a more subtle vibe, or even try a moody forest green with heather grey. I also think a warm terracotta and blush pink would look stunning for a cozy boho feel -which I also LOVE.
Pin It for Later!
I hope you enjoy this pattern! Please feel free to share the link to this page on your social media or Pinterest account.
I truly appreciate all of you who get the word out about this site and my patterns!
❤️ Alnaar
How to Use Knitted Slip Stitches for Color Work
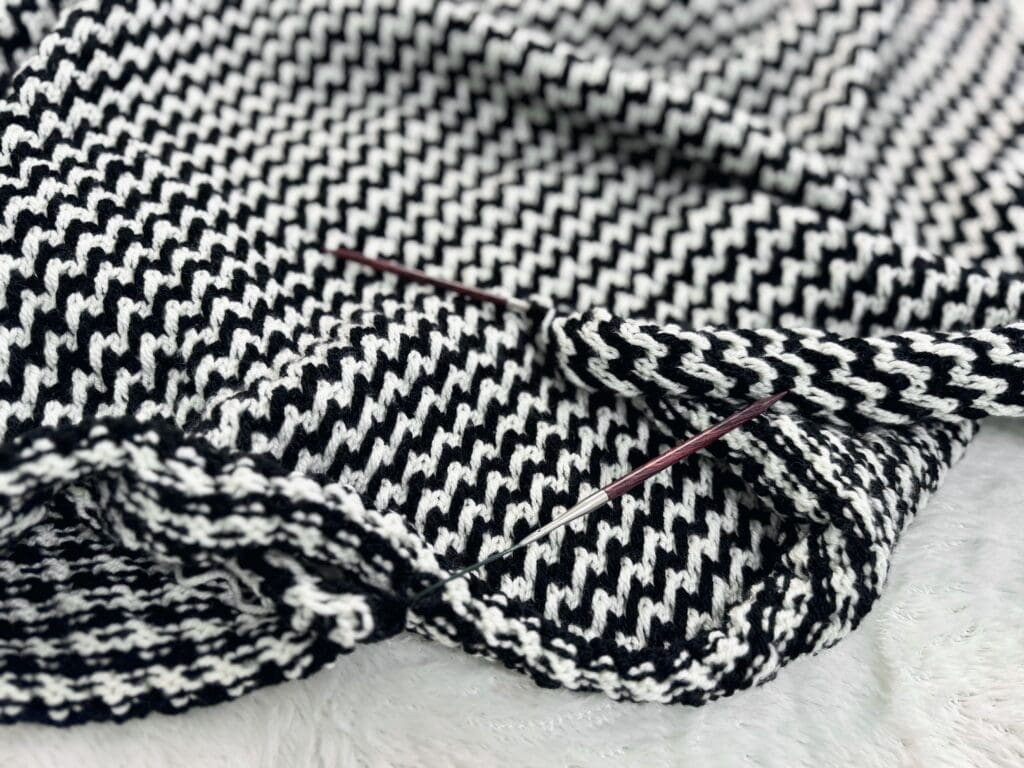
If you’re new to knit color work and feeling a little intimidated with holding two yarns at once — don’t worry because you don’t have to juggle two yarns with this method. Slip stitch color work, or mosaic knitting, involves only working with one color per row. You change colors every two rows, and knit in stockinette stitch as if you’re knitting stripes. When you want a stitch to be of the opposite color, all you have to do is slip it purlwise from the row below.

I have made a video tutorial and shared it to my YouTube channel to help you out! In the tutorial, I walk you through knitting the Kensington Throw Blanket on a small swatch. I cover how to knit the seed stitch border as well as demonstrate how the slip stitches are used to change colors and knit each row of the pattern. Just click on the following link or scroll down to the free pattern to watch the tutorial: Knitted Slip Stitch for Color Work (Kensington Throw Blanket) Tutorial.
What I love most about this technique is how easy it is to get into a rhythm. Once you understand the basics, I just know you will have so much fun with knitting this blanket. And even though mosaic knitting is simple, the results look so impressive. It really is such a fun and stress-free way to start working with color in your knitting.

Please note that some of the links on this page are affiliate links and I will earn a commission if you purchase through these links. I use all of the products listed on this page and recommend them because they are companies that I have found helpful and trustworthy. Please let me know if you have any questions about anything I have recommended!
The Kensington Throw Blanket Pattern
Materials:
Here is what you will need to knit this blanket:
- Paintbox Yarns Simply Aran Yarn:
- 4 skeins (804 yards) Champaign White – Color A
- 4 skeins (804 yards) Black – Color B
- US Size 9 / 5.5 mm circular (32” cord) knitting needles
- Scissors
- Tapestry/yarn needle (for weaving in ends)
Finished Blanket Size:
Finished blanket measures: 42” wide X 58” long.
Ad Free PDF File
The free knitting pattern for this blanket is available right here on this page, as this site is sustained through ad support.
If you like things a little more streamlined, I’ve put together an ad-free, downloadable PDF version of the pattern. It’s perfect for easy printing and can be can be purchased through My Ravelry Store or by clicking the “Purchase PDF File” button to the right.
Thank you so much for your support! It means the world to me, and I’m beyond grateful to be able to share my passion with you all.
Gauge:
17 sts X 24 rows = 4″ in pattern stitch after blocking.
Abbreviations:
K: Knit.
P: Purl.
St: Stitch.
Sl1wyb: Slip one stitch purlwise, with the yarn held at the back of your work.
Sl1wyf: Slip one stitch purlwise with the yarn held at the front of your work.
Knitting Pattern Notes:
This blanket is worked from the bottom up using knitted slip stitches and stockinette stitch, switching between colours A and B every two rows. Do not cut the yarn when changing colours, just carry it up the side.
More Free Blanket Knitting Patterns from Leelee Knits!

Video Tutorial – Using Knitted Slip Stitches for Color Work (Mosaic Knitting):
Free Blanket Knitting Pattern:
Step 1: Cast on Stitches:
With Color A, cast on 177 sts (or a multiple of 4 plus 1).
Step 2: Knit Blanket:
Rows 1 & 2 (bottom border): *K1, p1; repeat from * to last st, k1.
Switch to Color B.
Row 3: K1, p1, *sl1wyb, k3; repeat from * to last 3 sts; sl1wyb, p1, k1.
Row 4: K1, p1, *sl1wyf, p3; repeat from * to last 3 sts; sl1wyf, p1, k1.
Switch to Color A.
Row 5: K1, p1, *k1, sl1wyb, k2; repeat from * to last 3 sts; k1, p1, k1.
Row 6: K1, p1, *p3, sl1wyf; repeat from * to last 3 sts; p2, k1.
Switch to Color B.
Row 7: K1, p1, *k2, sl1wyb, k1; repeat from * to last 3 sts; k1, p1, k1.
Row 8: K1, p1, *p2, sl1wyf, p1; repeat from * to last 3 sts; p2, k1.
Switch to Color A.
Row 9: K1, p1, *k3, sl1wyb; repeat from * to last 3 sts; k1, p1, k1.
Row 10: K1, p1, *p1, sl1wyf, p2; repeat from * to last 3 sts; p2, k1.
Switch to Color B.
Repeat rows 3-10 until blanket measures 55 inches (the finished blanket will measure 58 “ after blocking).
Switch to color A and repeat rows 1 and 2 to add the top border.
Step 3: Cast off and Block:
Cast off in pattern, then wet block or steam block the blanket to the final measurements. Once it’s fully dry and set, your Kensington Throw will be ready to enjoy.
Pattern PDF File
I hope you enjoyed the free knitting pattern for this modern throw blanket.
If you’d like your own copy, the Ad-Free PDF file (which will be emailed to you automatically) can be purchased through Ravelry, or by clicking the “Purchase PDF File” button to the right.
Thank you so much for your support! It means the world to me, and I’m beyond grateful to be able to share my passion with you all.