Cable Knitting – How to Knit Cables
Knitting Cables – The Basics
It’s no secret that I’ve been a fan of cable knitting for a while now, and let me tell you, it’s a skill that will take your projects to another level. I’m writing this post because I know some of you might glance at the cable patterns I share and think, “That looks way too complicated!”.
I was right there with you in my until one day I decided to just give it a shot and found out that cables are not nearly as daunting as they seem. This was before the Internet, and I had to teach myself through knitting reference books! Still, I was truly amazed at how something as simple as moving stitches around before knitting them could add so much beauty and texture to a project. Learning how to cable knit had a huge payoff in allowing me to create more interesting and fun designs to share on this site.
By understanding the basics of cable knitting, you’ll see that knitting cables isn’t nearly as intimidating as it looks. Not only do they enhance the aesthetic appeal of your creations but learning how to knit cables also boost your confidence as a knitter.
What is Cable Knitting, Anyway?
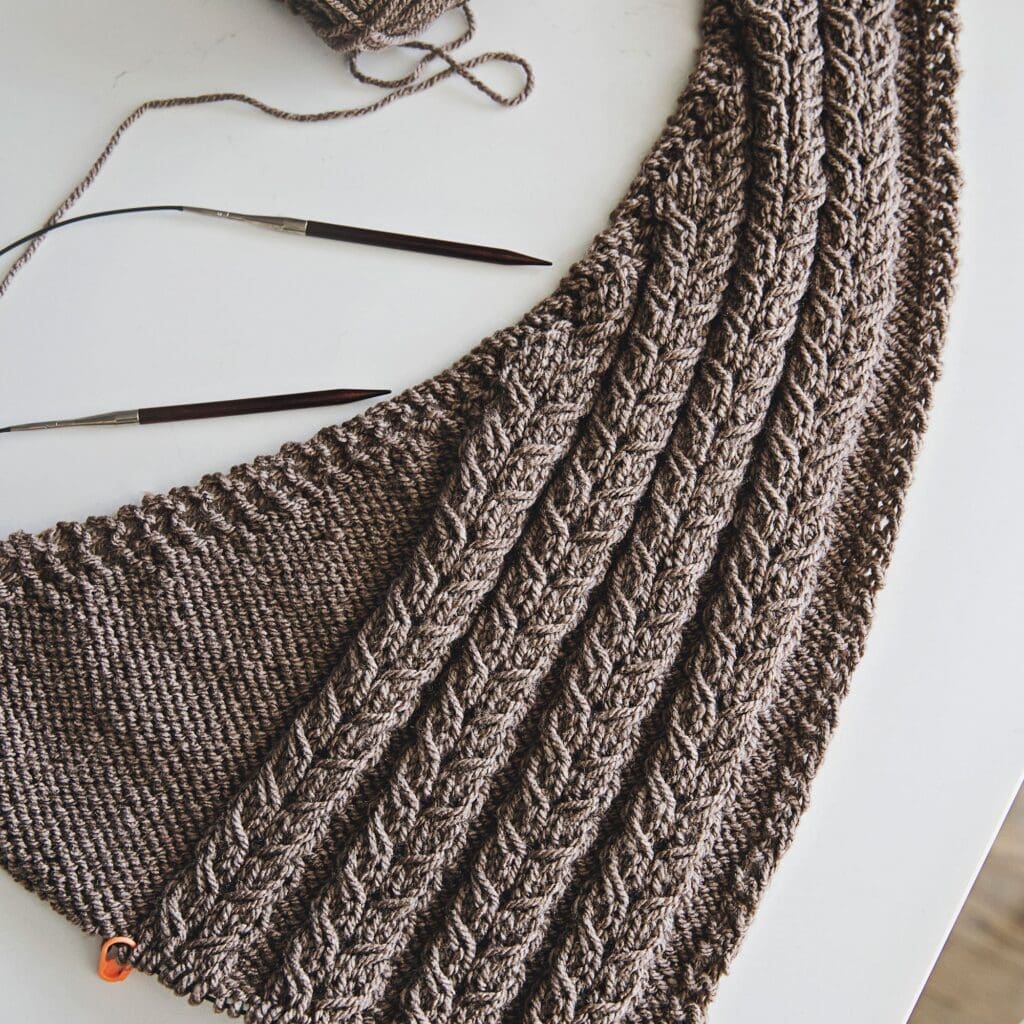
Essentially, cable knitting involves moving stitches around before knitting them with the help of a cable hook. As a result, the stitches are twisted around each other, which creates bold patterns that pop off the fabric. These patterns can look like braids or ropes and add a gorgeous three-dimensional texture to your work.
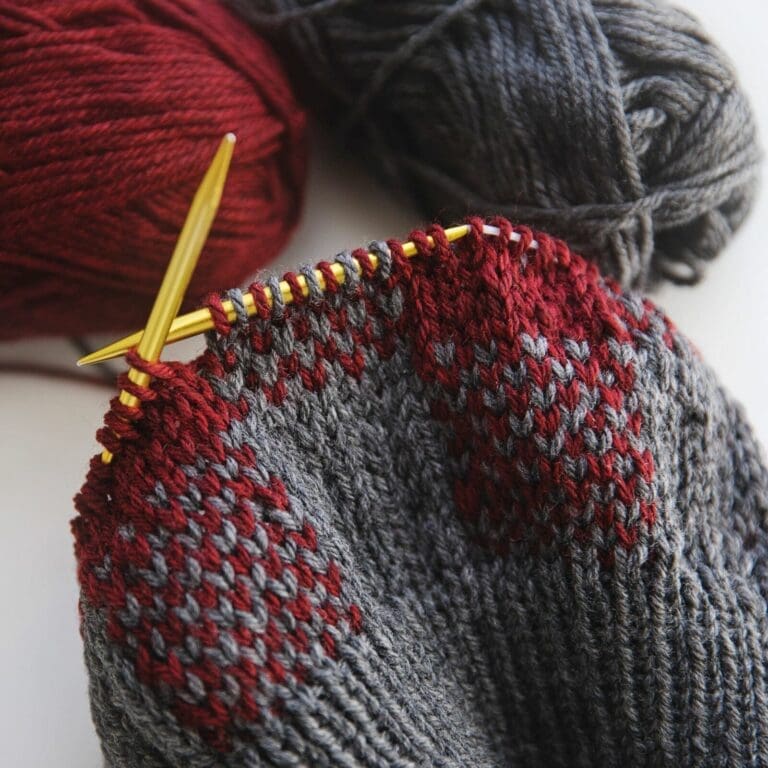
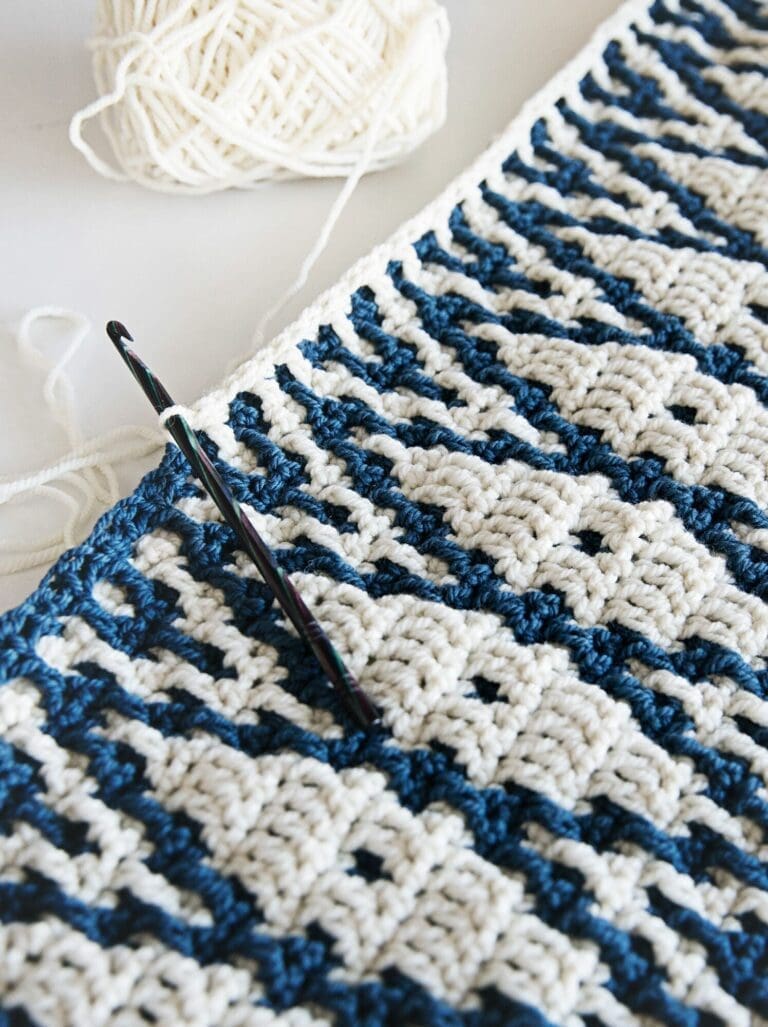
There are so many cable stitches you can try out, each with its own unique twist and texture. The images below show three different types of cable stitches (if you click on the image, a new tab will open up with the corresponding free pattern).


What You’ll Need to Practice Cable Knitting
- Cable Needle: Also called a cable hook, this tool is for holding stitches temporarily. Opt for one that feels comfortable in your hand. I like the ones that look like candy canes (see image below).
- Knitting Needles: Choose a size that works for your yarn choice. You can also check the label on the yarn for the recommended needle size.
- Yarn: For practice, go for a medium weight yarn 100% wool or acrylic yarn in a lighter hue so you can easily see your stitches.
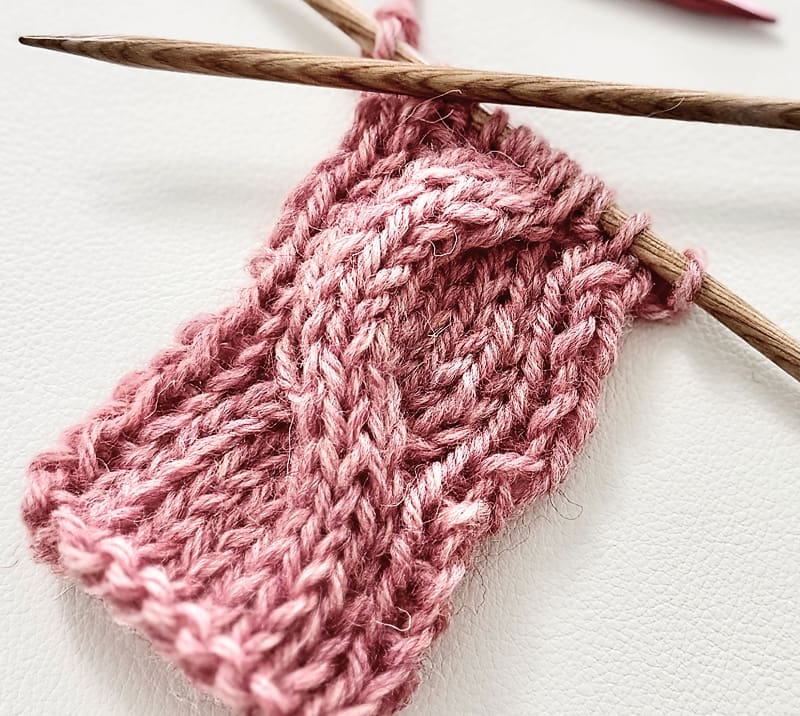
Knitting a Basic Cable: The C6F – Cable 6 Front
The steps below walk you through how to knit a simple cable stitch called the C6F, which is an acronym for “Cable 6 Front”. This means you’ll be working with six stitches and crossing the first three in front of the last three to create a left leaning twist. Here’s how you do it:
Set Up Your Stitches:
Cast on 12 stitches and then repeat rows 1 and 2 four times (8 rows total):
Row 1: K2, p1, k6, p1, k2
Row 2: K1, p1, k1, p6, k1, p1, k1
For the next row (row 9) work the first 3 stitches in the same way as row 1 (k1, p2). And now you are ready to work the C6F cable over the next 6 stitches.
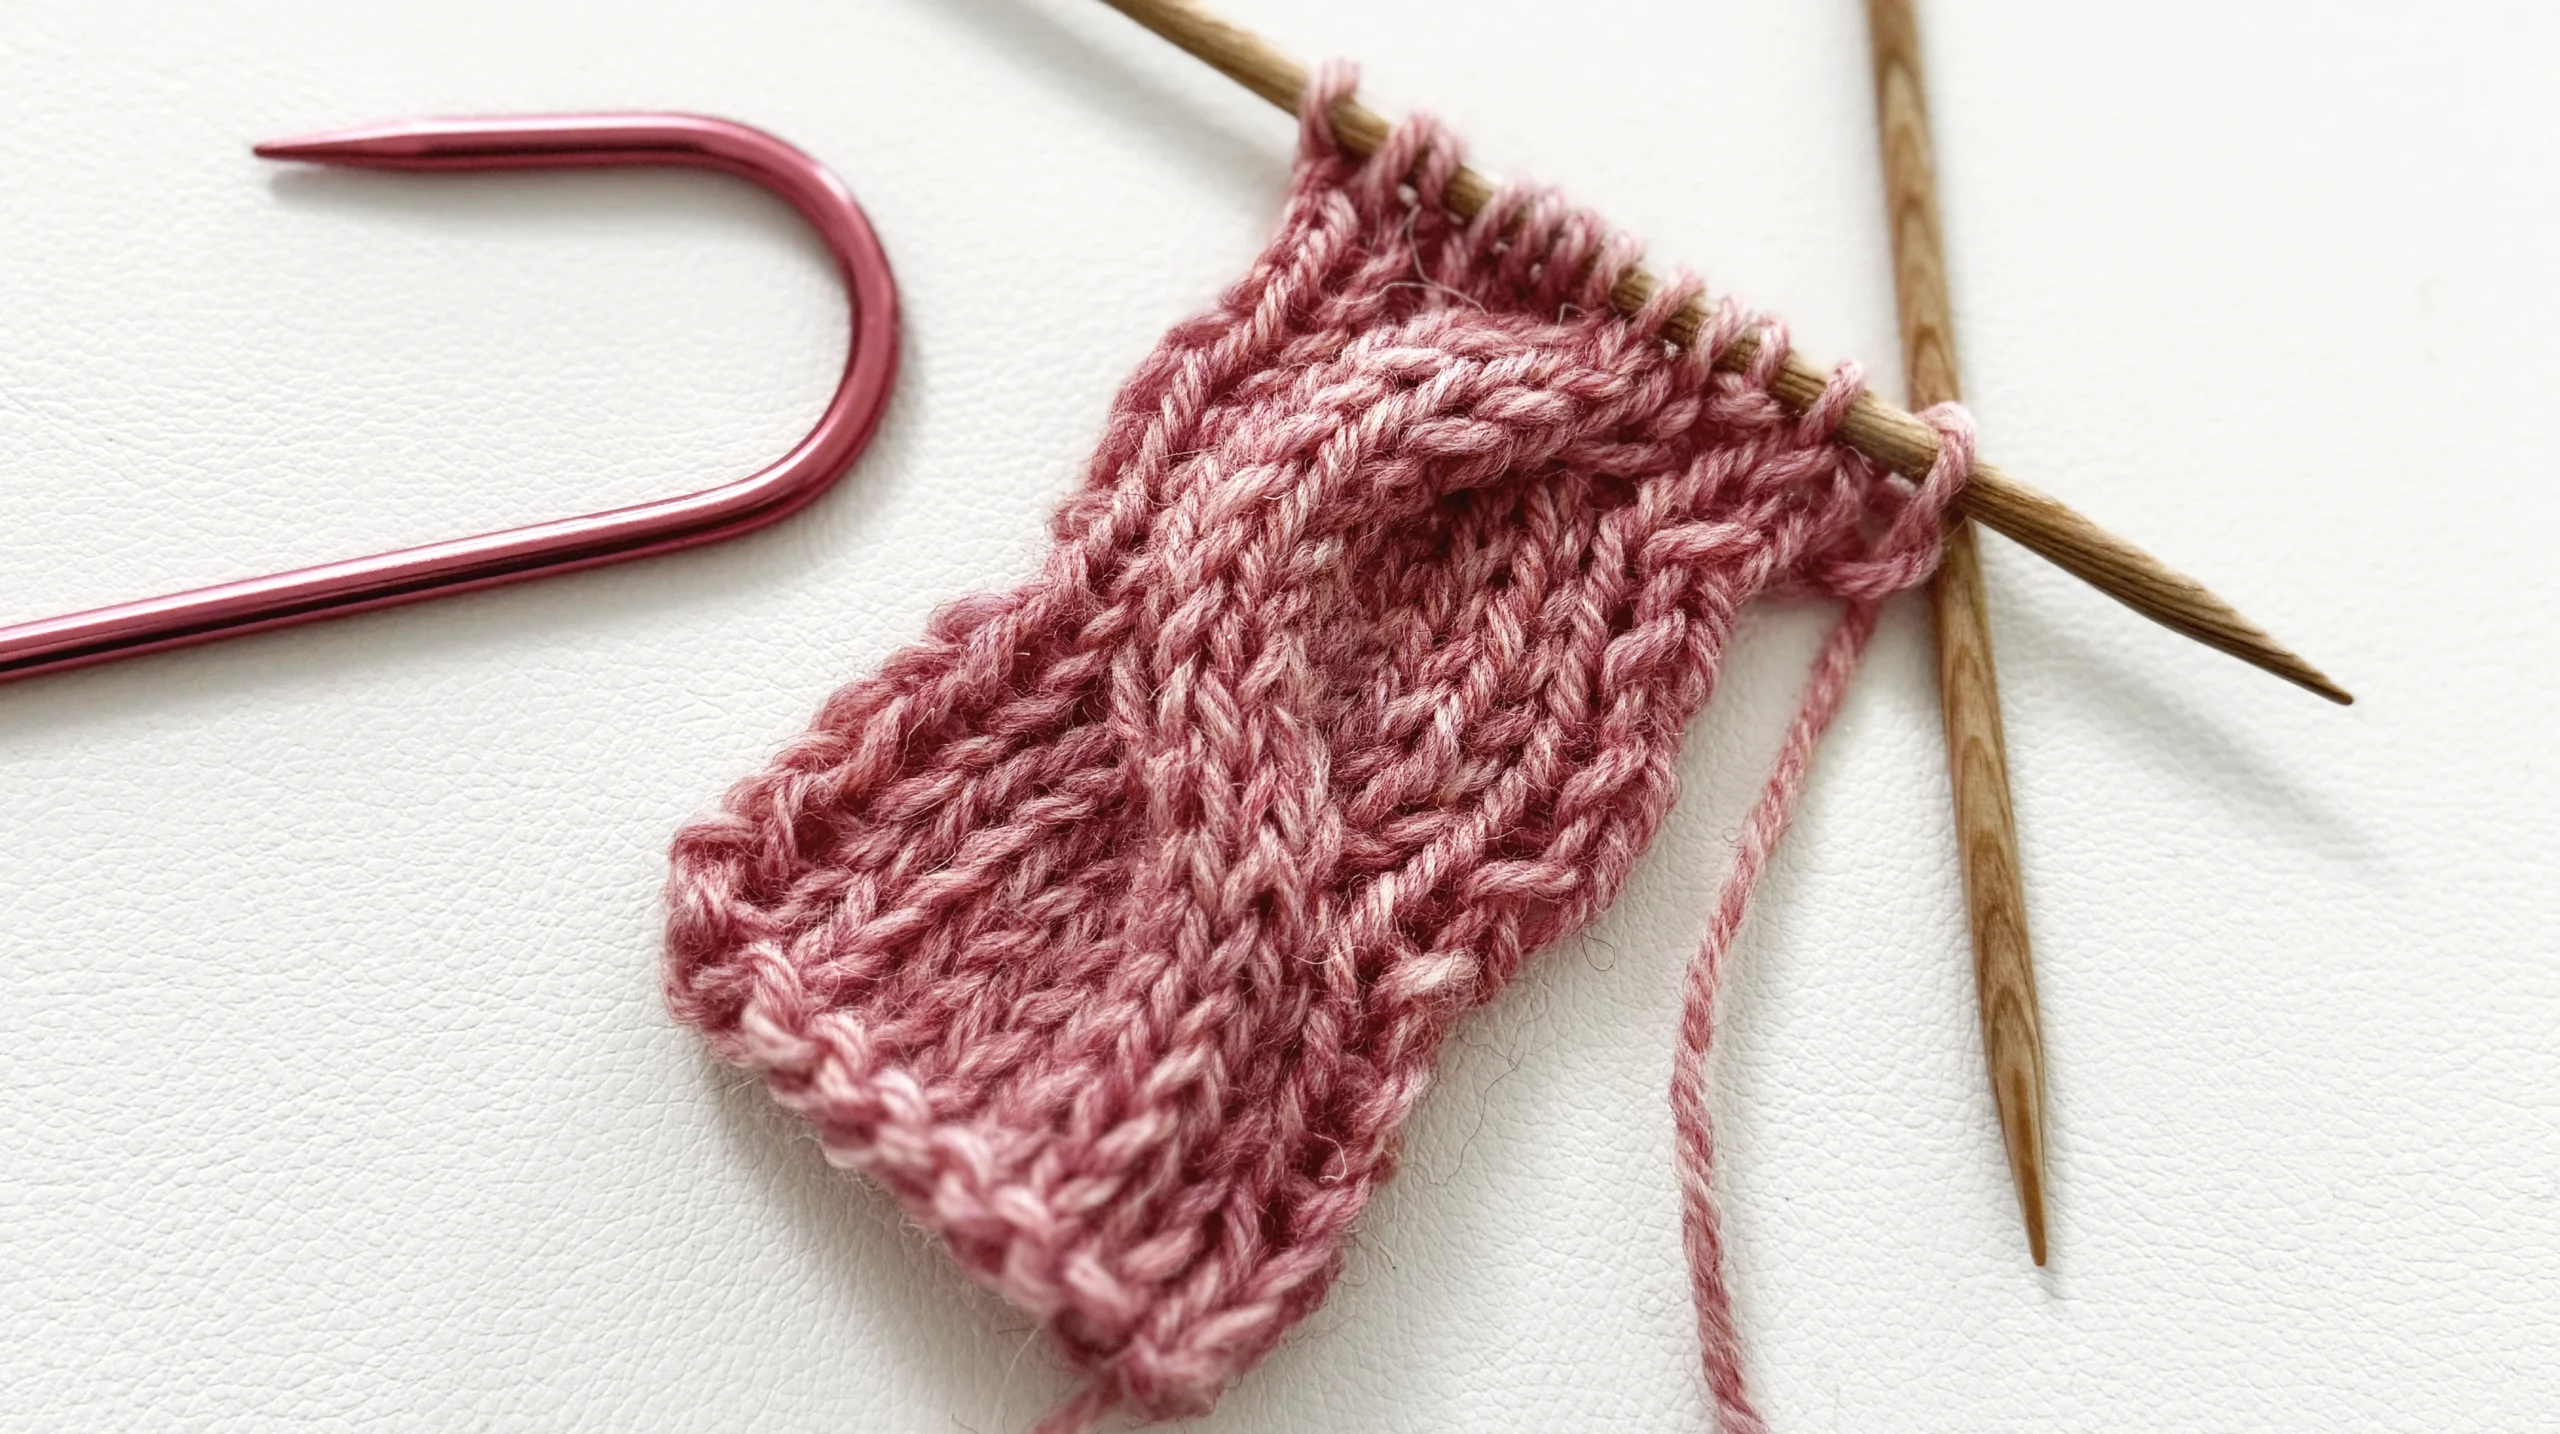
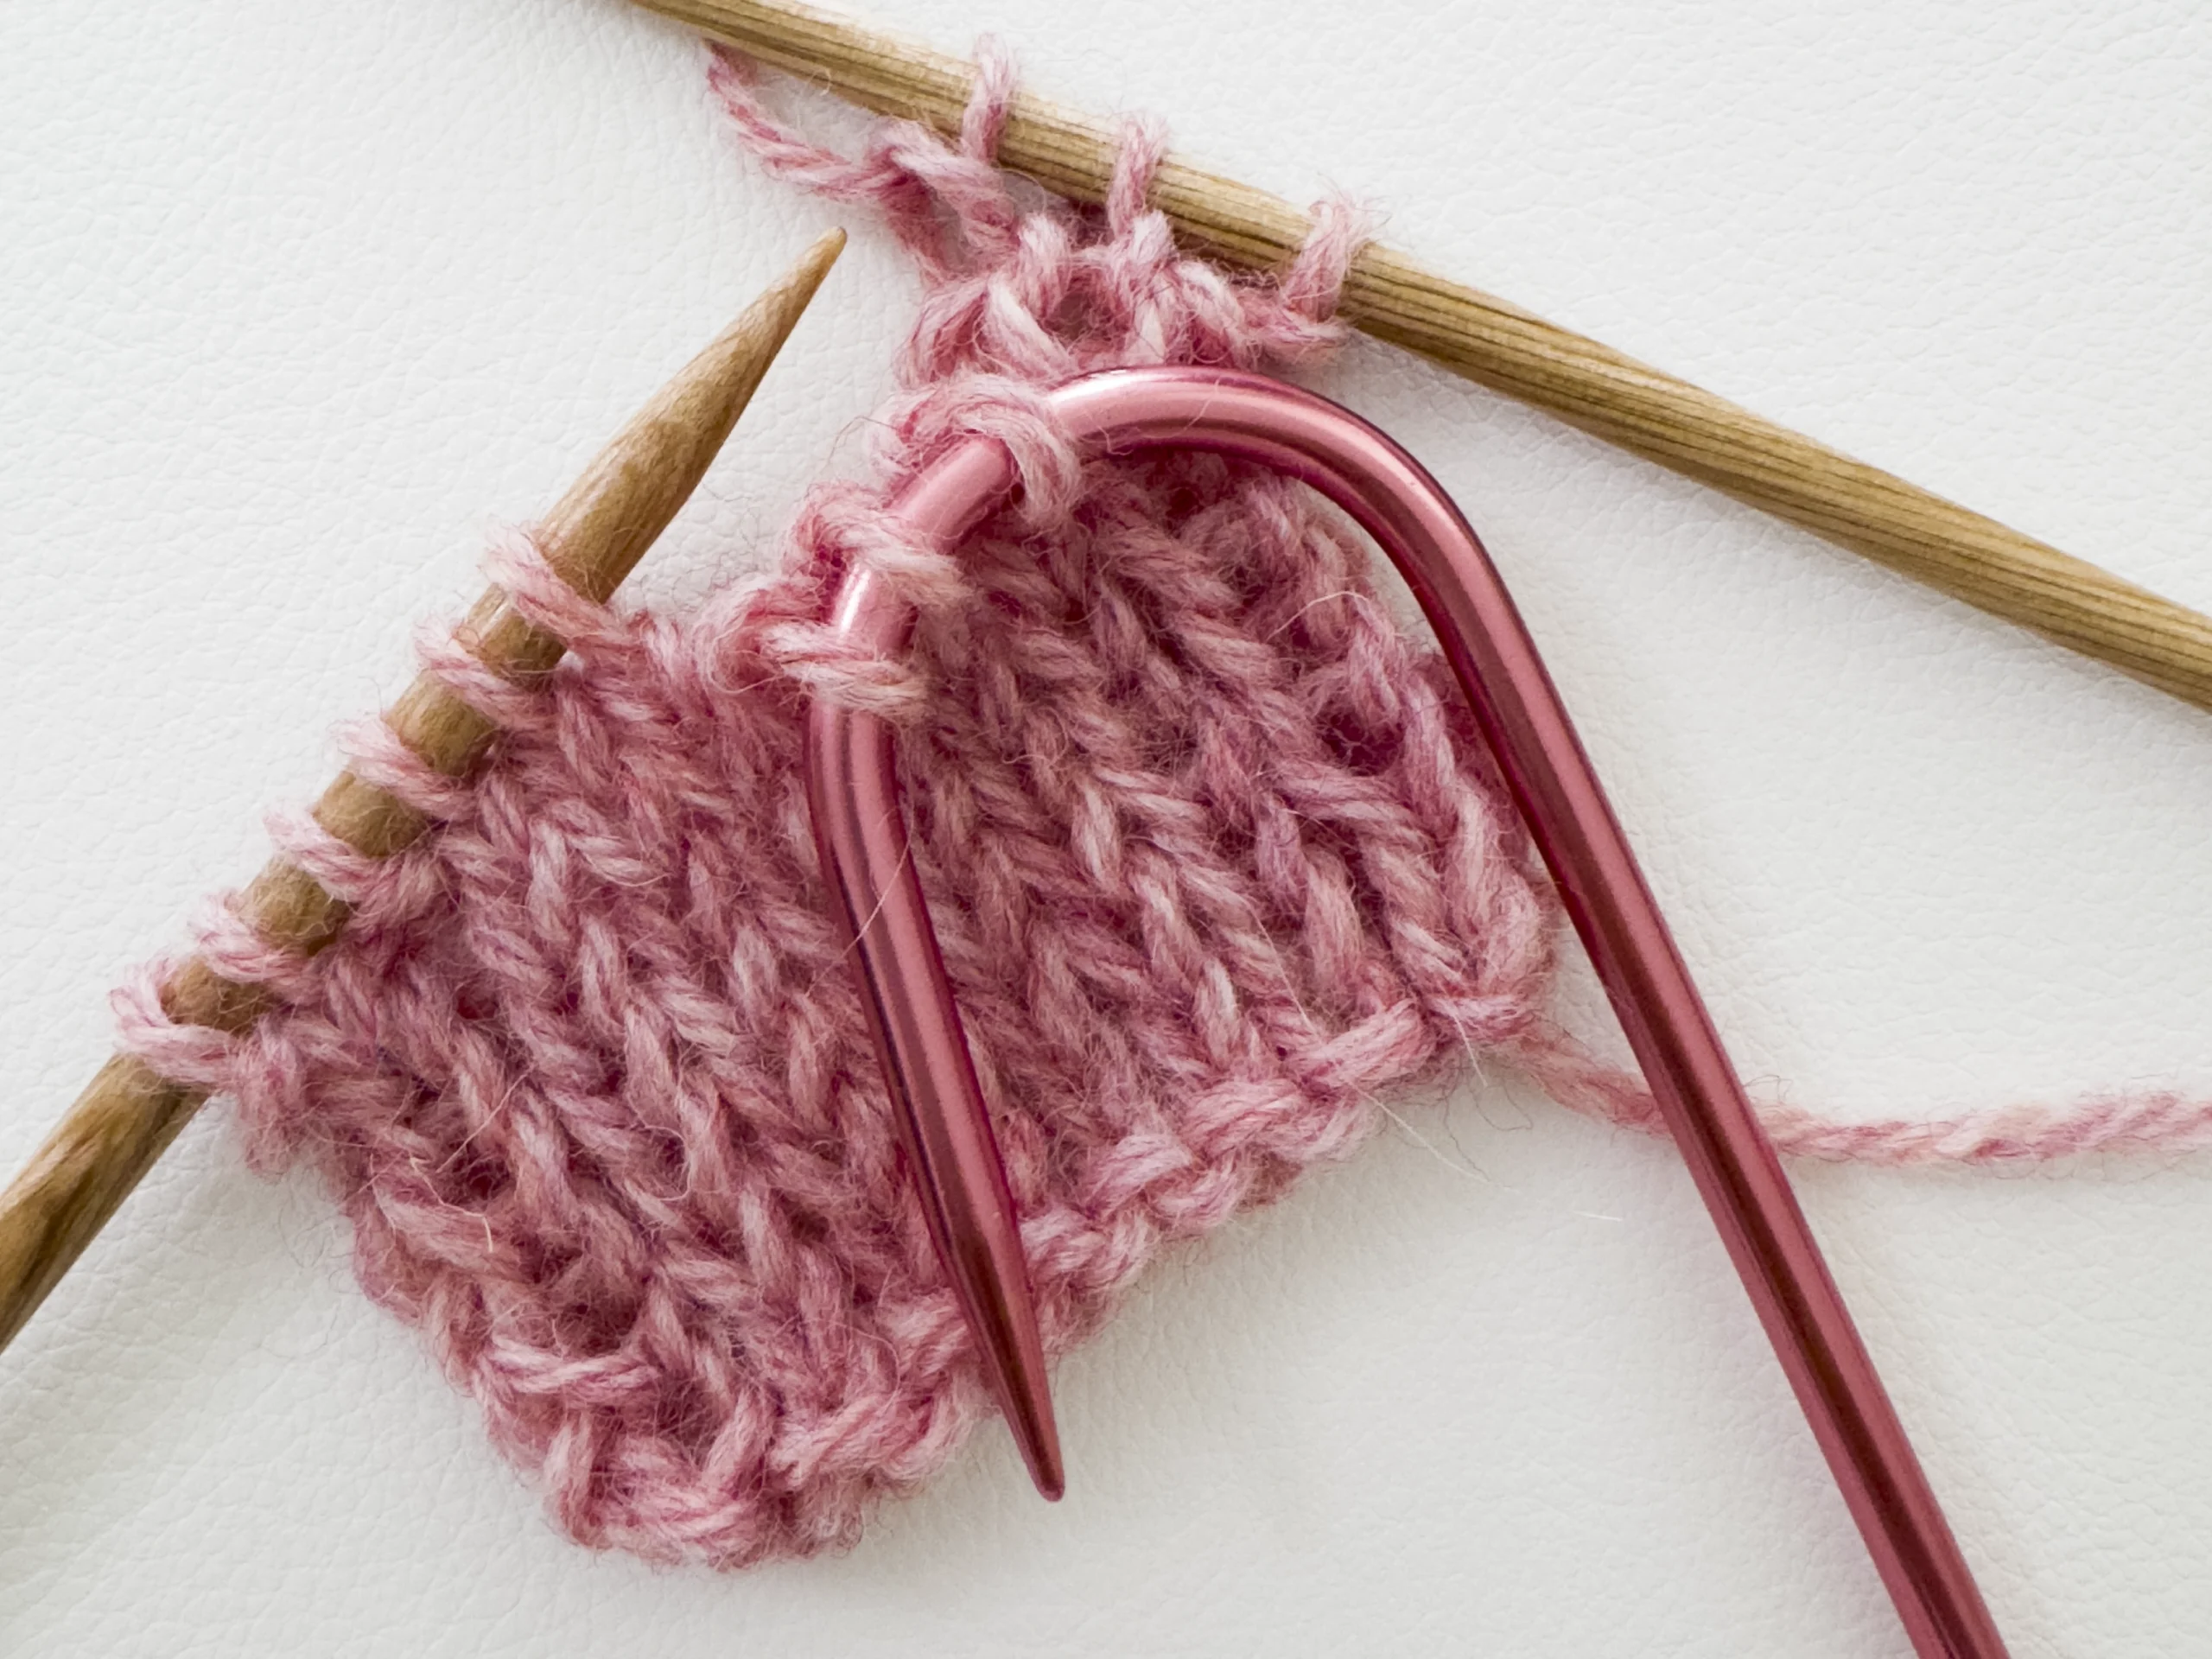
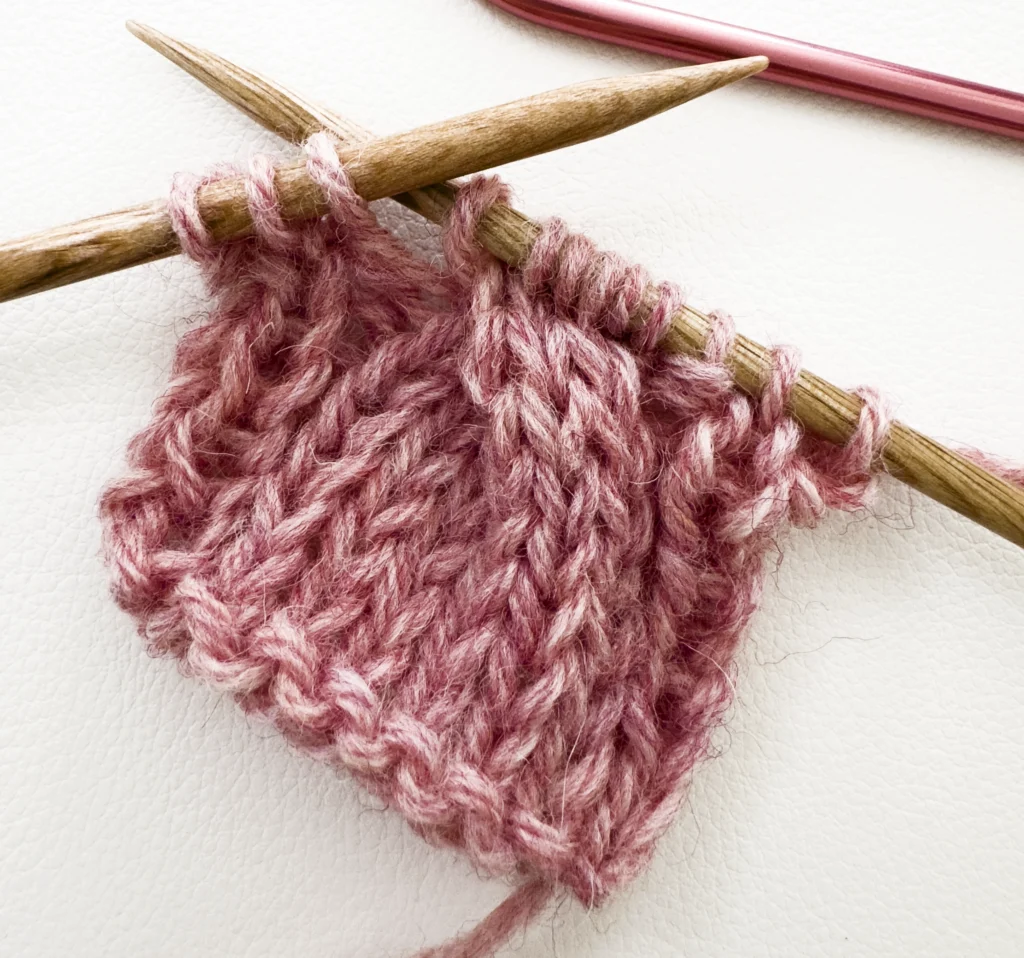
Slip Three Stitches
Transfer the next three stitches onto your cable needle and let it hang in front of your work. This sets up the twist.
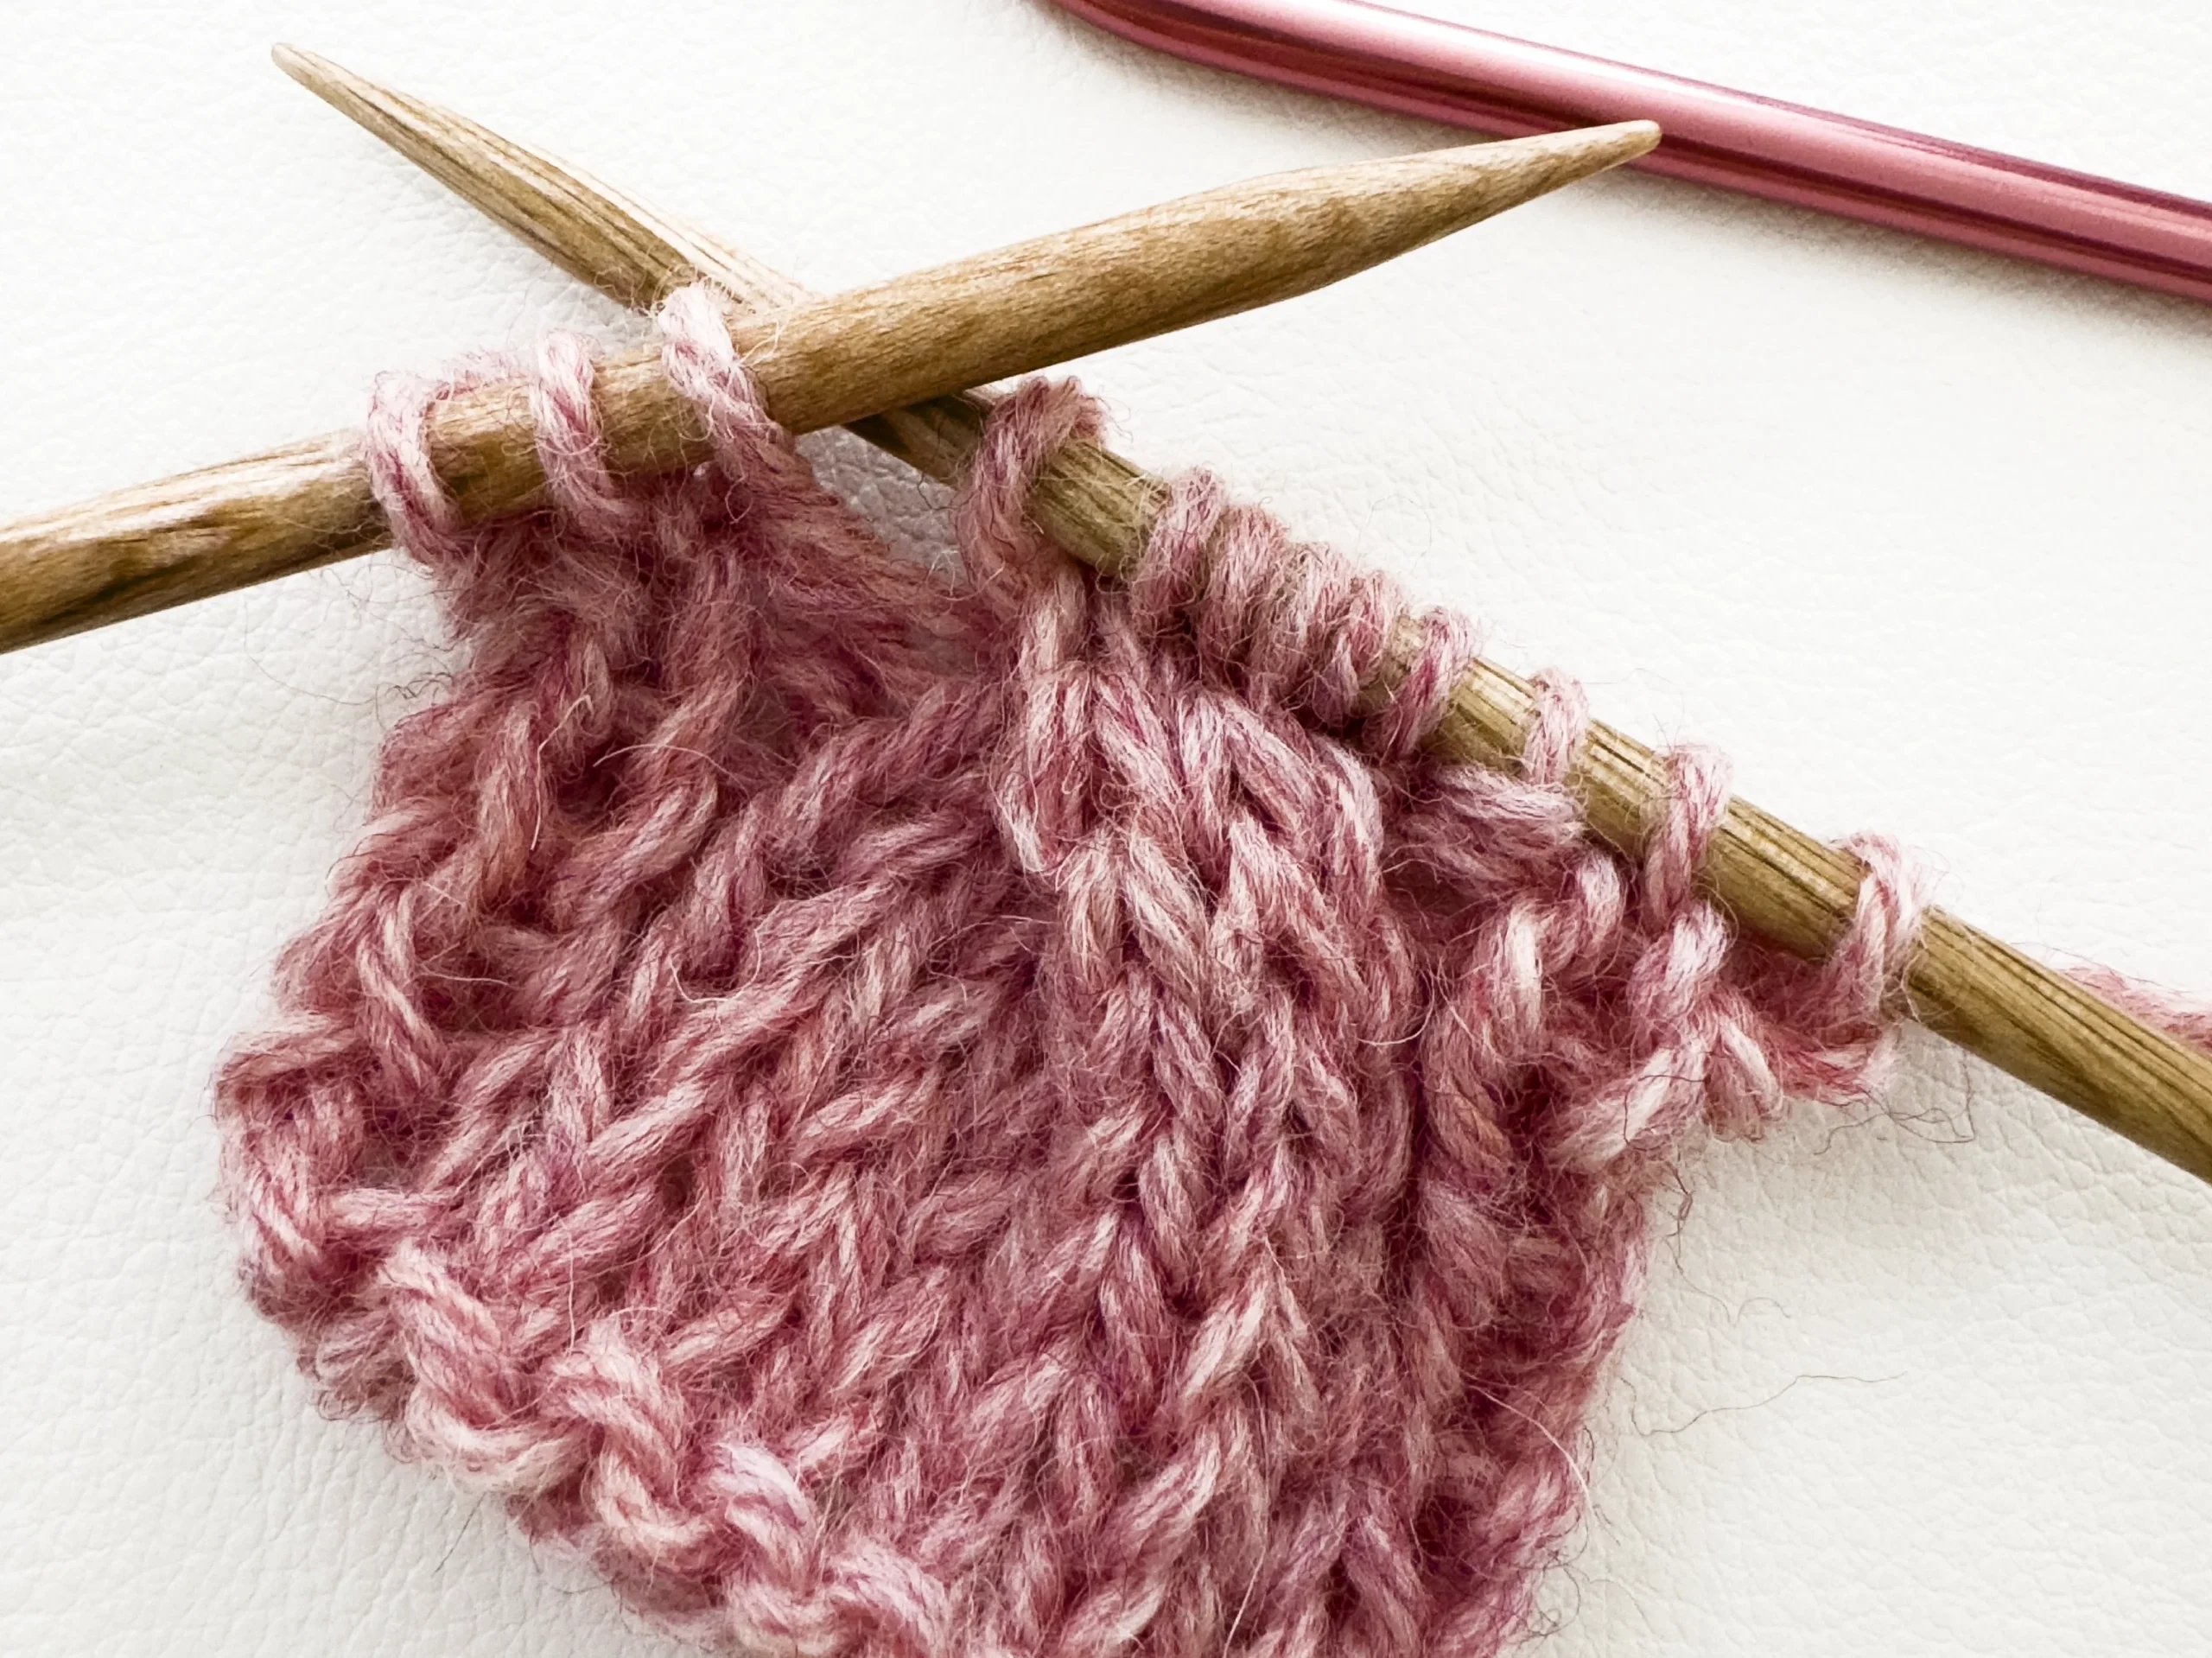
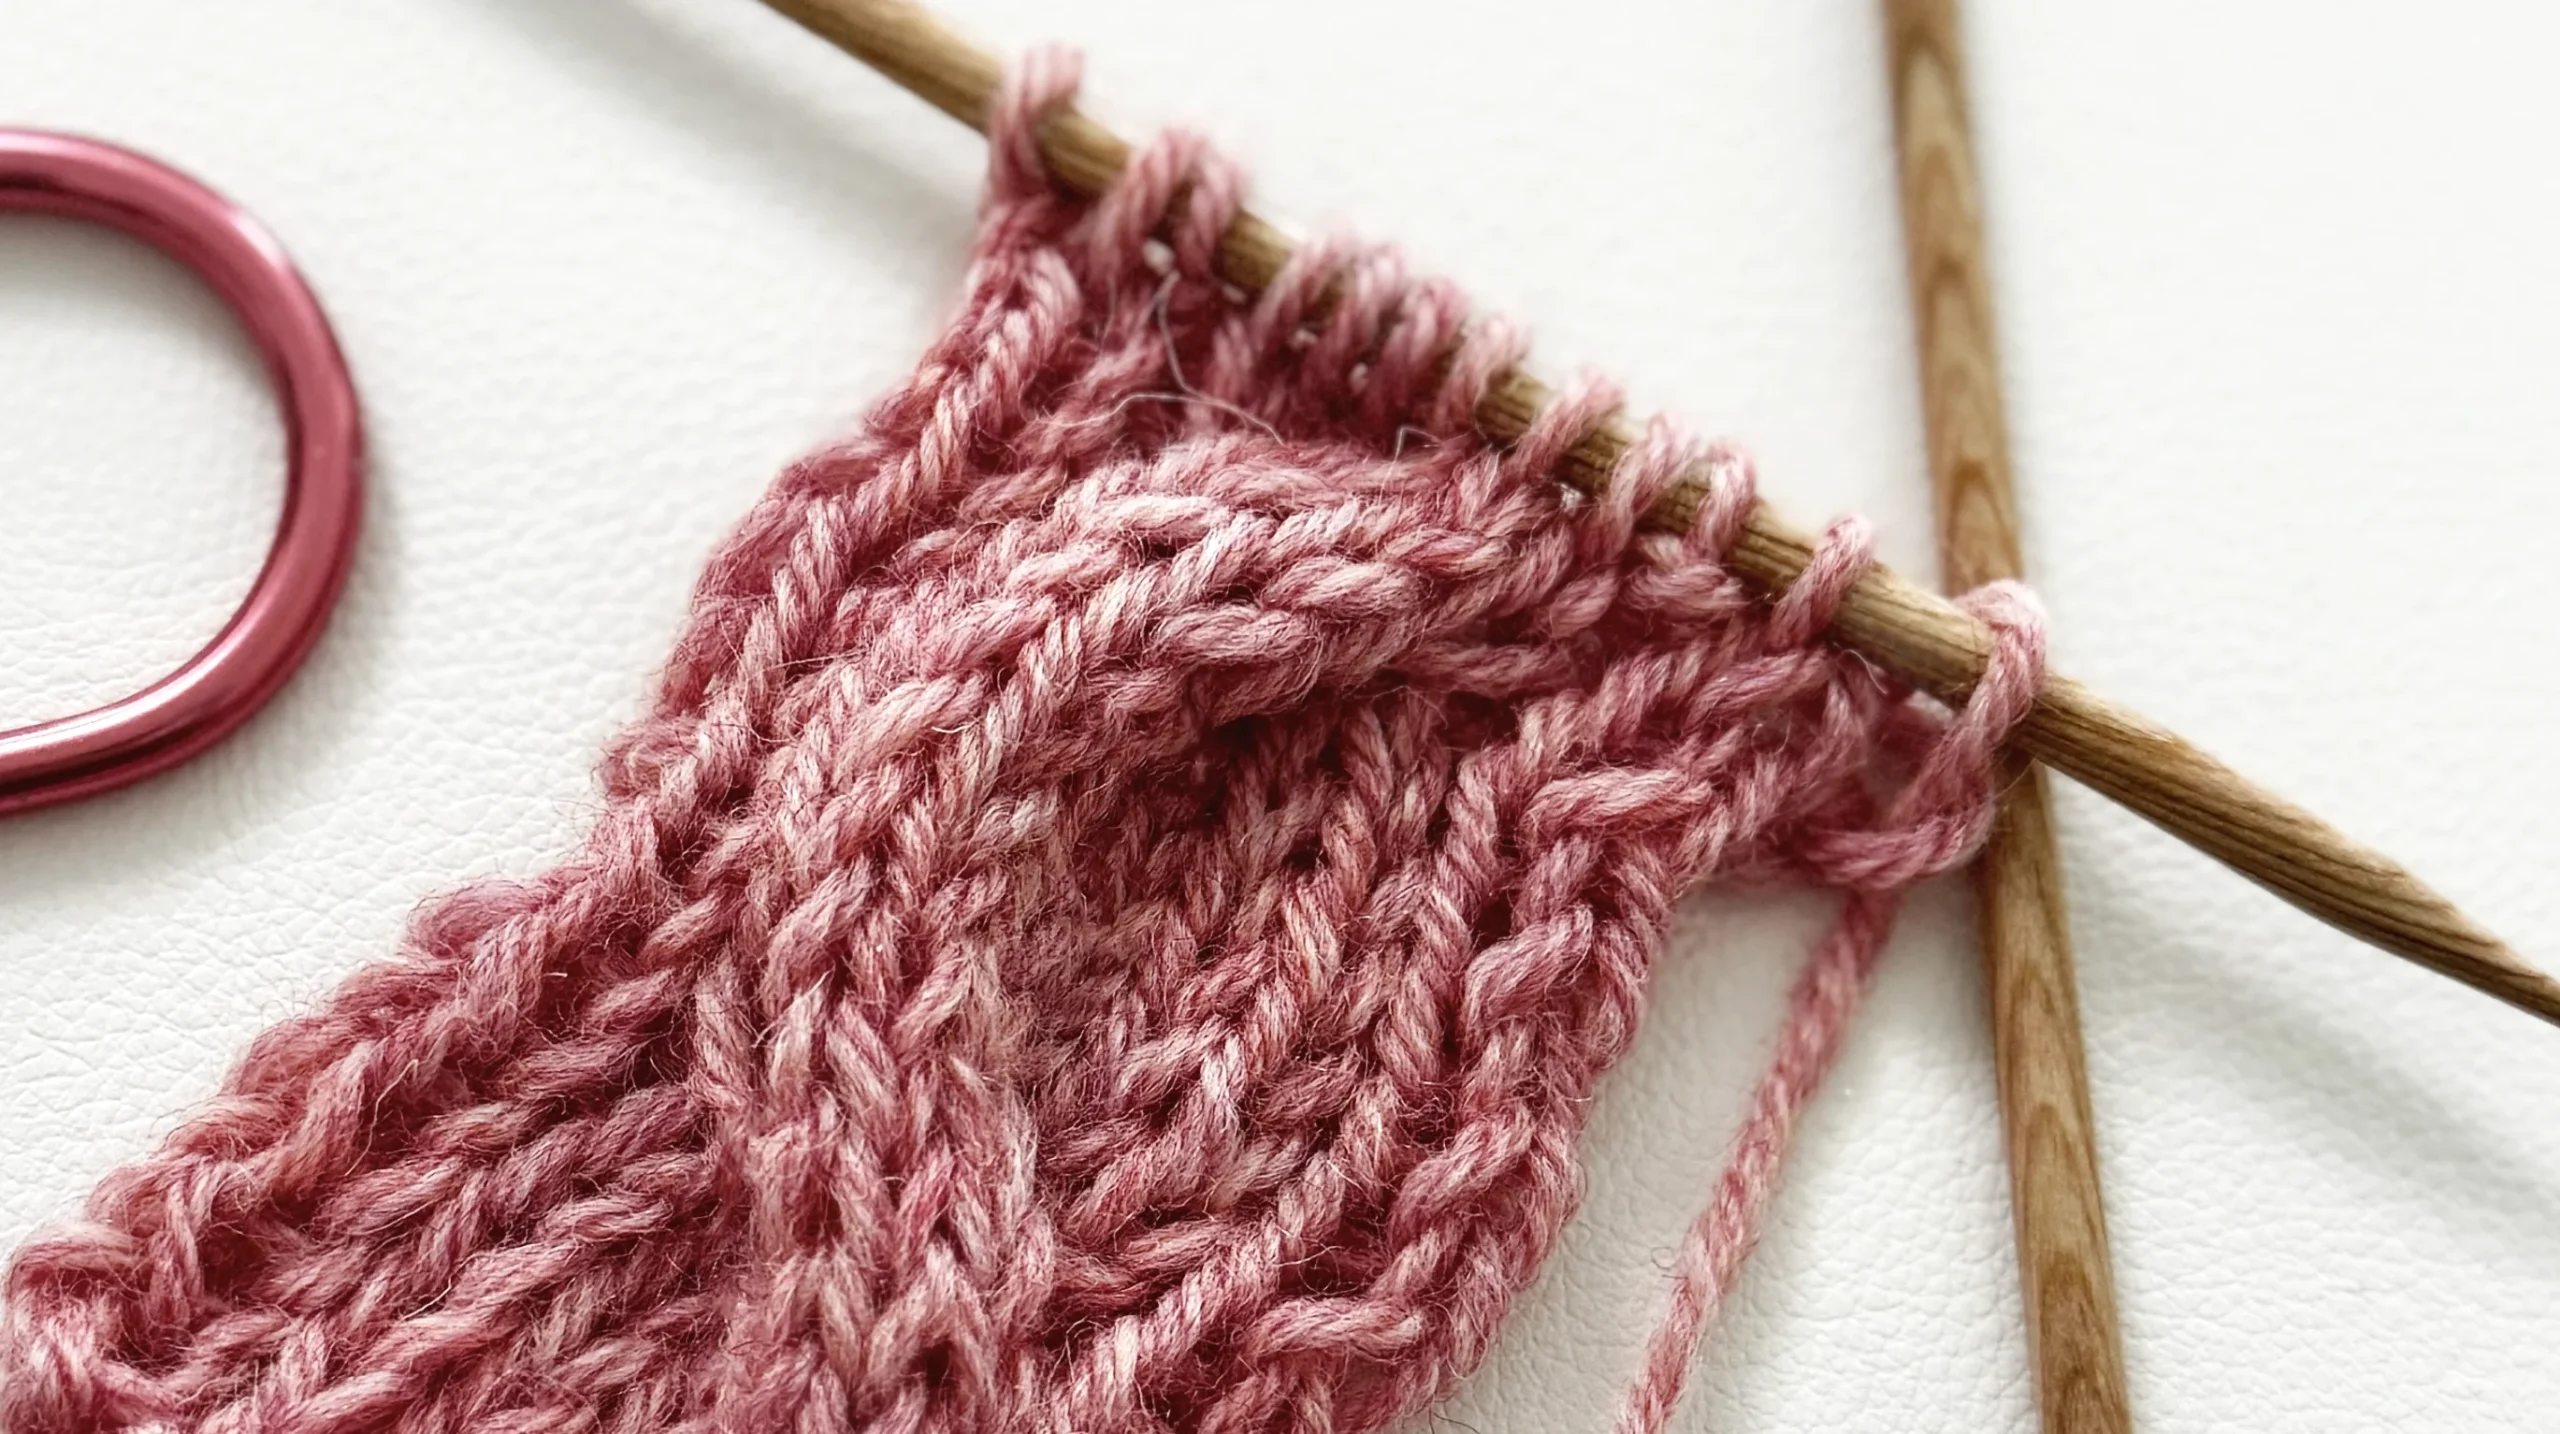
Knit Three from Left Needle: Then continue knitting the next three stitches from your main needle as usual.

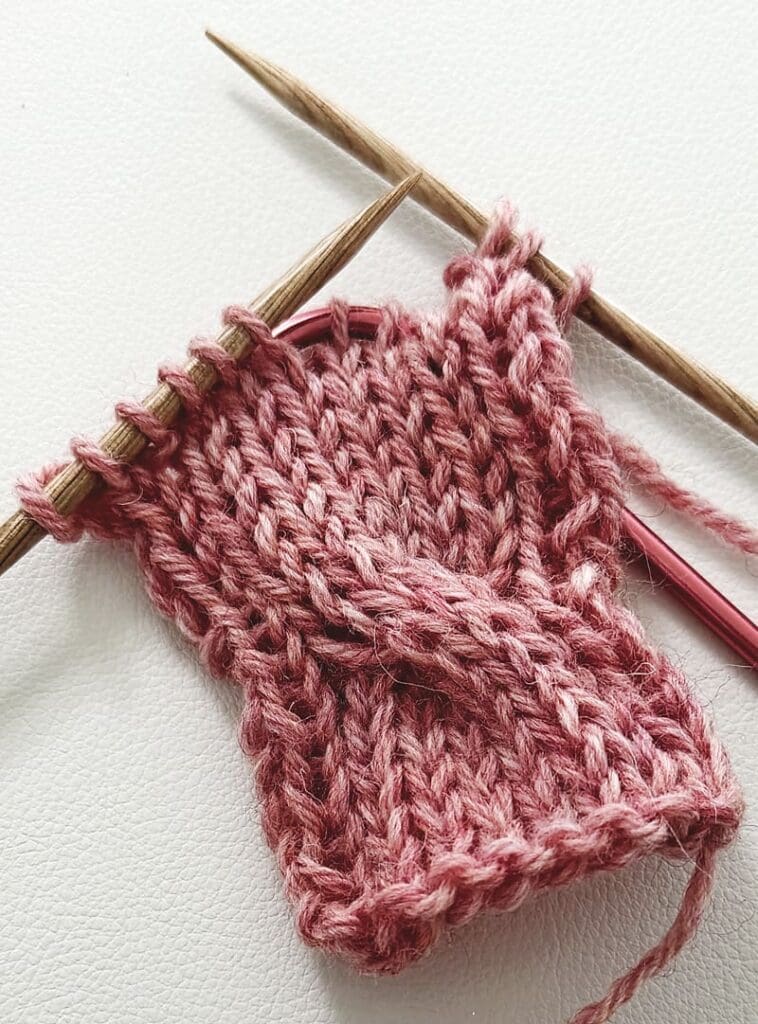
Knit Three from Cable Needle: Now go back and knit the three stitches that have been waiting on your cable needle. Finally, finish the row just like the previous rows (p1, k2).
Work row 10 the same as row 2.
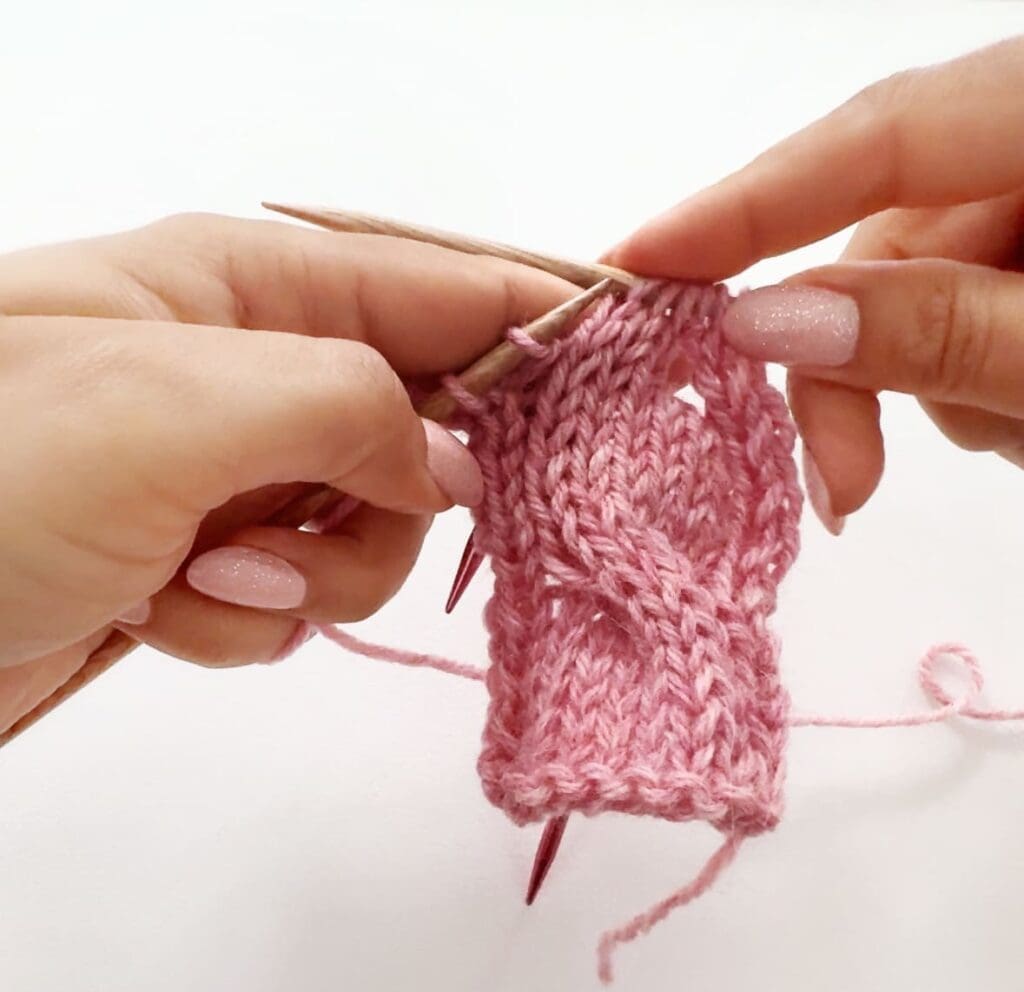
You can continue practicing C6F by repeating these 10 rows (I’ve written them out for you below).
- Row 1: K2, p1, k6, p1, k2.
- Row 2: K1, p1, k1, p6, k1, p1, k1.
- Row 3: Repeat row 1.
- Row 4: Repeat row 2.
- Row 5: Repeat row 1.
- Row 6: Repeat row 2.
- Row 7: Repeat row 1.
- Row 8: Repeat row 2.
- Row 9: K2, p1, C6F, p1, k2.
- Row 10: repeat row 2.
Knitting a Basic Cable: The C6B – Cable 6 Back
The C6B cable stands for “Cable 6 Back” and is worked similar to the C6F cable stitch except instead of crossing the first three in front of the last three to create a left leaning twist, you will cross the first three stitches behind the last three to create a right leaning twist. Here’s how you do it:
Set Up Your Stitches:
Continue with your current swatch or start a new swatch by casting on 12 stitches and then repeat rows 1 and 2 four times (8 rows total):
Row 1: K2, p1, k6, p1, k2
Row 2: K1, p1, k1, p6, k1, p1, k1
For the next row (row 9) work the first 3 stitches in the same way as row 1 (k1, p2). Now you are ready to work the C6B cable over the next 6 stitches.
Slip Three Stitches
Transfer the next three stitches onto your cable needle and let it hang at the back of your work. This sets up the twist.
Knit Three from Left Needle: Then continue knitting the next three stitches from your main needle as usual.
Knit Three from Cable Needle: Now go back and knit the three stitches that have been waiting on your cable needle. Finally finish the row just like the previous rows (p1, k2).
Work row 10 the same as row 2.
You can continue practicing C6B by repeating these 10 rows (I’ve written them out for you below).
- Row 1: K2, p1, k6, p1, k2.
- Row 2: K1, p1, k1, p6, k1, p1, k1.
- Row 3: Repeat row 1.
- Row 4: Repeat row 2.
- Row 5: Repeat row 1.
- Row 6: Repeat row 2.
- Row 7: Repeat row 1.
- Row 8: Repeat row 2.
- Row 9: K2, p1, C6B, p1, k2.
- Row 10: repeat row 2.
How to Knit Cables Video Tutorial:
Becuase a video makes everything simpler, I created a tutorial to guide you through knitting the C6F and C6B cables. The video is available on the Leelee Knits Youtube Channel, and you can also watch it below. Let me know what you think in the comments and if you’d like to see more cable knitting tutorials.