Garter Tab Cast On Tutorial & The Daydreamer Shawl
Introducing the Garter Tab Cast on Method
I’ll never forget the first time I stumbled upon the garter tab cast on in a shawl pattern. It was like watching magic happen – starting from just a few stitches and seeing it bloom into this gorgeous piece of fabric I could drape over my shoulders. Seriously, it blew my mind and was a huge game changer for my shawl knitting skills!
I know that new techniques can be intimidating, especially for new knitters. The great thing about this cast on method for beginning a shawl is that you start with a very small number of stitches, so its really no big deal if you mess up and have to start over. You can practice to your heart’s content until you completely understand how it works.
Construction – Begging with the Garter Tab Cast On
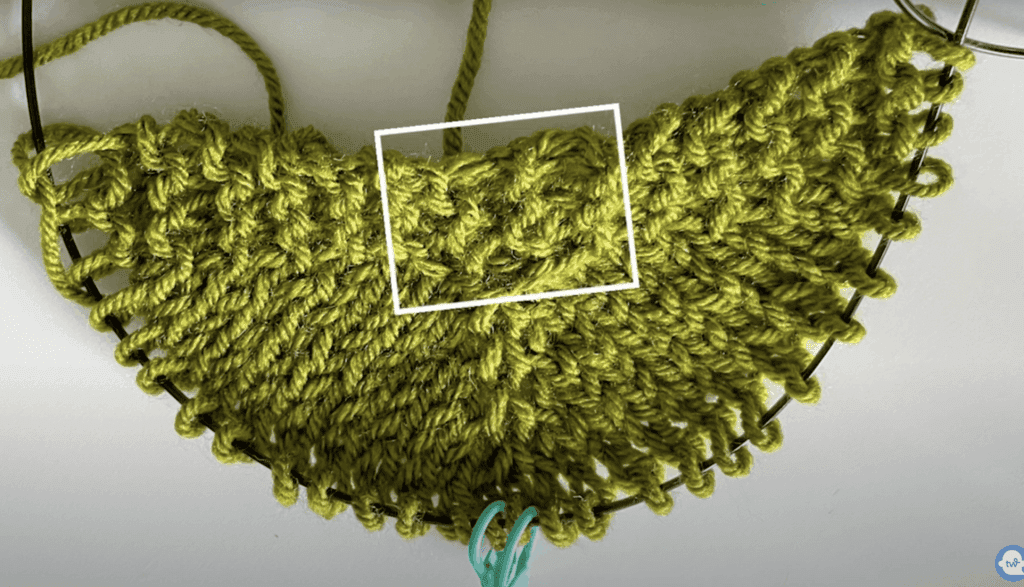
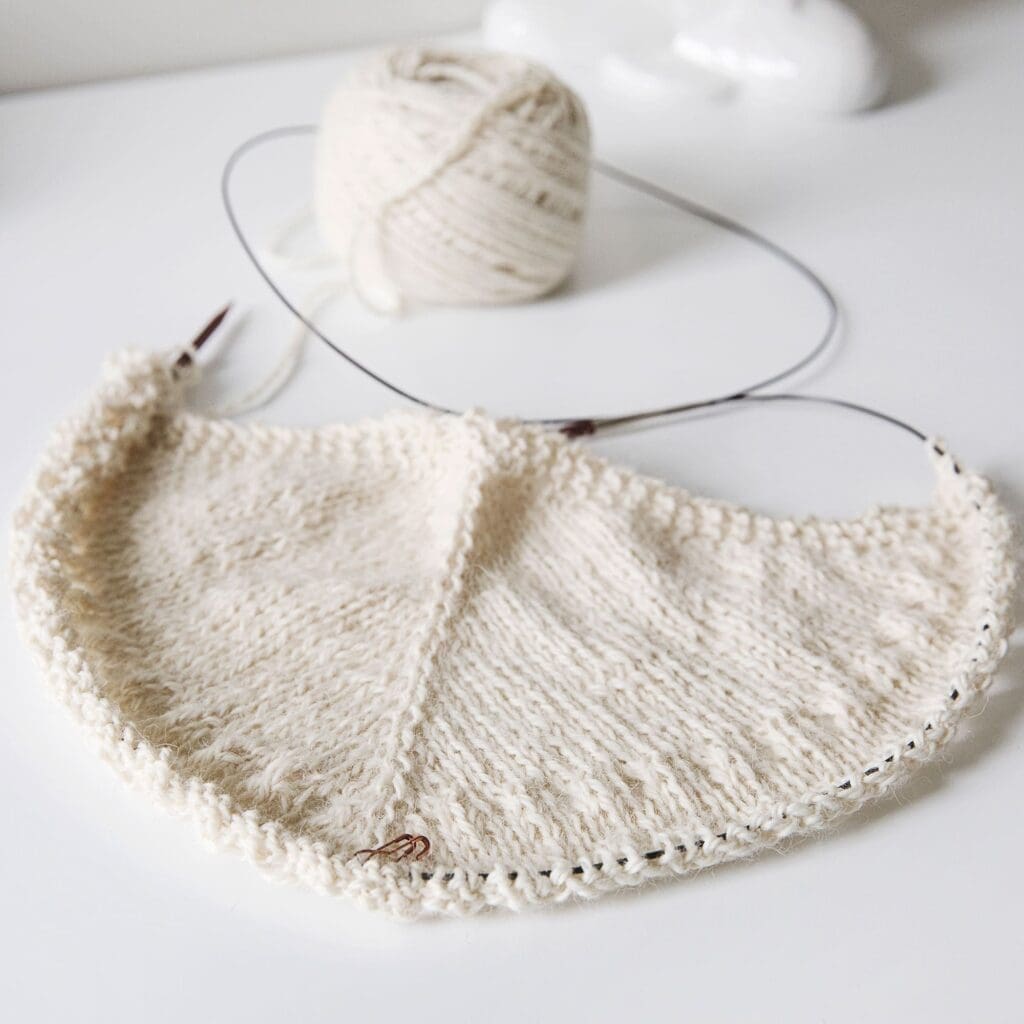
This shawl begins with a garter tab, which is the go-to cast on method for top down shawls that have a garter stitch edging. The photo below shows the beginning of a shawl constructed with a garter tab cast on (the area inside the square is the garter tab, which is just 6 rows where all of the stitches are knit).
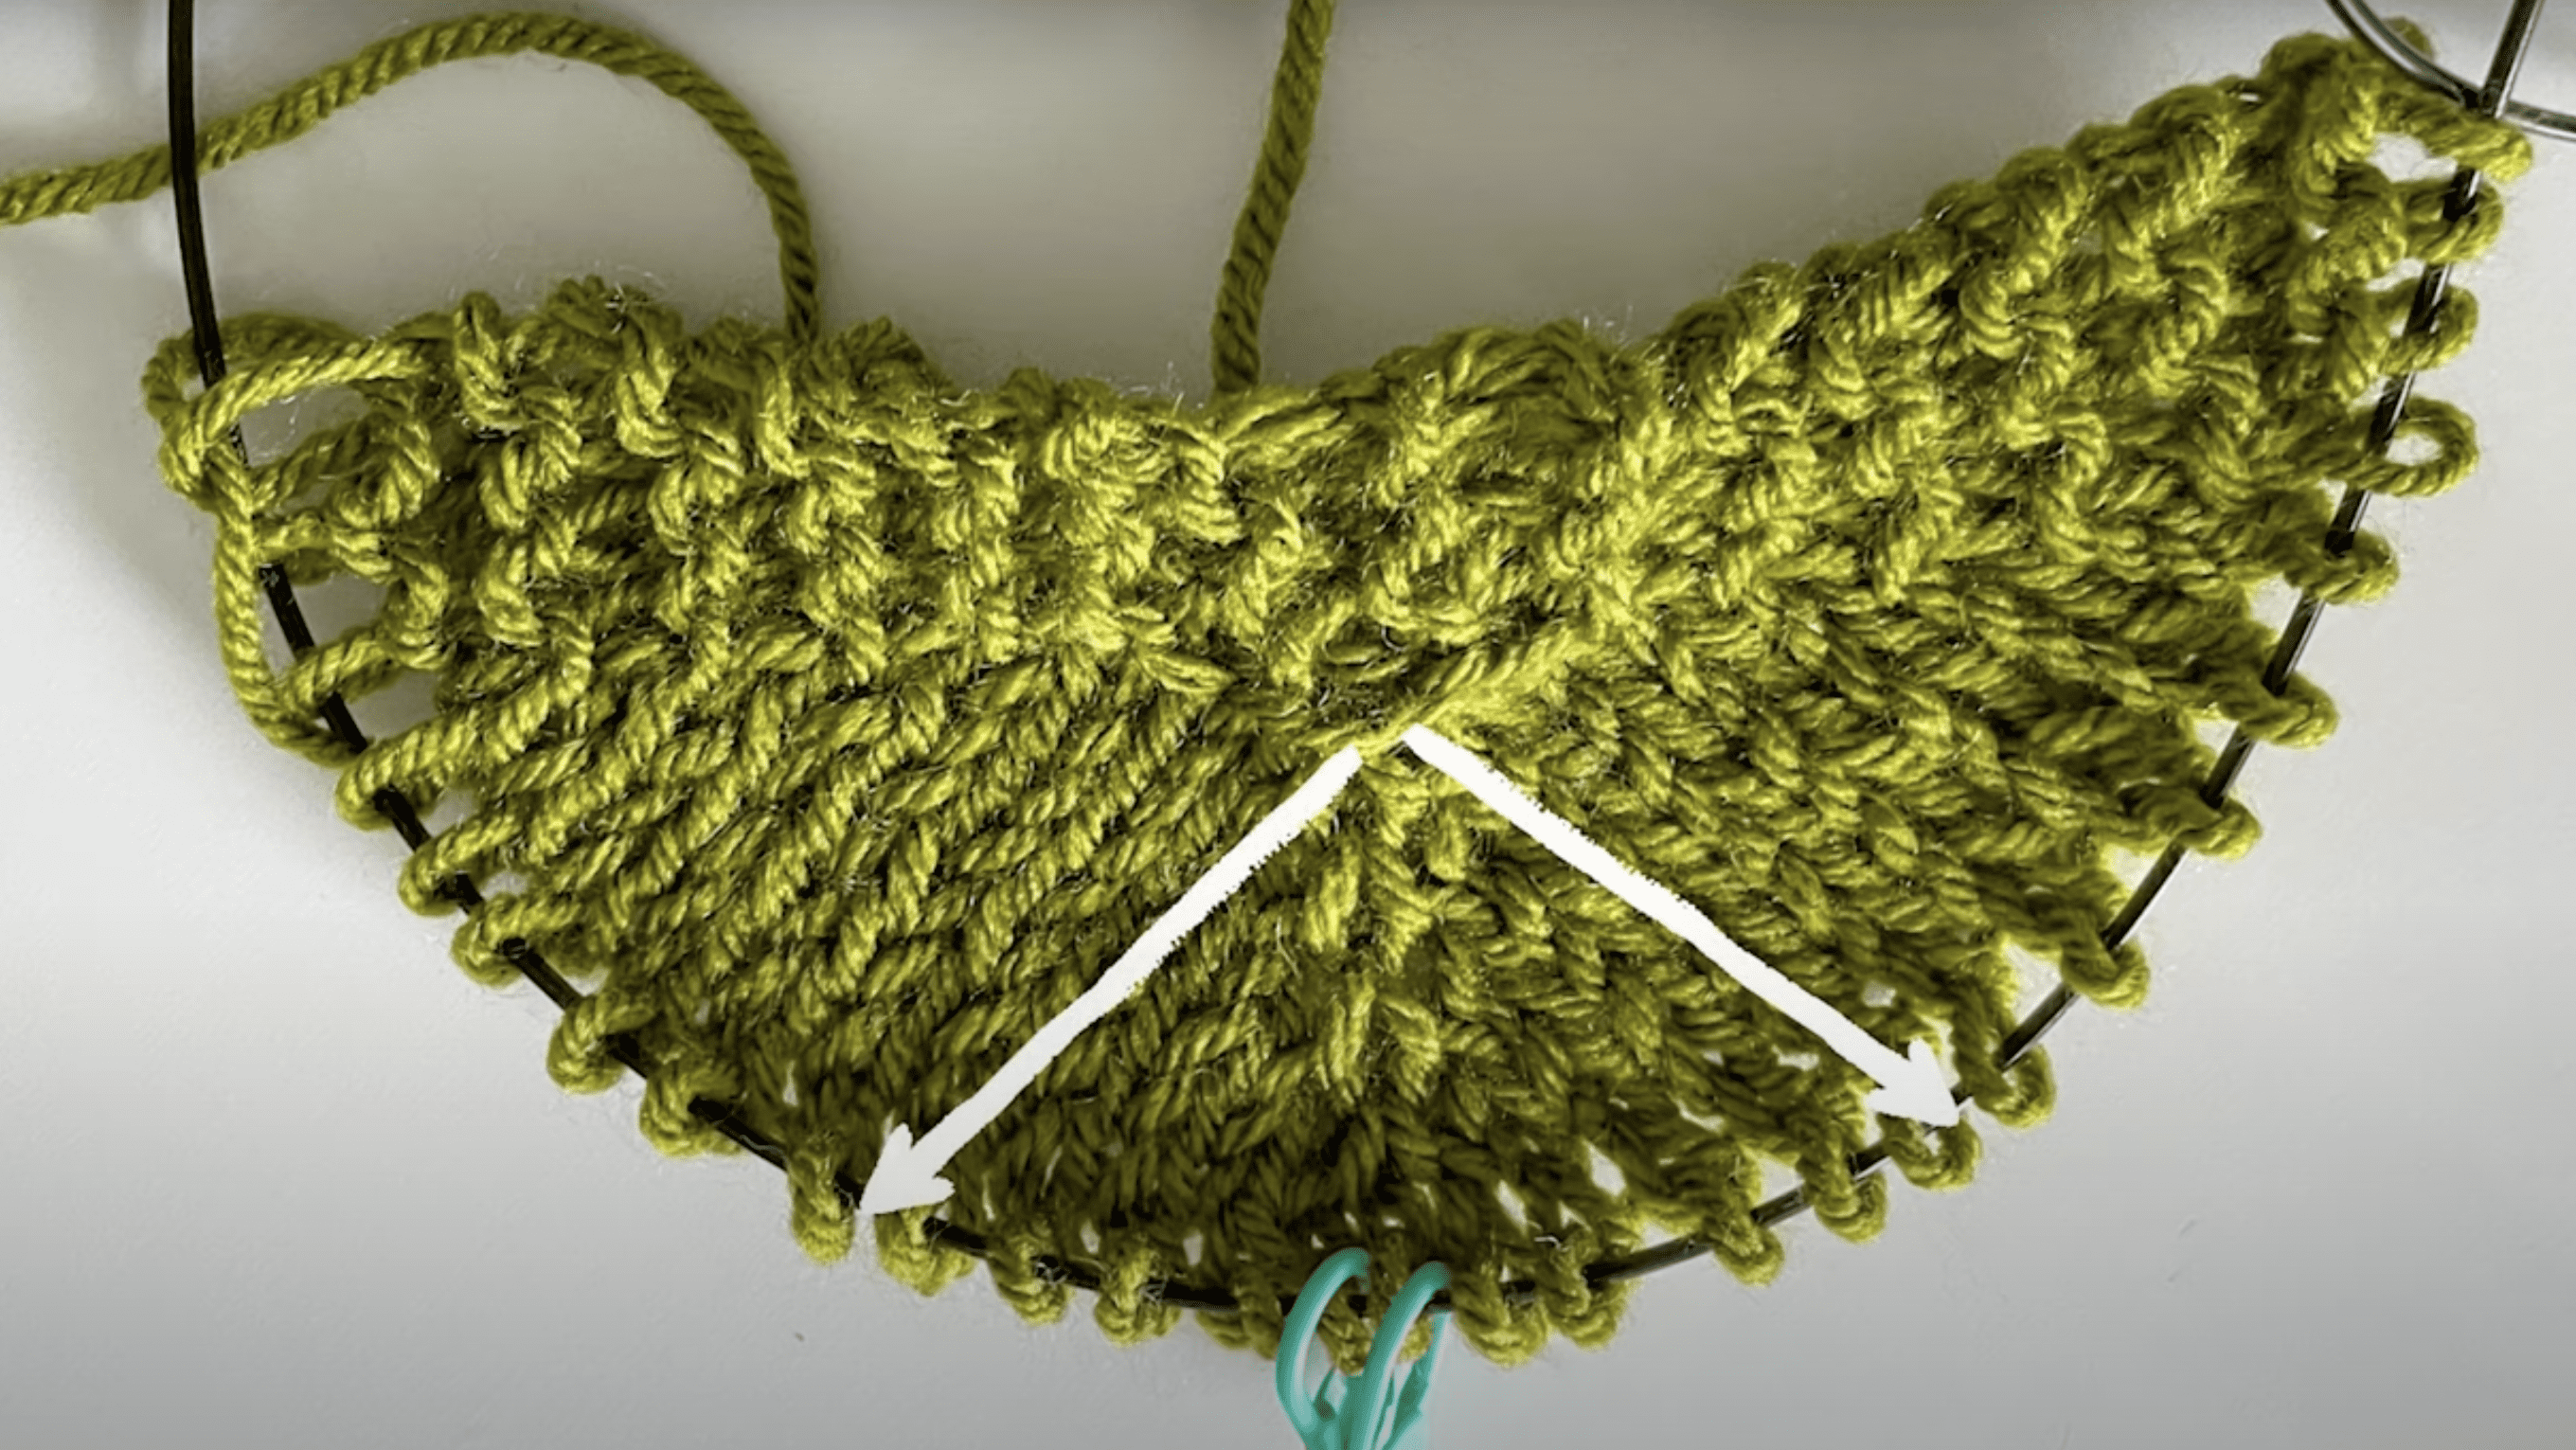
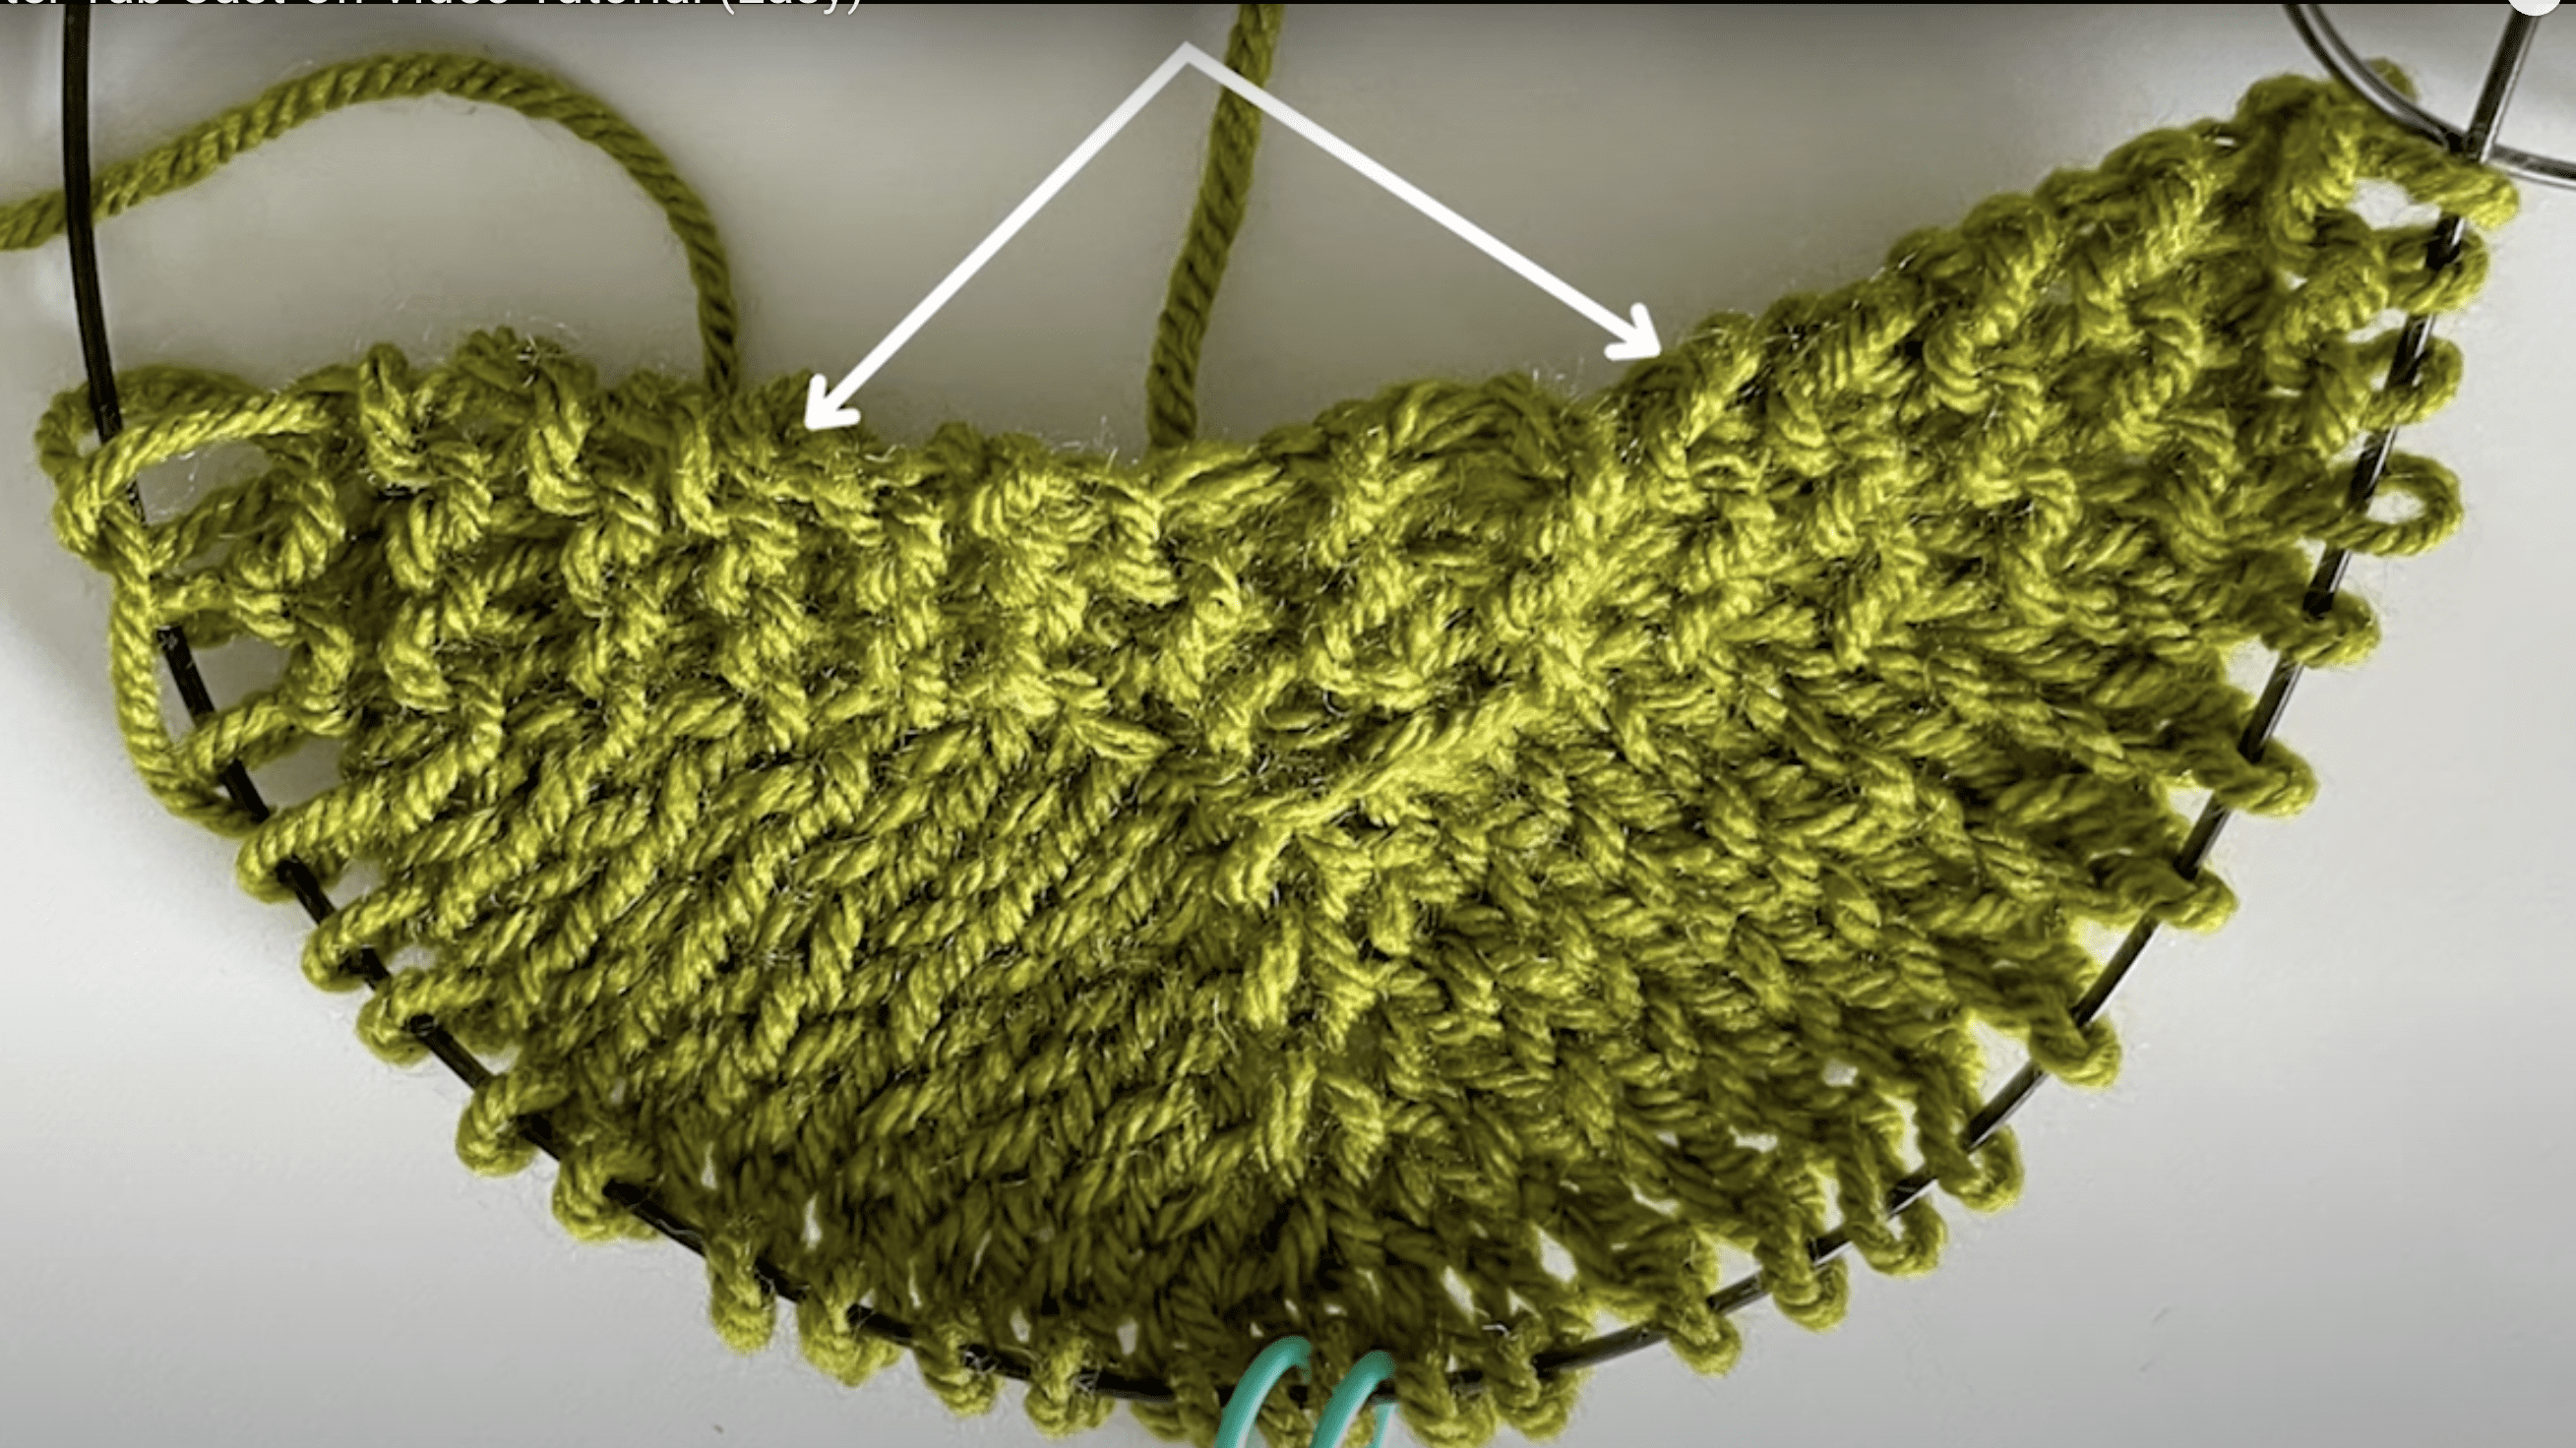
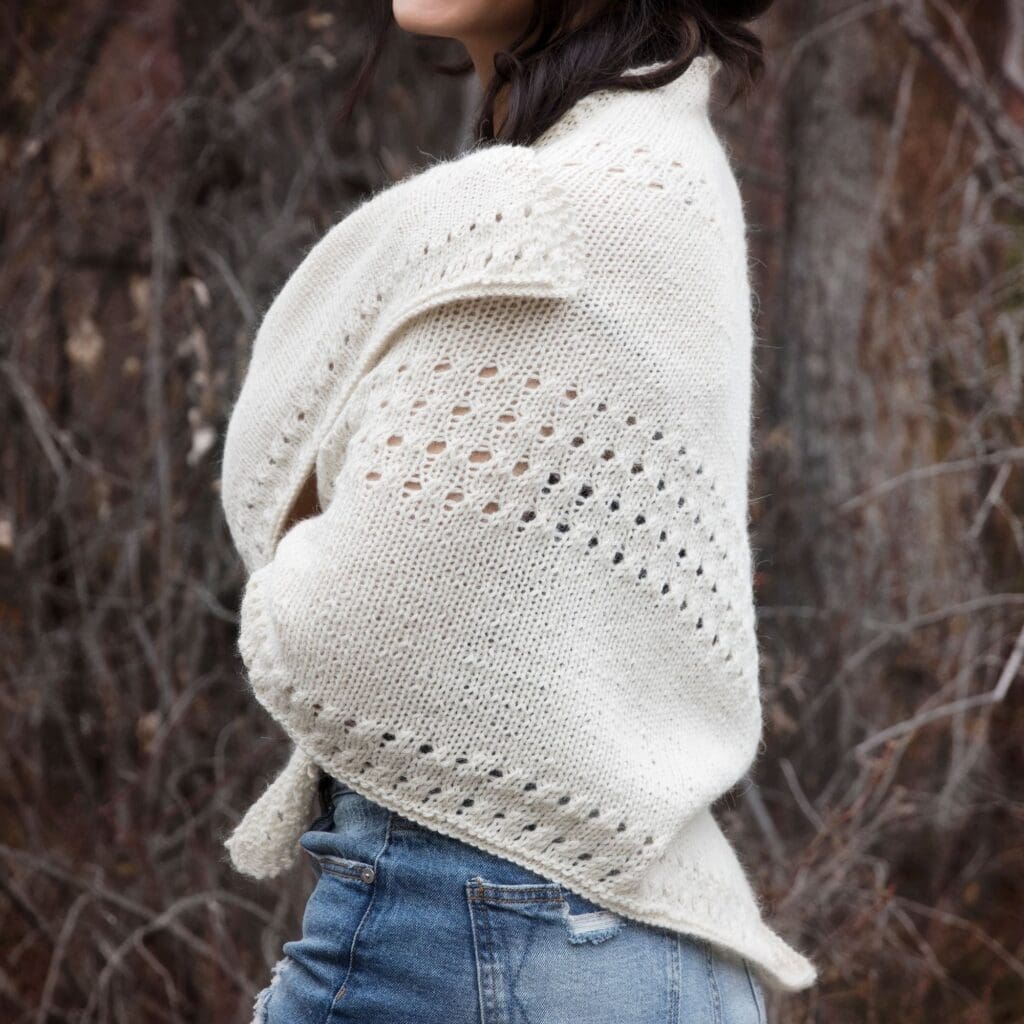
Once the tab is created, the shawl can be knit from the top down as two side by side right angle triangles and the edges of the triangles blend seamlessly with the beginning garter stitch tab. The first photo below shows the direction that the triangles grow with each row completed, and the second photo points to how the edges of each row blend with the garter tab.
Spread the word!
I hope you enjoy this pattern! If so, please feel free to share the link to this page on your social media or Pinterest account.
I truly appreciate all of you who get the word out about this site and my patterns!
❤️
Alnaar
The Garter Tab Cast on in Four Easy Steps
Follow the steps below to complete your first garter tab cast on. I filmed a quick video tutorial on the garter tab cast on and shared it to the Leelee Knits YouTube Channel at the following link: Garter Tab Cast On Video Tutorial to help you out (you can also find the tutorial below on this page with the free pattern for the Daydreamer shawl).
- Cast on 3 stitches.
- Work 6 rows in garter stitch (knit all stitches for each row).
- Turn your work 90 degrees and pick up and knit 3 stitches along the side (6 stitches total).
- Turn your work 90 degrees again and pick up and knit 3 stitches along the cast on edge (9 stitches total).
That’s it! After step 4, you can begin knitting your Daydreamer Shawl.
Please note that some of the links on this page are affiliate links and I will earn a commission if you purchase through these links. I use all of the products listed on this page and recommend them because they are companies that I have found helpful and trustworthy. Please let me know if you have any questions about anything I have recommended!
Ad Free PDF File
The free pattern for this shawl is available right here on this page, as this site is sustained through ad support.
If you like things a little more streamlined, I’ve put together an ad-free, downloadable PDF version of the pattern. It’s perfect for easy printing and can be can be purchased through My Ravelry Store or by clicking the “Purchase PDF File” button to the right.
Thank you so much for your support! It means the world to me, and I’m beyond grateful to be able to share my passion with you all.
Free Knitting Pattern
What You’ll Need:
To make this shawl, you will need the following materials:
- 2.25 skeins (Approx. 550 yards) Knit Picks Simply Alpaca Aran Weight Yarn; Colour: Alaina.
- US size 8 (5.0 mm) circular knitting needles (min 32” cord).
- 2 stitch markers.
- Scissors.
- Tapestry/yarn needle (for weaving in ends).
Yarn Choice
I chose to work with Knit Picks Simply Alpaca Aran Weight Yarn for the Daydreamer Shawl. I had some left-over from my Casablanca Throw Pillow Pattern, and I thought it would be perfect for a light and airy shawl. I love how soft this yarn feels against the skin, and it creates a beautiful drape with Size 8 (5 mm) knitting needles.
Measurements & Gauge:
Wingspan : 68″ Depth : 29″
Gauge : 17 stitches, 22 rows = 4″ in stockinette stitch.
Abbreviations:
K : Knit.
P : Purl.
Sts : Stitches.
Inc: Increase.
M1r : Make 1 knitwise (right leaning) increase.
M1l : Make 1 knitwise (left leaning) increase.
Sm : Slip stitch marker from left hand needle to right hand needle.
Yo : Yarn over increase.
K2tog : Knit two stitches together decrease.
Notes:
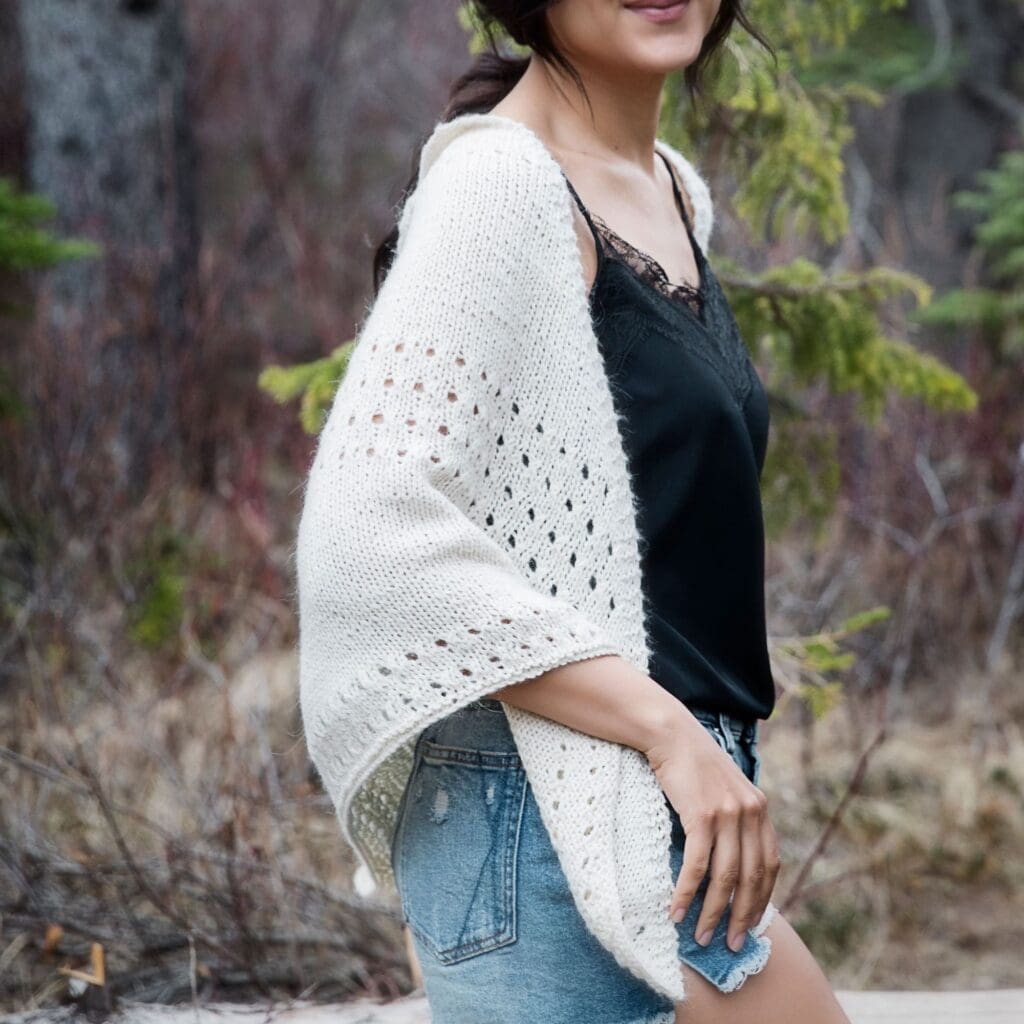
This triangle shawl is worked from the top down as two growing right angle triangles separated by a centre spine of one stitch.

Garter Tab Cast on Video Tutorial:
This Shawl begins with a 9 stitch garter tab. I have made a short video on how to create a garter tab, which can be viewed below.
Daydreamer Shawl Pattern:
Work a 9 stitch garter tab (see video tutorial above for help), then begin at Row 1.
Row 1 (RS): K3, m1l, k1, m1r, pm, k1, pm, m1l, k1, m1r, k3 (13 sts).
Row 2: K3, p to last 3 sts, k3.
Row 3: K3, m1l, k to marker, m1r, sm, k1, sm, m1l, k to last 3 sts, m1r, k3 (sts inc = 4).
Row 4: K3, p to last 3 sts, k3.
Rows 5-32: Repeat rows 3 and 4. Count 73 sts total at the end of row 32.
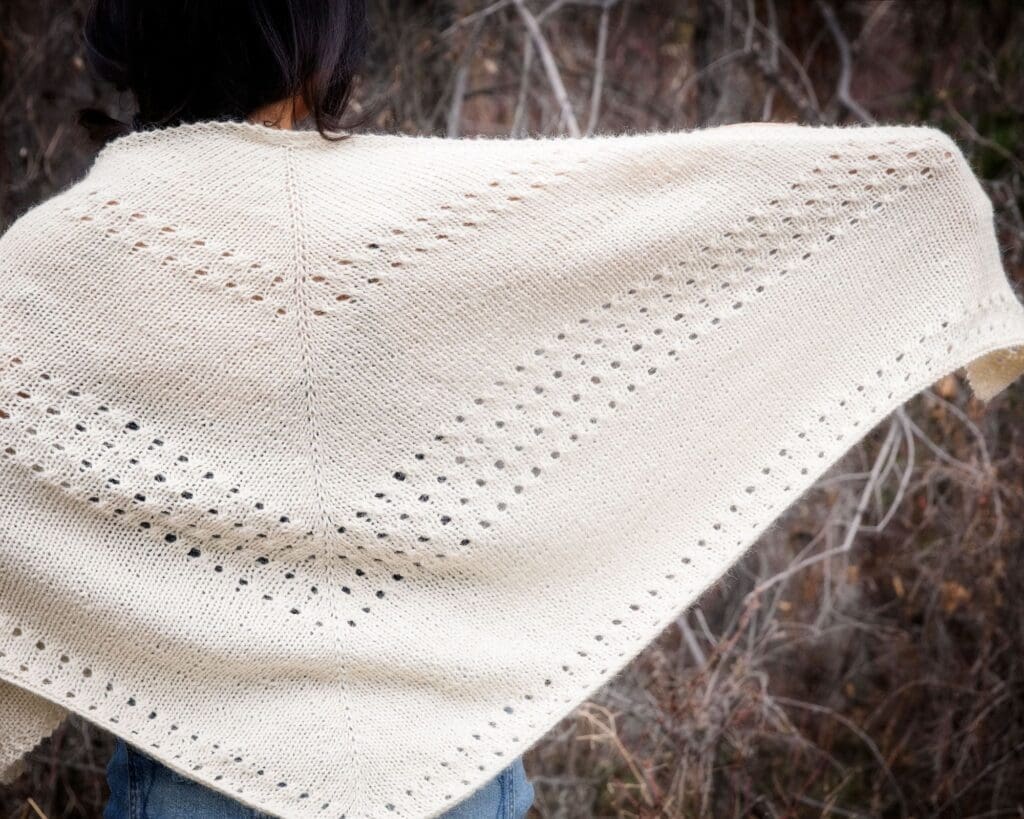
Row 33: K3, m1l, (k1, yo, k2tog) to marker, m1r, sm, k1, sm, m1l, (k1, yo, k2tog) to last 3 sts, m1r, k3.
Row 34: Repeat row 4.
Rows 35-38: Repeat rows 3 and 4.
Row 39: Repeat row 33.
Row 40: Repeat row 4.
Rows 41-74: Repeat rows 3 and 4. Count 157 sts total at the end of row 74.
Row 75: Repeat row 33.
Row 76: Repeat row 4.
Row 77-80: Repeat rows 3 and 4.
Row 81: Repeat row 33.
Row 82: Repeat row 4.
Rows 83-86: Repeat rows 3 and 4.
Row 87: Repeat row 33.
Row 88: Repeat row 4.
Rows 89-92: Repeat rows 3 and 4.
Row 93: Repeat row 33.
Row 94: Repeat row 4.
Rows 95-128 Repeat rows 3 and 4. Count 265 sts total at the end of row 128.
Row 129: Repeat row 33.
Row 130: Repeat row 4.
Rows 131-134: Repeat rows 3 and 4.
Row 135: Repeat row 33.
Row 136: Repeat row 4.
Rows 137: Repeat row 3. Count 285 sts total at the end of row 137.
Bind-off with your favourite stretchy bind-off method. Weave in all loose ends, and wet/steam block to measurements.
Pattern PDF File
I hope you enjoyed this free pattern.
If you’d like your own copy, the Ad-Free PDF file (which will be emailed to you automatically) can be purchased through Ravelry, or by clicking the “Purchase PDF File” button to the right.
Thank you so much for your support! It means the world to me, and I’m beyond grateful to be able to share my passion with you all.


This is beautiful!
Thank you Christine!
Wow! Your designs are always gorgeous.
Thank you for sharing.
Mona.
Thank you so much for your kind words, Mona! I’m thrilled to hear that you find my designs gorgeous and appreciate you taking the time to leave such a lovely comment on my post. Your support means a lot to me and I’m glad to be able to share my work with you. Thanks again for your encouragement!
Hi. I want to thank you for the lovely lapghan patterns. I have a short attention span, so love using chunky but coming up quickly with pretty little throws. Im doing the latest with homespun and thick and easy using leftover balls. So flowy and soft. Thank you so much.
You are most welcome Sharon! I’m sorry for the late reply too. ❤️
I would like to have the shawl at least 12 cm longer. can I just continue until I reach the length desired ?
Yes, you definitely can keep going until the length is the length that you’d like your shawl to be. Keep in mind that every 5.5 rows will add an inch to the hight as well.