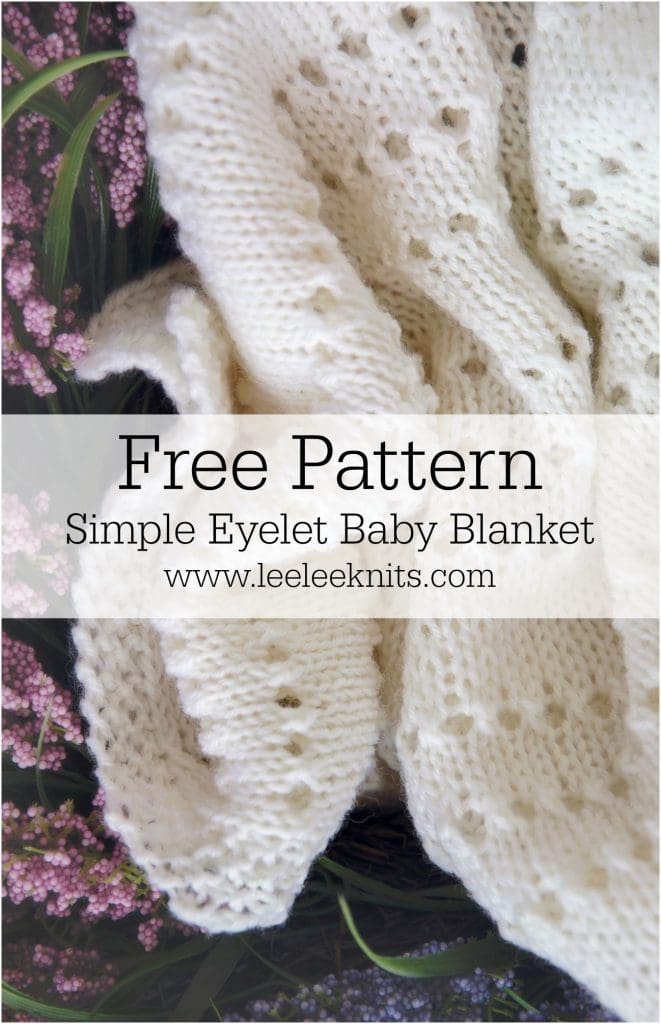
When I come up with a new baby blanket pattern, the first question I ask myself is: “Will this be fun to make and is it straight forward enough that I can work on it while binge watching Netflix?” As you know, knitting a blanket is not a quick project! In my opinion, if you’re going to commit to knitting for hours on end, then it has to be something with a minimal frustration factor. I want to see my work sitting on my night stand and feel that I can’t wait to pick up where I left off (and also remember where I left off!).
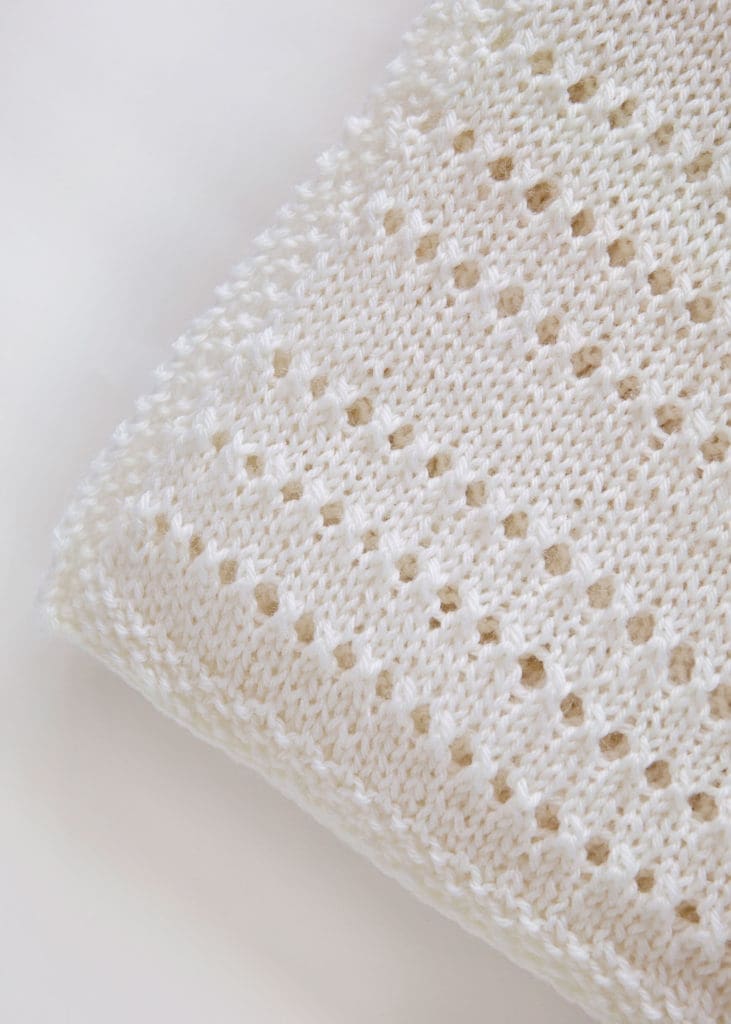
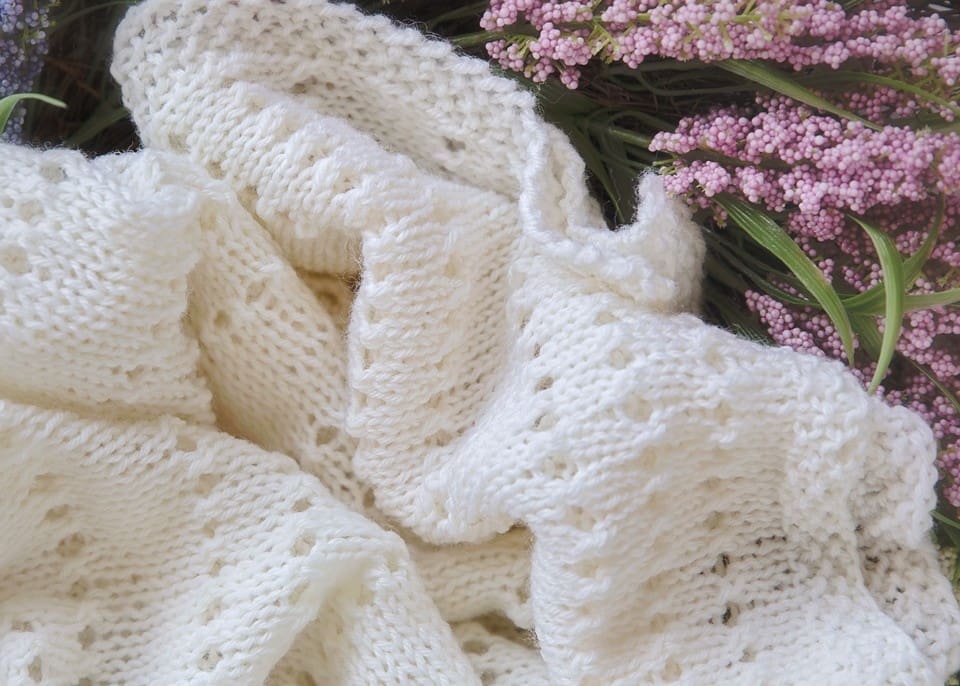
This time I came up with a simple breezy eyelet pattern – which is perfect for a spring baby. This blanket has a classic seed stitch border and is worked mostly in stockinette stitch, interrupted with rows of eyelet stitches. Its light, soft, and has a beautiful drape to it that would compliment any nursery.
I have written out and posted the free pattern for this baby blanket below on this page. You can also purchase the ad free instant download PDF file for easy printing and reading for $5 USD .
Purchase the PDF file by clicking the button below.
Please note that some of the links below are affiliate links and I will earn a commission if you purchase through those links. I use all of the products listed below and recommend them because they are companies that I have found helpful and trustworthy. Please let me know if you have any questions about anything listed below!
Simple Eyelet Baby Blanket Knitting Pattern
Here is what you will need to make this baby blanket:
- US 9/5.5 mm Straight Knitting Needles.
- 6-7 Skeins of Knit Picks Wool of the Andes Superwash worsted weight yarn in white
- Scissors.
- Tapestry/Yarn needle to weave in ends.
Gauge
5 rows, 5.5 stitches = 1 inch in stockinette stitch.
Measurements:
This blanket measures 30″ wide X 41″ long after wet blocking.
Abbreviations:
K: Knit
P: Purl
YO, SSK: Yarn Over, Slip, Slip, Knit.
Pattern:
This blanket is worked from the top down. Cast on 110 Stitches and continue to Top Border.
Top Border:
Create the top border border of the blanket in seed stitch.
Row 1: *K1, P1; repeat from * to end of row.
Row 2: *P1, K1; repeat from * to end of row.
Row 3: *K1, P1; repeat from * to end of row.
Row 4: *P1, K1; repeat from * to end of row.
Continue to Body of Blanket.
Body of Blanket:
Work rows 1-22 nine times (or more for a bigger blanket) to create the body of the blanket.
Row 1: K1, P1, K1, P1; K to last 4 stitches; K1, P1, K1, P1.
Row 2: P1, K1, P1, K1; P to last 4 stitches; P1, K1, P1, K1.
Row 3: K1, P1, K1, P1; K to last 4 stitches; K1, P1, K1, P1.
Row 4: P1, K1, P1, K1; P to last 4 stitches; P1, K1, P1, K1.
Row 5: K1, P1, K1, P1; *YO, SSK; repeat from * to last 4 stitches, K1, P1, K1, P1 (note that your yarn will be at the front already for the first repetition of the YO, SSK – do not wrap it around the needle again).
Row 6: P1, K1, P1, K1; P to last 4 stitches; P1, K1, P1, K1.
Row 7: K1, P1, K1, P1; K to last 4 stitches; K1, P1, K1, P1.
Row 8: P1, K1, P1, K1; P to last 4 stitches; P1, K1, P1, K1.
Row 9: K1, P1, K1, P1; K to last 4 stitches; K1, P1, K1, P1.
Row 10: P1, K1, P1, K1; P to last 4 stitches; P1, K1, P1, K1.
Row 11: K1, P1, K1, P1; *YO, SSK; repeat from * to last 4 stitches, K1, P1, K1, P1.
Row 12: P1, K1, P1, K1; P to last 4 stitches; P1, K1, P1, K1.
Row 13: K1, P1, K1, P1; K to last 4 stitches; K1, P1, K1, P1.
Row 14: P1, K1, P1, K1; P to last 4 stitches; P1, K1, P1, K1.
Row 15: K1, P1, K1, P1; K to last 4 stitches; K1, P1, K1, P1.
Row 16: P1, K1, P1, K1; P to last 4 stitches; P1, K1, P1, K1.
Row 17: K1, P1, K1, P1; K to last 4 stitches; K1, P1, K1, P1.
Row 18: P1, K1, P1, K1; P to last 4 stitches; P1, K1, P1, K1.
Row 19: K1, P1, K1, P1; K to last 4 stitches; K1, P1, K1, P1.
Row 20: P1, K1, P1, K1; P to last 4 stitches; P1, K1, P1, K1.
Row 21: K1, P1, K1, P1; *YO, SSK; repeat from * to last 4 stitches, K1, P1, K1, P1.
Row 22: P1, K1, P1, K1; P to last 4 stitches; P1, K1, P1, K1.
Continue to End of Body and Bottom Border.
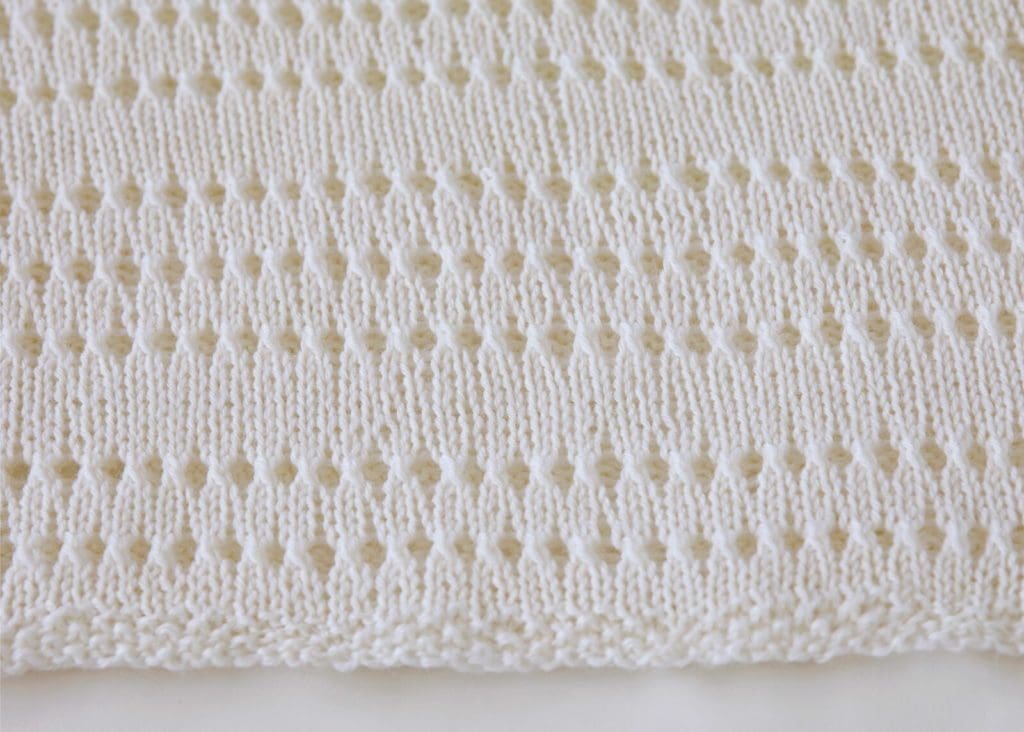
End of Body and Bottom Border
To finish the blanket, we will make the bottom mirror the top:
Row 1: K1, P1, K1, P1; K to last 4 stitches; K1, P1, K1, P1
Row 2: P1, K1, P1, K1; P to last 4 stitches; P1, K1, P1, K1
Row 3: K1, P1, K1, P1; K to last 4 stitches; K1, P1, K1, P1
Row 4: P1, K1, P1, K1; P to last 4 stitches; P1, K1, P1, K1
Row 5: K1, P1, K1, P1; *YO, SSK; repeat from * to last 4 stitches, K1, P1, K1, P1
Row 6: P1, K1, P1, K1; P to last 4 stitches; P1, K1, P1, K1
Row 7: K1, P1, K1, P1; K to last 4 stitches; K1, P1, K1, P1
Row 8: P1, K1, P1, K1; P to last 4 stitches; P1, K1, P1, K1
Row 9: K1, P1, K1, P1; K to last 4 stitches; K1, P1, K1, P1
Row 10: P1, K1, P1, K1; P to last 4 stitches; P1, K1, P1, K1
Row 11: *K1, P1; repeat from * to end of row.
Row 12: *P1, K1; repeat from * to end of row.
Row 13: *K1, P1; repeat from * to end of row.
Row 14: *P1, K1; repeat from * to end of row.
Cast off in pattern and continue to Finishing.
Finishing:
Weave in the loose ends with a yarn needle.
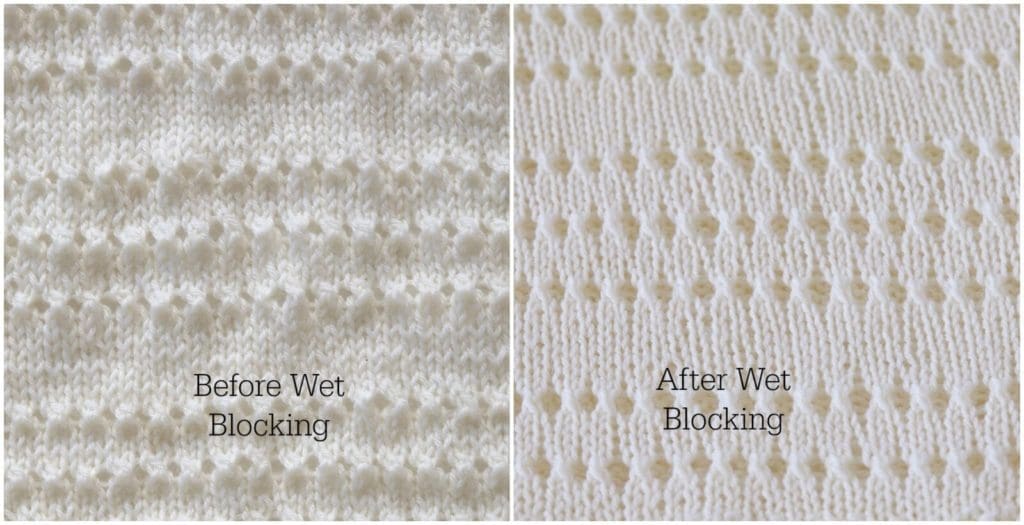
Wet block the blanket to flatten out the stitches and lengthen it to its final measurement of 30” wide X 41” long. After wet blocking, the stitches will also look more defined and evenly spaced. Below is a photo of how the blanket will look before and after wet blocking. If you are not familiar with wet blocking, refer to the following article on the Leelee Knits blog on how to wet block your knitting.
And that is it! A simple, fun baby blanket pattern that makes the perfect gift for a spring baby!
[wc_divider style=”solid” line=”double” margin_top=”” margin_bottom=”” class=””][/wc_divider]
I hope you enjoyed this free pattern and I am so grateful for your support! Don’t forget that you can purchase the ad-free PDF file. Purchasing the PDF file helps support this website and allows me to continue to share my patterns and inspiration with you guys!
Should you have any issues with the download, please email: info@leeleeknits.com for assistance.
You can Purchase the PDF file (which will be emailed to you automatically after purchase) for $5 USD through Ravelry or by clicking the button below.
[wc_divider style=”solid” line=”double” margin_top=”” margin_bottom=”” class=””][/wc_divider]

