Yogi Throw Pillows Crochet Pattern
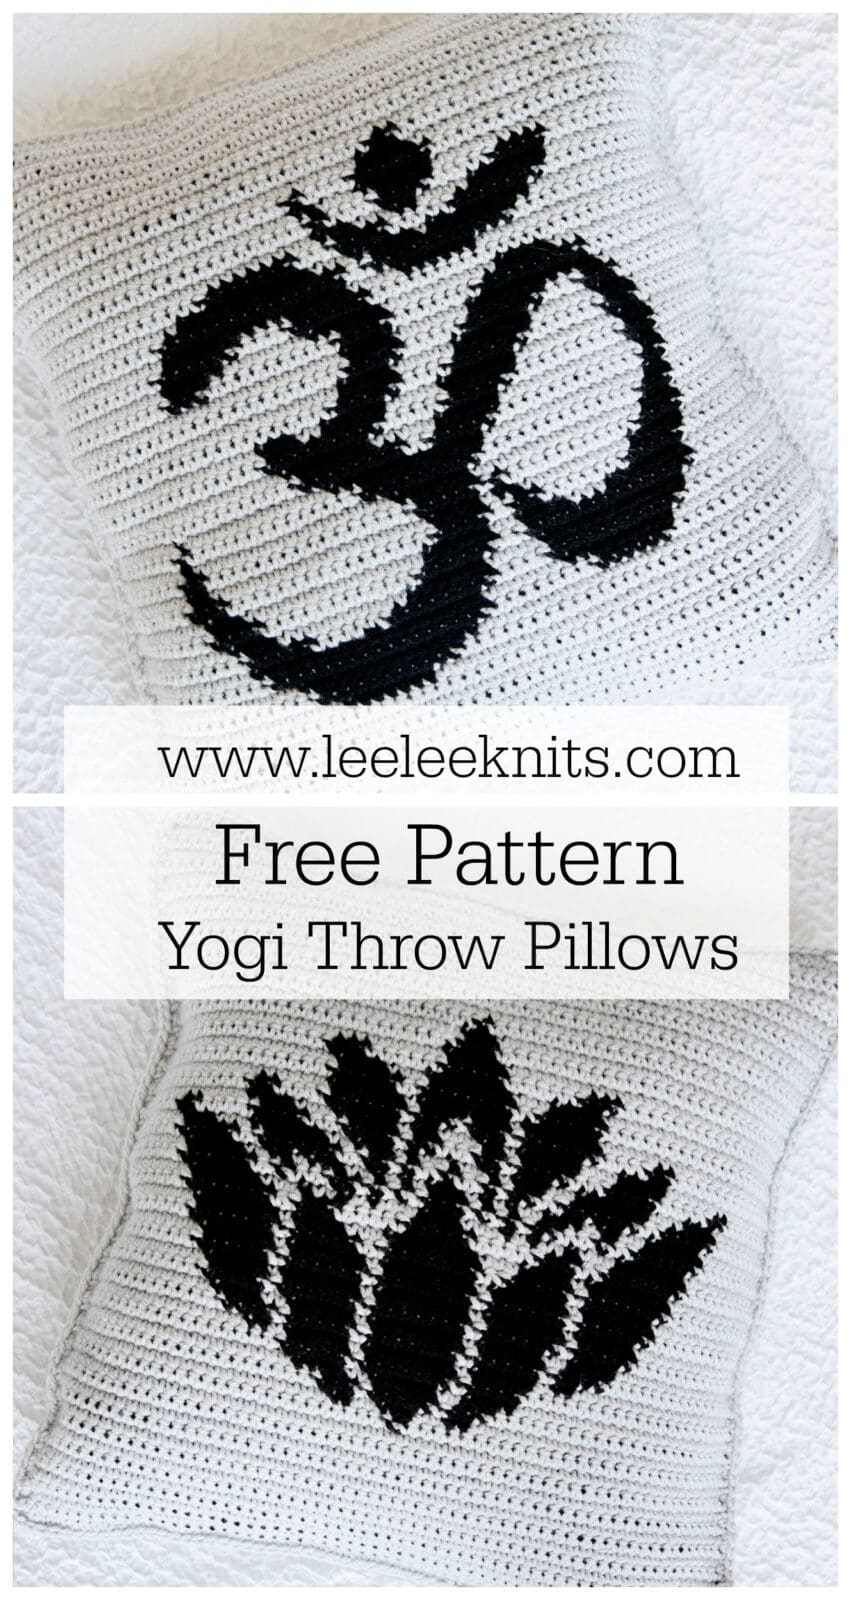
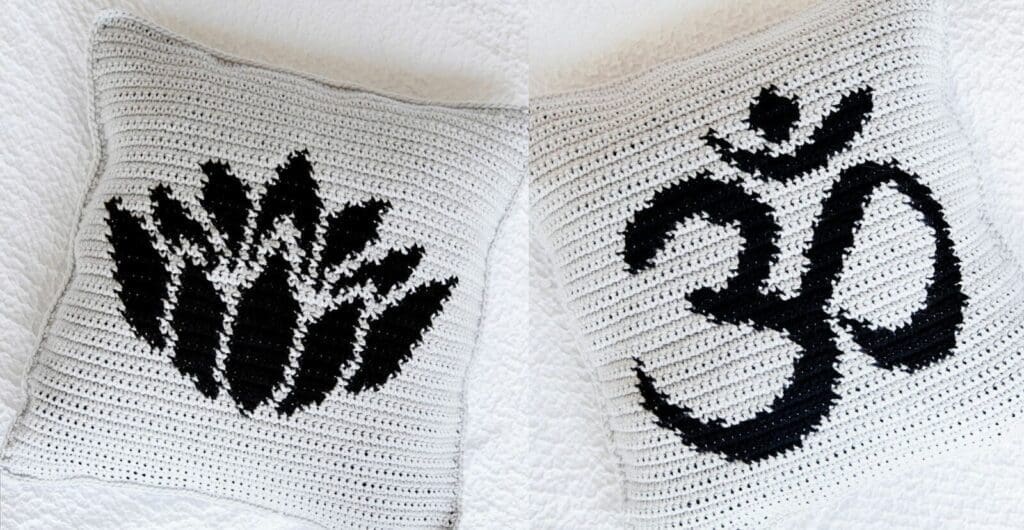
For those of you that don’t know me personally, I have a tendency to be a little bit high strung and anxious. I over analyze to the point that it drives my extremely laid back husband crazy – and I’m currently worrying that you guys will hate this pattern and unsubscribe! When I discovered hot yoga, I finally felt like I had control over my thoughts. The breathing exercises combined with a good workout (and a lot of sweat) are often all I need to get back into a calm state of mind. I honestly cannot imagine my life without yoga and meditation, which is why I made these pillows – to remind me to breathe and be present instead of worrying about the future. And of course, to share the pattern with all of you!
I have written out and posted the free pattern below on this page. However, you can also purchase the PDF file for easy printing and reading. If you’d like to purchase the PDF file, click the “Purchase PDF” button below.
Disclaimer: Please note that some of the links below are affiliate links and I will earn a commission if you purchase through those links. I use all of the products listed below and recommend them because they are companies that I have found helpful and trustworthy. Please let me know if you have any questions about anything listed below!
What you will need:
The following materials are required to make two throw pillows:
- A size H-8 (5 mm) Crochet Hook
- Paintbox Yarns Simply Chunky Yarn
- 8 Skeins Misty Grey (Color A)
- 1 Skein Pure Black (Color B)
- Scissors
- Two 18” X 18” Pillow Forms
- Tapestry/Yarn needle to weave in ends
Measurements:
Each square panel measures 18” X 18” for an 18” X18” throw pillow. You can use a different sized hook and weight of yarn to alter the pattern for a larger or smaller pillow size. Another option is to add (or remove) stitches at the sides and top of pattern.
Gauge:
3.25 stitches X 3.25 Rows = 1 inch in single crochet.
Abbreviations:
SC: Single Crochet
CH: Chain
Pattern Notes:
The front panel of the throw pillow is worked using the tapestry crochet technique. If you are unfamiliar with tapestry crochet, I have created a video tutorial below the the pattern notes.
- When reading the pattern grid, note that the odd numbered rows are the right side, and the even numbered rows are the wrong side.
- It’s a good idea to print the grid and highlight the rows as they are completed.
- Right side rows are to be read right to left
- Wrong side rows are to be read left to right
- All rows are worked with both strands of yarn to keep the gauge and tension consistent. It is best to crochet tightly to avoid the second color being seen through the stitches.
- When working a right side row, hold Color B yarn to the back of your work.
- When working a wrong side row, hold Color B yarn to the front of your work.
- Crochet over the second yarn (yarn not in use) when working each SC to avoid floats (this is not necessary for the pillow covers but the end result looks neater and is reversible).
Tapestry Crochet Video Tutorial:
Pattern:
Back Panels (Make one for each pillow Cover):
With Color A, CH 61 (60 plus 1 for turning chain). Work all stitches in single crochet (plus one turning chain at the end of each row) for 60 rows. Fasten off.
Front Panels:
With Color A, CH 61 (60 plus 1 for turning chain). Work all stitches in single crochet (plus one turning chain at the end of each row). Follow grids below starting at bottom right for row 1 and changing to Color B for the grey cells. Each cell represents one SC and each row represents one row of crochet.


Finishing:
Weave in any loose ends.
Line up the front and back panels (make sure the right sides are facing outwards) and seam the sides of the cover together using whichever seaming method you prefer (I used the single crochet seaming method to avoid sewing). After you have seamed 3 of the sides, insert the pillow form and continue to seam up the last side.
I hope you enjoyed this pattern, and if so please share on social media so that others can try it out as well!



Tried your starfish pattern. My first ever doing this:) . Came out great. Will try these as my daughter does barre yoga. Can you tell me what the symbols mean?
Hi Margaret! Here is a great article that explains the symbols: https://www.vagabondtemple.com/7-spiritual-symbols-deepen-yoga-meditation-practice/
I’m so glad to hear that you enjoyed the starfish!
Thank you for taking the time to reply:) . Namaste!
I’m a visual learner, so your video tutorial was wonderful. I can’t wait to start my pillows. Thank you for the lovely patterns and the video!
I.m so glad to received this pattern tku
Awesome, I can’t wait to make these for my aunt who is a serious yogi! 🙂
Glad to hear, enjoy!!