Short Sleeve Crochet Cardigan Pattern

Summertime Short Sleeve Crochet Cardigan
Hello crochet lovers! It’s been a while since I’ve shared a new crochet pattern, so I went all out this time by creating an easy, short sleeve crochet cardigan pattern that’s just perfect for the summer days ahead. I designed this pattern with comfort in mind. It’s crocheted with sport weight yarn, making it the perfect lightweight layering piece and it fits oversized – which allows for easy movement and adds a relaxed feel to your outfit.
A Beginner Friendly Design
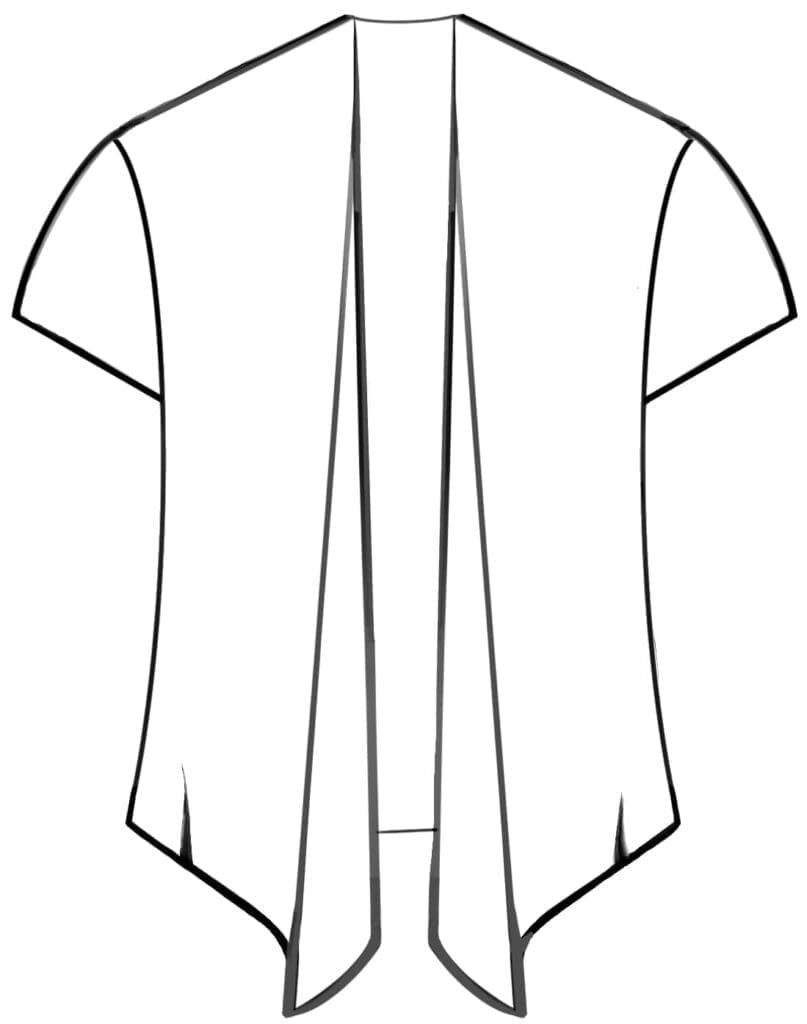
If you’re new to crocheting clothing, or just want an uncomplicated design to follow, I think you’ll love this pattern. This short sleeved cardigan is worked flat with one large back panel and two front panels that grow slightly towards the centre from top to bottom to give it a cozy shawl like feel. And because the stitch used is reversible, both front panels are crocheted exactly the same. Once the panels are joined together at the sides, the sleeves are created using simple half double crochets worked in the round. Finally, to complete the look, we add a clean and crisp single crochet border along the bottom of the cardigan and around the collar.
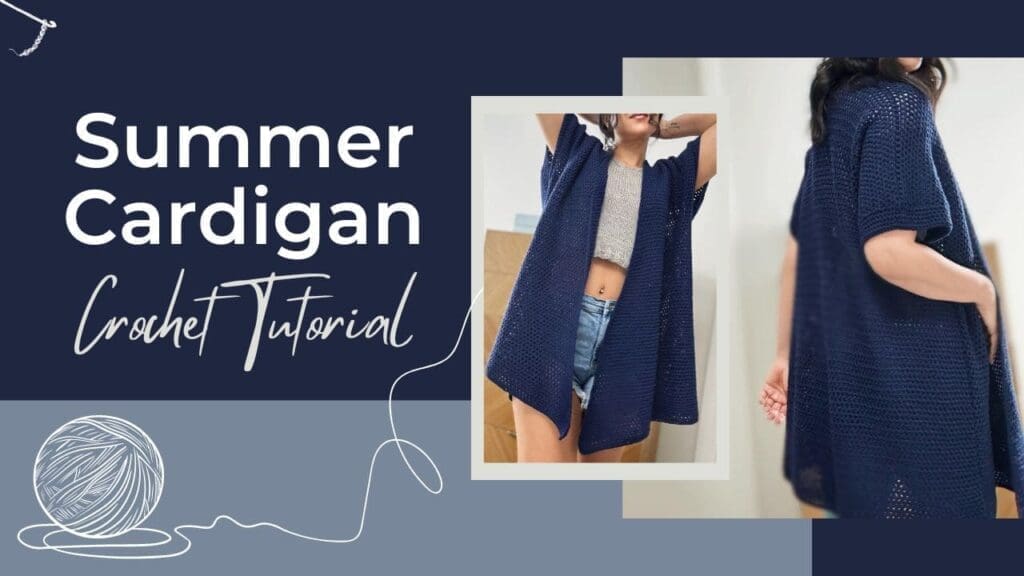
To make things even easier, I made a video tutorial that walks you through the entire process of crocheting this cardigan and shared it to my YouTube channel: Easy Short Sleeve Crochet Cardigan Video Tutorial. You can also find it embedded on this page below with the pattern.
Pay it Forward!
I hope you enjoy this pattern! If so, please feel free to share the link to this page on your social media or Pinterest account.
I truly appreciate all of you who get the word out about this site and my patterns!
❤️
Alnaar
Choosing the Right Yarn for A Short Sleeve Crochet Cardigan
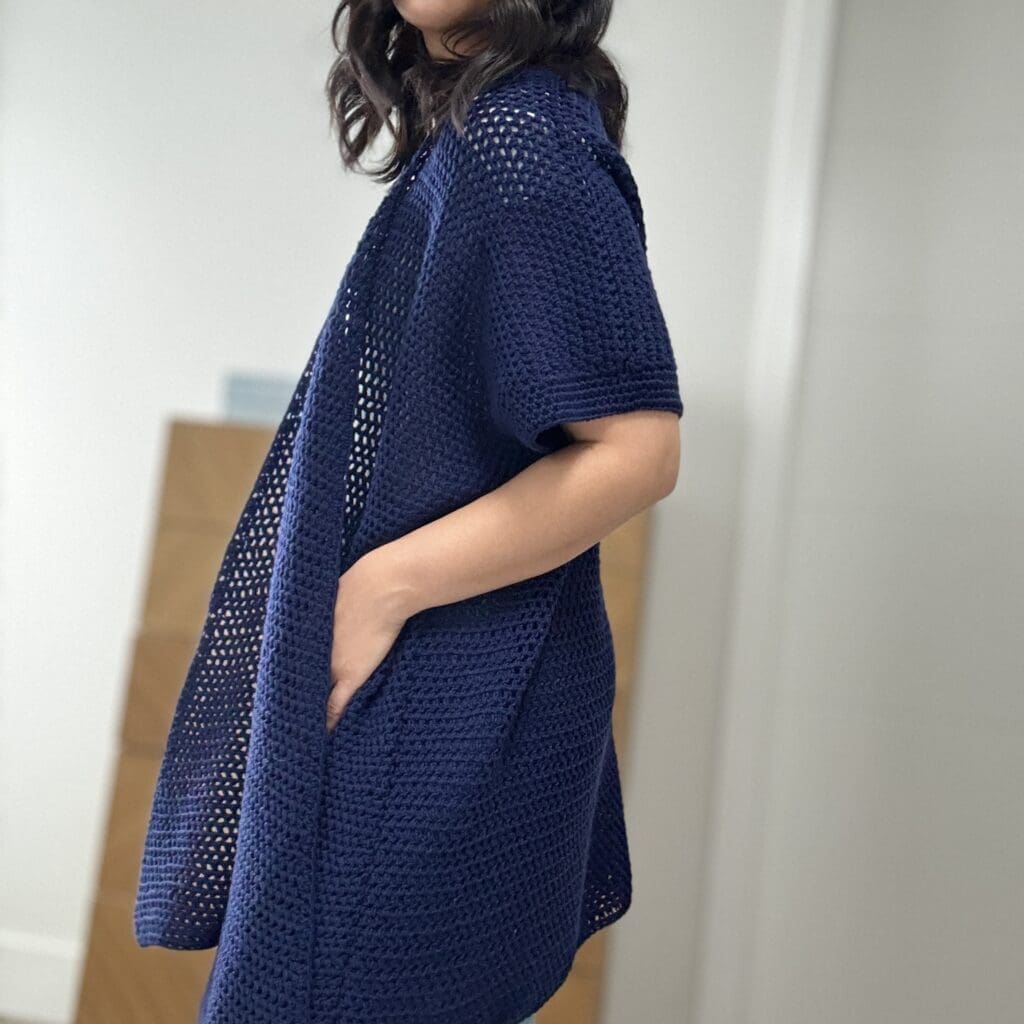
When it comes to crocheting a short-sleeved cardigan, choosing a yarn with good drape makes all the difference. You want the fabric to hang nicely and move with you, rather than feeling stiff or boxy—especially since there are no long sleeves to weigh it down. A yarn with soft, fluid drape will help the cardigan fall in a flattering way, making it comfortable to wear and giving it that relaxed, easygoing look. Think flowy, not crunchy!
The specific yarn that I used for my cardigan is Milla Mia Naturally Soft Merino in the colour Midnight from LoveCrafts.com. I recommend using this same yarn if you can get access to it. It works up beautifully and has the perfect drape for this type of cardigan.
Ad Free PDF File
The free pattern for this short sleeve cardigan is available right here on this page, as this site is sustained through ad support.
If you like things a little more streamlined, I’ve put together an ad-free, downloadable PDF version of the pattern. It’s perfect for easy printing and can be can be purchased through My Ravelry Store or by clicking the “Purchase PDF File” button to the right.
Thank you so much for your support! It means the world to me, and I’m beyond grateful to be able to share my passion with you all.
Please note that some of the links on this page are affiliate links, which means that I will earn a commission if you purchase through these links. I use all of the products listed on this page and recommend them because they are companies that I have found helpful and trustworthy. Please let me know if you have any questions about anything I have recommended!
Free Pattern – Short Sleeve Crochet Cardigan
What You’ll Need to Crochet Your Cardigan
- MillaMia Naturally Soft Merino sport weight yarn in Midnight:
- XS/S/M: 13 Skeins (1780 yards).
- L/XL: 15 Skeins (2055 yards).
- XXL/3XL: 18 Skeins (2466 yards).
- Size F5 (3.75 mm) crochet hook.
- Scissors.
- Measuring Tape.
- Tapestry/yarn needle (for weaving in ends).
Abbreviations
Ch : Chain.
Hdc : Half Double Crochet.
Sts : Stitches.
Sizes
This crochet cardigan has a lot of ease and is meant to fit oversized. It can be made in 3 sizes:
- XS/S/M: 30-36″ Bust Circumference
- L/XL: 37-43″ Bust Circumference
- XXL/3XL: 44-50″ Circumference
For reference, the cardigan in the photos is XS/S/M. It is modelled by myself and I usually wear size small.
Construction/Notes
- Because the stitch used is reversible, both front panels are crocheted exactly the same.
- Once the panels are joined together at the sides, the sleeve cuffs are created by half double crocheting in the round around the arm hole.
- To complete the look, a half double crochet border is added along the bottom of the cardigan and around the collar.
- This cardigan is worked flat with one back panel and two front panels. The front panels grow slightly towards the centre from top to bottom for a shawl like effect.
More Crochet Patterns from Leelee Knits!
Short Sleeve Crochet Cardigan Video Tutorial:
The following video tutorial on the Leelee Knits YouTube Channel will walk you through the entire process of crocheting your cardigan:
Free Pattern
Back Panel (make one):
Chain 161(179,197).
Row 1: HDC in 3rd ch from hook (counts as first HDC); *CH1, skip next ch, HDC in next ch; repeat from * to end of row; turn.
Row 2: CH2 (counts as first HDC), HDC in first ch1 sp; *CH1, HDC in next ch1 sp; repeat from * to end of row (last HDC will be in last hdc); turn.
Repeat row 2 until the length of the back panel measures 28(28.5,29)”.

Front Panels (make two):
Chain 75(83,91).
Row 1: HDC in 3rd ch from hook (counts as first HDC); *CH1, skip next ch, HDC in next ch; repeat from * to end of row; turn.
Rows 2-14: CH2 (counts as first HDC), HDC in first ch1 sp; *CH1, HDC in next ch1 sp; repeat from * to end of row (last HDC will be in last hdc); turn.
Row 15: CH2 (counts as first HDC), HDC in first ch1 sp; *CH1, HDC in next ch1 sp; repeat from * to last hdc; HDC, CH1, HDC in last hdc; turn.
Row 16-18: CH2 (counts as first HDC), HDC in first ch1 sp; *CH1, HDC in next ch1 sp; repeat from * to end of row (last HDC will be in last hdc); turn.
Repeat rows 15-18 until the length of the front panel measures 28(28.5,29)”.
Joining the Panels:
When all three panels have been crocheted, create the should seams by joining the top of the front panels to the top of the back panel with slip stitches.
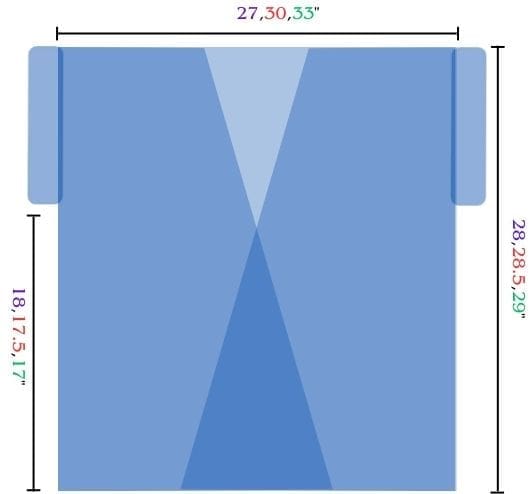
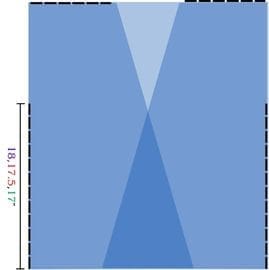
Next, join the straight edge of the front panels to the back panel, leaving room for the arm holes.
See image to the right for side seam length.
Sleeve Cuffs
Once the side is seamed together at the required length, do not fasten off. Begin crocheting the sleeve cuffs by working a half double crochet into the next chain space of the top layer. Then work your way back around by making one half double crochet into each chain space very loosely so that the sleeves don’t bunch up. Check every so often to make sure that the stitches aren’t too tight.
Border and Finishing:
The final step is to tidy up the edges by crocheting a border around the bottom and collar of the cardigan.
Begin where the collar meets the bottom edge of the cardigan. Attach the yarn with a slip knot and chain two. Then loosely half double in each chain space all around the bottom edge of the cardigan.
With the bottom border complete, work three half double crochets into the corner where the collar begins. This ensures that the corner stays nice and loose and doesn’t synch inwards. Half double crochet all the way up and around the collar edge. When you get back to the bottom, work three more half double crochets into the corner and then slip stitch into the first stitch of the bottom border.
Fasten off, weave in all loose ends, and steam block the cardigan to remove wrinkles and loosen the fibres of the yarn.
And finally, enjoy your new short sleeved summer cardigan!
Pattern PDF File
I hope you enjoyed this summertime short sleeve crochet cardigan pattern.
If you’d like your own copy, the Ad-Free PDF file (which will be emailed to you automatically) can be purchased through Ravelry, or by clicking the “Purchase PDF File” button to the right.
Thank you so much for your support! It means the world to me, and I’m beyond grateful to be able to share my passion with you all.




Could you please give me the bust sizes so I know which size to make.
Thank you, Monica
Hi Monica, this cardigan has a lot of ease and is meant to be worn loosley.
XS,S,M size fits bust circumference 30-36 inches;
L, XL size fits bust circumference 37-43 inches;
XXL, 3XL size fits bust circumference 44-50 inches.
Thank you for sharing such nice cardigan design – In my view , simple garment designs are usually elegant, and can be wear on any ocaasion..
You’re most welcome Ada! Enjoy the pattern ❤️
Hi
I am wondering how long the beginning chain should measure. Should it be the same as the width of the back? Mine is much longer, even after making it twice to try to tighten the tension. Any help would be appreciated.
Hi Debra,
I recommend working a few rows and then measuring as the foundation chain can vary based on how loosely the chains are worked.